
Built structures · Cabinets and chamber conversions
Upright freezer converted to a curing chamber
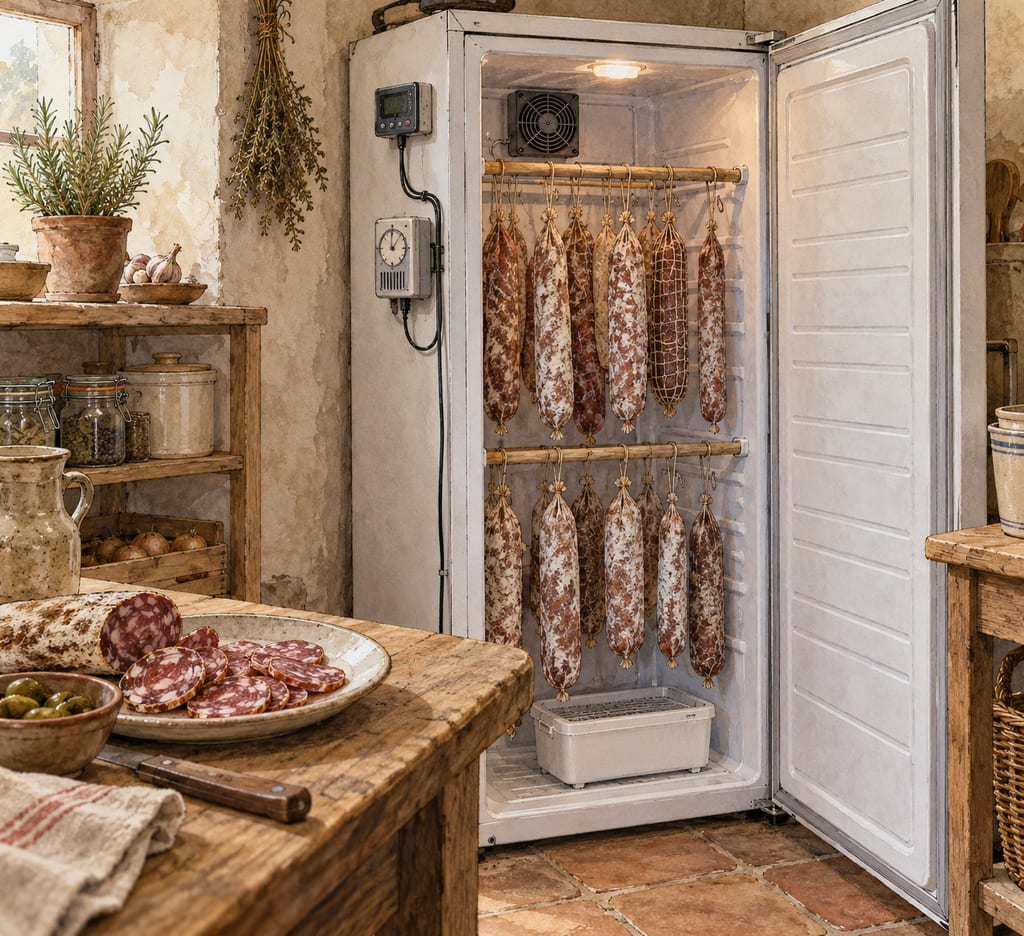
An upright freezer run warmer than its own thermostat under an external controller, with separate humidity control and airflow, for curing and ageing food.
Overview
An upright freezer converted to a curing chamber is run warmer than its thermostat allows, under an external controller, so that it holds cool curing or ageing temperatures.
The method is adapted from fridge conversions. The consulted guides describe refrigerators, and their freezer advice comes from reader comments and a note on freezer-only units. No consulted source tests an upright freezer conversion directly.
Freezer-specific limits
Freezer-only units cannot hold a warm temperature, so the minimum set point of the chosen model decides whether the method works. An upright unit with frost-free operation runs dry and needs humidity added. A unit whose auto-defrost cannot be disabled spikes humidity on a schedule.
Upright cabinets offer a larger single chamber than a chest unit, which is the reason given for choosing one. The defrost cycle and the set-point limit must be checked on the model first.
Sources for this section
Humidity and airflow
Curing guides put the target at 70 to 80 percent relative humidity, with about 5 percent tolerance. Frost-free fridges run dry, so an ultrasonic humidifier is added, and a thermoelectric or vaporiser unit is advised against because it heats the chamber each time it runs.
Airflow is provided by a small fan run for a few minutes a day. Strong airflow dries the surface too quickly.
Sources for this section
What is not established
No consulted source gives a measured profile for an upright freezer conversion, a defrost timing test or a validated product result. The next research question is the temperature and humidity profile of one converted upright unit over a full cycle with the defrost behaviour recorded.
Sources for this section
Site
A build is made where it stands: moving it means building it again.
How it is built
Risks and precautions
An auto-defrost cycle that cannot be disabled raises humidity on a schedule, as one guide warns.
Hazard sourceExcess moisture lets unwanted mould grow; the guide advises vinegar cleaning and monthly cleaning of humidifiers.
Hazard sourceCondensation inside a box caused rust spots in one reported build.
Hazard sourceCheck the model's minimum set point and defrost behaviour before building.
Control sourceLog temperature and humidity before loading product.
Control sourceNot a validated food process. The sources do not establish safe curing or ageing conditions for any product.
Materials
- 1 unit Upright freezer — Choose a model whose minimum set point can be raised under external control and whose defrost cycle can be disabled or avoided.
- 1 unit Temperature controller — Dual-stage plug-in controller; the freezer is on the cooling outlet.
- 1 unit Humidity controller — A second controller, because a single-function plug-in controller serves one task.
- 1 unit Ultrasonic humidifier — Fine mist without heating the air; mist kept away from the product.
- 1 unit Small fan — Run on a timer, a few minutes a day.
- 1 unit Temperature probe — Placed in the middle of the cabinet, away from the vent and walls.
- Read the manual for the minimum set point and the defrost behaviour. Auto-defrost cycles spike humidity on a schedule, and a freezer-only unit may not hold a warm temperature.
- Set the built-in thermostat to its coldest position and leave it, so the external controller governs the compressor.
- Plug the freezer into the cooling outlet of the temperature controller and the humidifier into the humidity controller.
- Place the temperature probe in the middle of the cabinet, away from the vent and walls. Run it through the door seal to avoid drilling insulated walls.
- Fit racks that carry the load, and test them with weight before loading any product.
- Run a small fan for a few minutes a day, positioned so that it does not blow directly on the product.
- Log temperature and humidity before loading. Avoid frequent door openings, which upset the temperature and humidity.
Places
Documented for international use, with no single place of origin assigned.
Community
No community contributions have been published for this entry yet.
Share what you made
Sign in to contribute. Published comments and photos are free to read.
Sources
Eat Cured MeatMethod · Safety
How to build your DIY Curing ChamberFactory thermostat set to coldest, external controller in charge
Probe in the middle of the chamber away from vents and walls
Target 50 to 60 F (10 to 15 C) and 70 to 80 percent relative humidity with about 5 percent tolerance
Ultrasonic humidifier preferred; mist kept away from the meat
Small fan run a few minutes a day; compressor delay of 2 to 3 minutes
Clean humidifiers monthly with vinegar; white mould expected, others wiped off
Cited in: Overview; Freezer-specific limits; Humidity and airflow; What is not established
HomebrewTalk forumMethod
How can I convert this Chest Freezer into a Temp. Controlled Fermentation Chamber?Freezer run through a dual-stage controller, probe taped to the fermenter and insulated with foam
Cited in: Overview
Brewers Friend forumSafety · Method
Condensation in chest freezerCondensation inside the box caused rust spots on the walls
Chest units have awkward access
The House of HydroMethod
Meat Curing Chamber Humidity & TemperatureCuring humidity and temperature targets for home chambers, humidity control with a separate controller
Cited in: Humidity and airflow