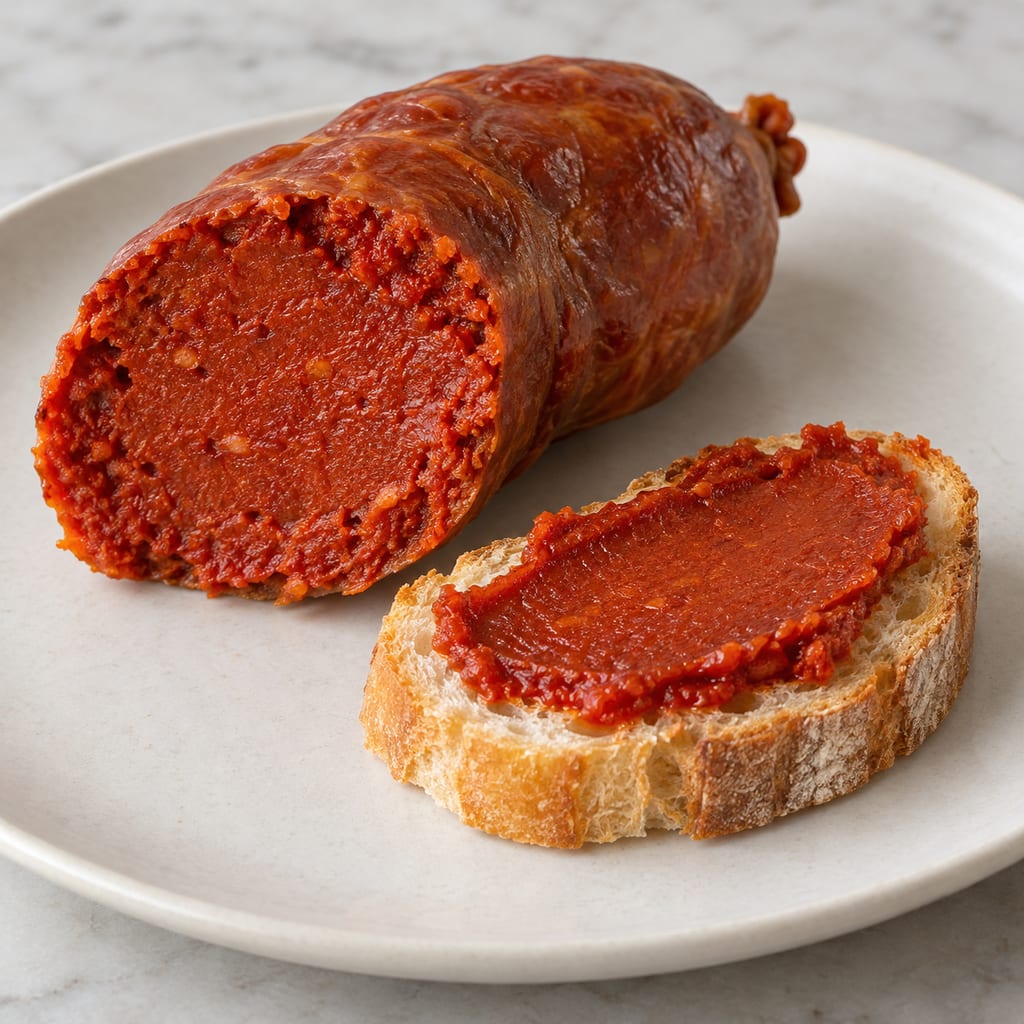
'Nduja di Spilinga
Soft, spreadable Calabrian pork sausage made with a great deal of red chilli and fatty pork, stuffed into natural casings, sometimes smoked and matured while staying soft.
 FermenteaWhere food goes to change
Built structures · Drying kilns and dryers
A solar collector feeds a drying tunnel, and a photovoltaic panel powers a fan that moves the warm air over the trays. The Hohenheim-derived design comes in several sizes, which are not interchangeable.
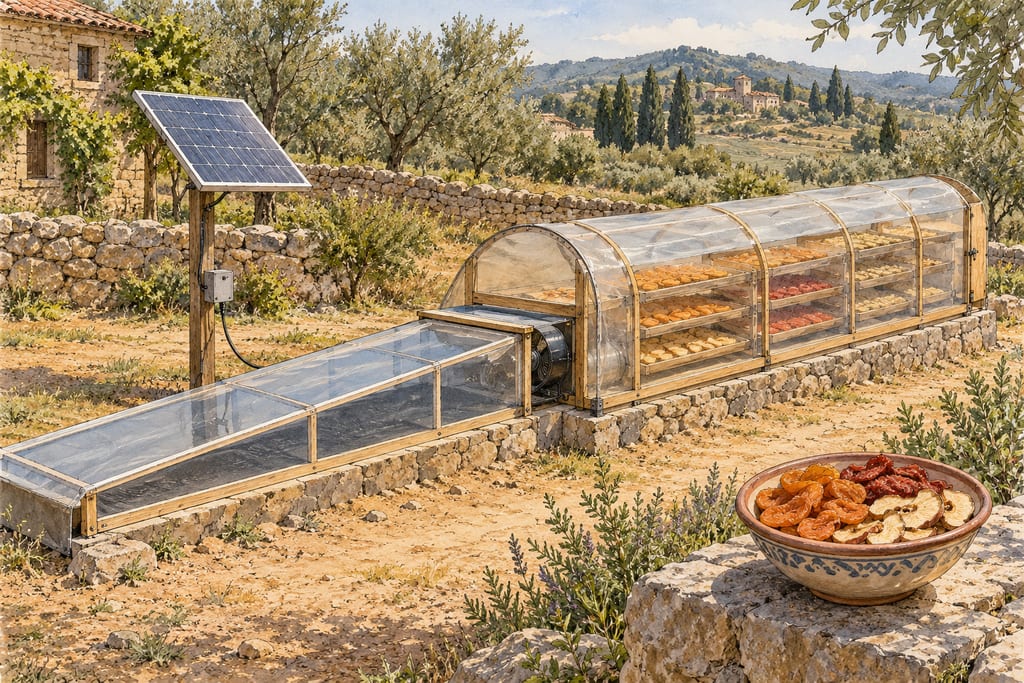
A solar tunnel dryer separates the sun-heated air from the product. A black collector heats the air, which then passes along a drying tunnel with trays and leaves at an outlet. A photovoltaic module powers a fan that moves the air. The Practical Action overview lists these parts: a photovoltaic panel and fan, a black thermal collector, a drying tunnel with trays, an inlet and an outlet, a rolling bar, a metal frame and a concrete-block substructure.
The design is usually traced to a Hohenheim tunnel. The Solar Brücke manual describes that large tunnel as 20 m long and 2 m wide, with a stated load of 300 to 500 kg. The load is a range for the tunnel, not a dimension.
The large tunnel, the PHilMech commercial adaptation and the small DIY versions are different designs. PHilMech's Multi-Commodity Solar Tunnel Dryer is 17 m by 2 m overall, with a 7.2 m by 2 m black collector and a 9.8 m by 2 m white drying bed. The Solar Brücke manual gives two small versions for trial or mobile use: version a, which is heavier, and version b, which is lighter.
The lighter version b uses curved 5 mm beech or ash slats, plywood plates for the base, sides and ridge, foil weights and rails, with the same class of fan, photovoltaic module, foil and paint. The source's search-indexed extraction supplies only some of version b's sizes, so its full schedule has to be read from the primary table before it is modelled.
The photovoltaic module powers a fan that moves heated air from the collector through the drying area and across the trays, and out at the outlet. The small example uses a fan rated at 50 cubic metres per hour and 1.7 W, with a 5 W module. The source gives no flow resistance, vent sizing or fan curve for these parts.
Key questions are how the fan behaves when clouds reduce the supply, whether a battery is needed, how the motor starts, and whether rain can enter. The sources do not settle these, so a prototype has to measure fan start and stop under changing sun, and the air temperature and humidity at the inlet, the product level and the outlet.
The small version a has a parts schedule with plywood plates, slats, a ridge bar, flat-iron struts, aluminium profiles, a fan cover plate and foil. The schedule does not give joins, the assembly order or the hole positions, and the screw and rivet combinations need checking against the primary page. The metal cutting and joining methods are not recorded in the text read.
The Solar Brücke manual describes a small tunnel dryer derived from a Hohenheim design, with a 20 m by 2 m large tunnel and two small DIY versions. PHilMech documents a commercial multi-commodity tunnel dryer that it describes as an adaptation of the Hohenheim design.
A build is made where it stands: moving it means building it again.
The sources read concern crop drying. They do not validate meat or fish processes.
Hazard sourceThe fan is the only route for moving the warm air, so a stopped fan on a sunny day can overheat the product.
Hazard sourceLog the air temperature at the inlet and the product zone and the fan's voltage and current
Control sourceDo not use this dryer for meat or fish on the basis of its crop guidance.
Confirm the fan's behaviour when power drops. Battery and no-battery designs behave differently and both need testing.
The sources call the design Hohenheim-derived. They do not give the date of the original design.
PHilMech documents a commercialised adaptation. The envelope differs from the large Hohenheim-derived tunnel.
Soft, spreadable Calabrian pork sausage made with a great deal of red chilli and fatty pork, stuffed into natural casings, sometimes smoked and matured while staying soft.
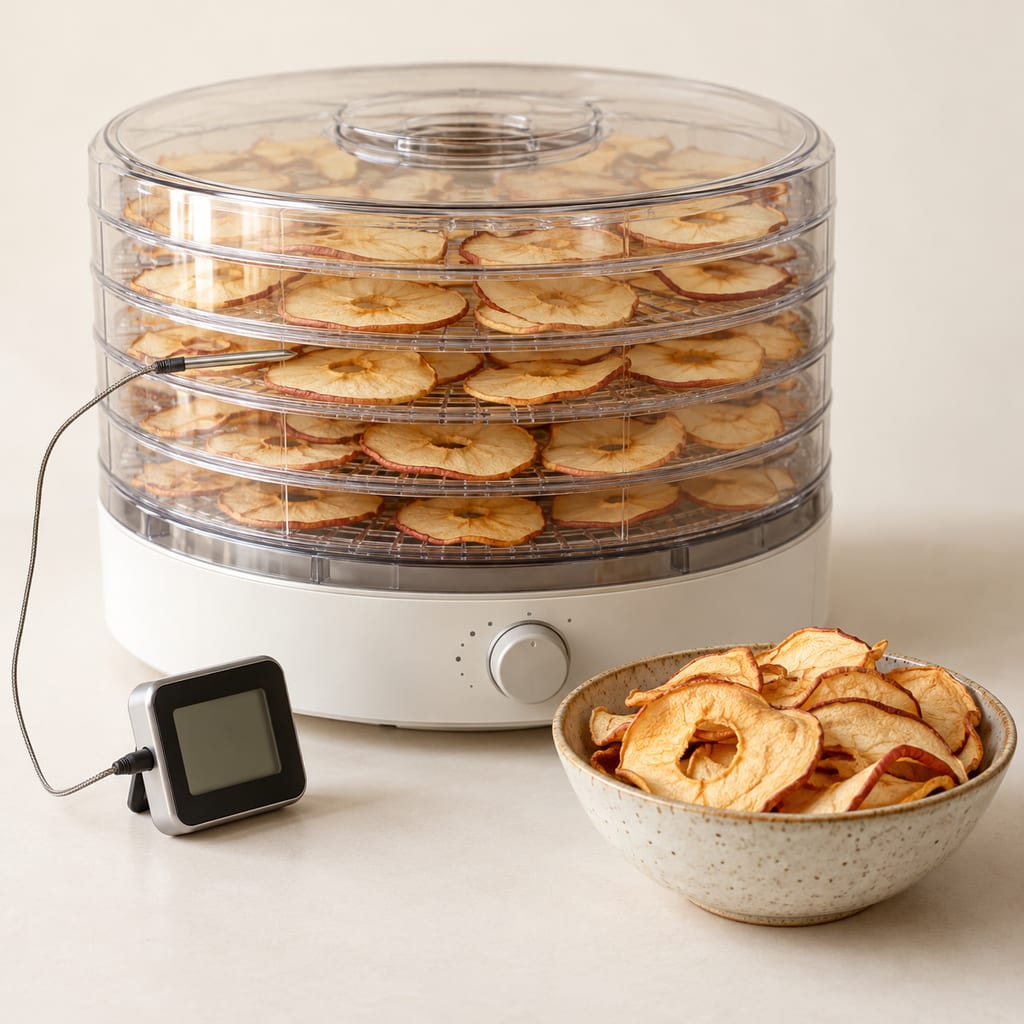
A way to add independent temperature logging to an existing food dehydrator without changing its built-in controls or protections. It is a monitoring method, not a rewiring plan.

Pleurotus cystidiosus is the abalone mushroom, a cultivated oyster-type fungus with dark brown caps that grows more slowly and is more demanding than other Pleurotus species.

A dark, balanced vinegar from Emilia-Romagna made by combining cooked or concentrated grape must with wine vinegar, then acetifying and refining it in wood under a protected specification.

A living dairy inoculum that starts controlled cream fermentation, developing acidity and aroma before sour cream or cultured butter is finished.

A small electric incubator holds jars at a selected temperature for yogurt and other documented warm food preparations. Controls, capacity and vessel arrangement vary by model.

Adygean salt is a seasoned table salt associated with Adygea and the wider North Caucasian culinary tradition. Salt is blended with garlic and a variable selection of herbs and spices; the exact mix depends on the named style and maker.

The African Caesar-group mushroom, Amanita masasiensis, is a wild ectomycorrhizal species of central and southern African woodlands, eaten locally. The genus contains deadly poisonous species, so identification needs care.
No community contributions have been published for this entry yet.
Sign in to contribute. Published comments and photos are free to read.
Solar BrückeMethod · History
Small Solar Tunnel Dryer (construction manual)Hohenheim-derived large tunnel 20 m long and 2 m wide with a 300 to 500 kg loading range.
Two small DIY versions a and b; version a parts schedule; lightweight version b with curved 5 mm beech or ash slats.
Example fan 50 m3/h at 1.7 W and a 5 W photovoltaic module.
Cited in: What it is; Scales and variants; Air, power and what is not known; Building it: what the sources give and what they do not
PHilMechMethod
Multi-Commodity Solar Tunnel Dryer (official specification)Commercial adaptation of the Hohenheim design; 17 m by 2 m overall, with a 7.2 m by 2 m black collector and a 9.8 m by 2 m white drying bed.
Cited in: Scales and variants
Practical ActionMethod
Solar drying technical overviewFunctional layout: photovoltaic panel and fan, black thermal collector, drying tunnel with trays, inlet and outlet, rolling bar, metal frame and concrete-block substructure.
Cited in: What it is; Air, power and what is not known