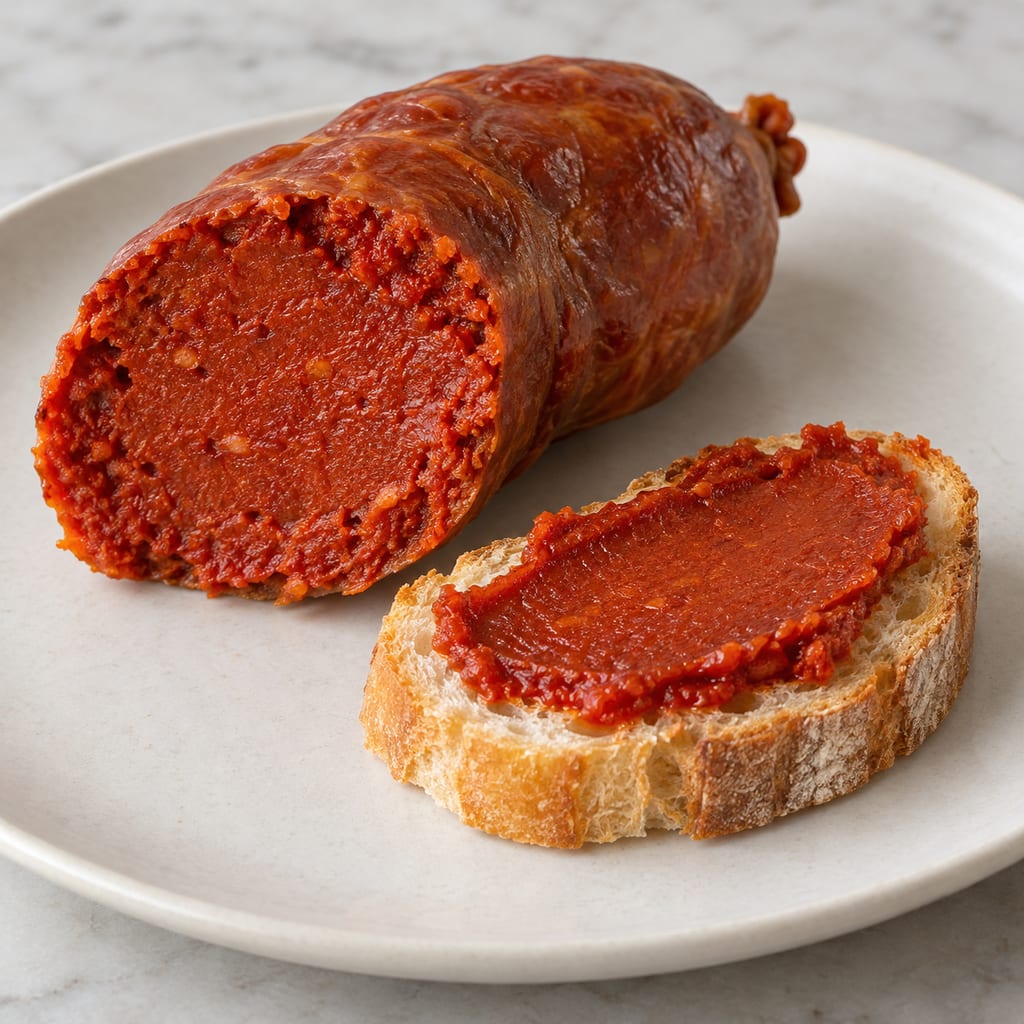
'Nduja di Spilinga
Soft, spreadable Calabrian pork sausage made with a great deal of red chilli and fatty pork, stuffed into natural casings, sometimes smoked and matured while staying soft.
 FermenteaWhere food goes to change
Built structures · Drying kilns and dryers
A passive solar dryer built as a long black-covered table with a clear-film chimney that draws air over mesh trays. The University of California Davis 2018 manual gives its cut list and build steps.
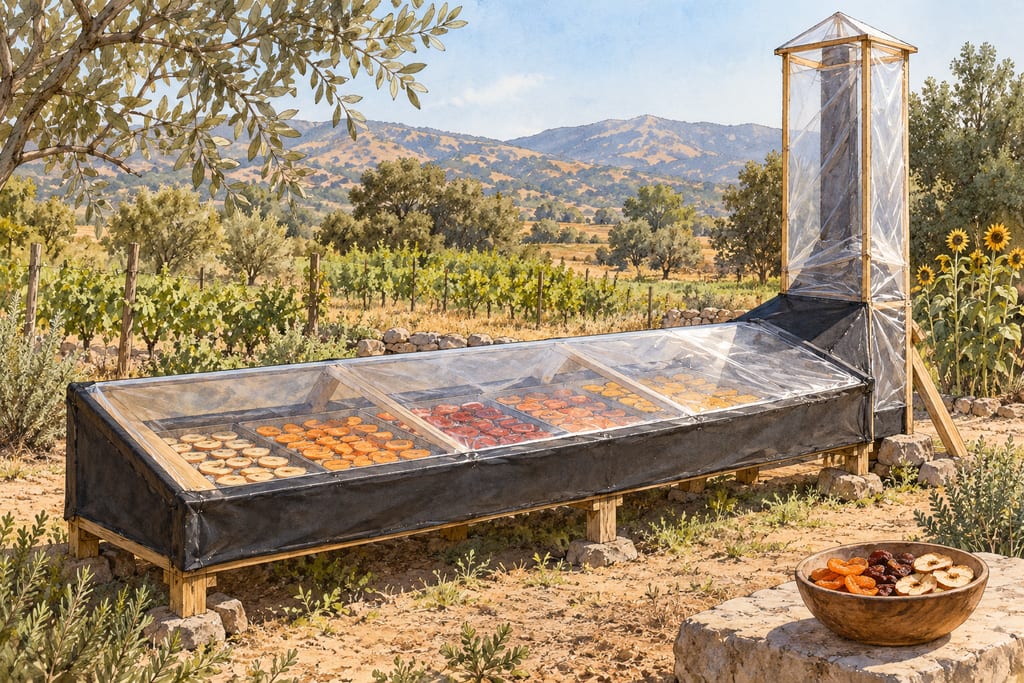
The UC Davis chimney solar dryer is a passive crop dryer with four parts: a black-covered table that absorbs sunlight, a clear-plastic chimney open at the top, mesh trays, and a clear polyethylene cover sealed across the table and the chimney. The table and the chimney together make a single air path, so the design needs no fan or power.
The manual gives an example with a 4 m table and a chimney rising 2 m above the table. It supplies a full material schedule with member labels A to M, a step-by-step build and troubleshooting notes. The archived university page summarises the components and the orientation but is not a separate design.
Ambient air enters at the low front opening, flows over the trays and the product, passes through a rectangular opening in the chimney film above the table, and rises up the chimney. The table faces the equator, with the chimney at the opposite end. The manual warns that leaks where the table and chimney meet let air bypass the trays. It recommends stakes and guy ropes on windy sites.
The table absorbs sunlight and warms the air beneath the clear cover. The chimney uses the warm air's tendency to rise to keep the flow moving, so the chimney height matters to the airflow.
The manual states that its material schedule is calculated from the actual dimensions and suggests adding about 10 per cent extra material. It labels the lumber 3 by 3 cm, but it does not match that label to a regional stock standard, and it gives no joint clearances or tolerances. The sizes recorded here are the sizes printed in the manual.
Changing the size of the dryer changes its airflow, so a scaled version has to keep the table, chimney and opening in proportion rather than shrinking every part by the same factor. The sources do not give a rule for that scaling.
The manual builds the table and the chimney separately, joins them with attachment boards, cuts the chimney opening, seals the film, stakes the frame and makes the trays. It does not name the saw or drill models, so tool choice is left to the builder.
The build list is complete but the dryer is not ready for a site. Before a build guide calls it ready, the stock sizes need matching to the regional lumber, the safe use of each tool needs specifying, the chimney opening size and the stability and anchoring need resolving. A prototype should then log inlet, product and outlet temperature and humidity with empty and loaded trays, and test the cover, rain shedding, condensation and cleaning. Those tests describe the dryer, and they do not validate any food process.
The Horticulture Innovation Lab at the University of California Davis published a six-page manual, How to Build a Chimney Solar Dryer, in 2018. The archived university page summarises its four components and orientation.
A build is made where it stands: moving it means building it again.
A leak at the joint lets air skip the trays, so the product dries unevenly and the dryer loses its airflow.
Hazard sourceA tall chimney on a light frame can be blown over in a strong wind unless it is staked and guyed.
Hazard sourceSeal the film to the chimney and table, and fit stakes and guy ropes at the four corners
Control sourceThe manual describes a crop dryer. Its suitability for meat or fish is not established.
Keep the mesh food-contact suitable; a frame of any material does not excuse a non-food-grade tray mesh.
No source in this record establishes a place.
Soft, spreadable Calabrian pork sausage made with a great deal of red chilli and fatty pork, stuffed into natural casings, sometimes smoked and matured while staying soft.
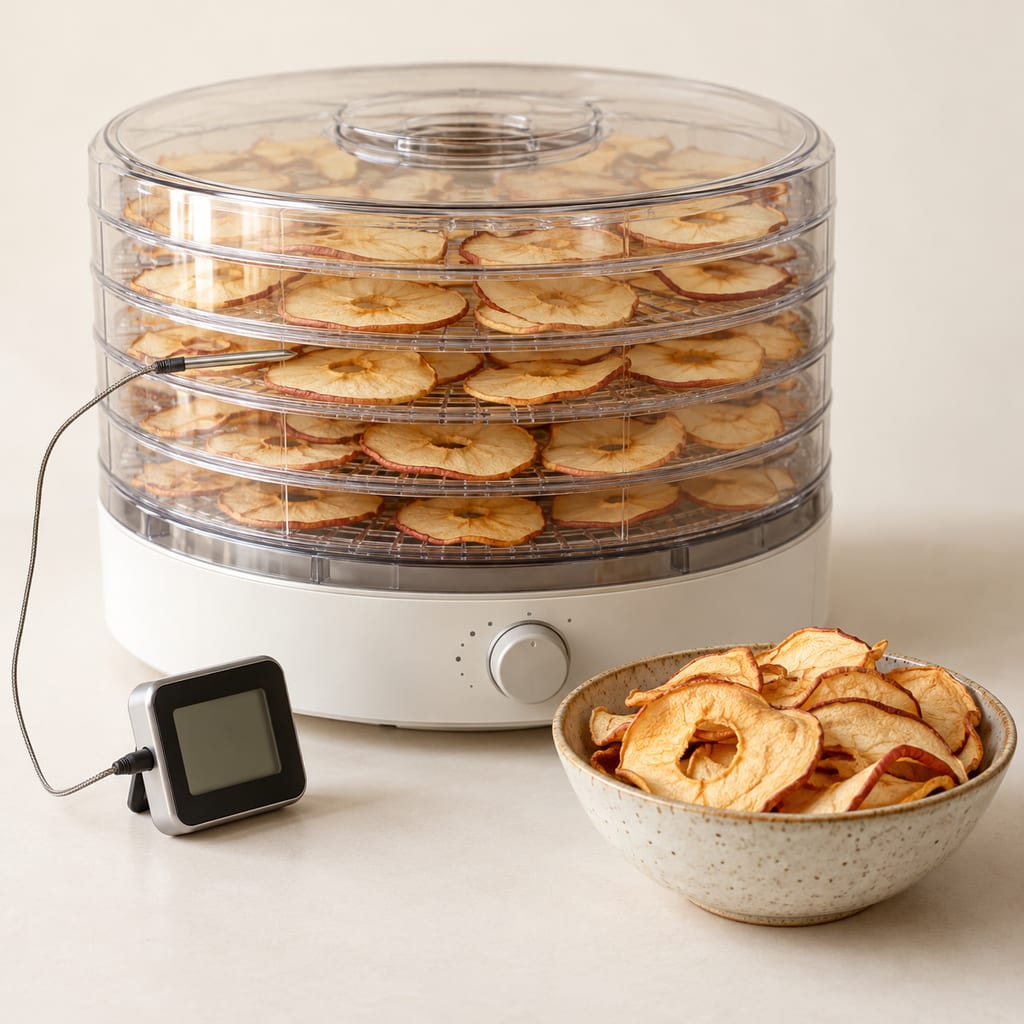
A way to add independent temperature logging to an existing food dehydrator without changing its built-in controls or protections. It is a monitoring method, not a rewiring plan.
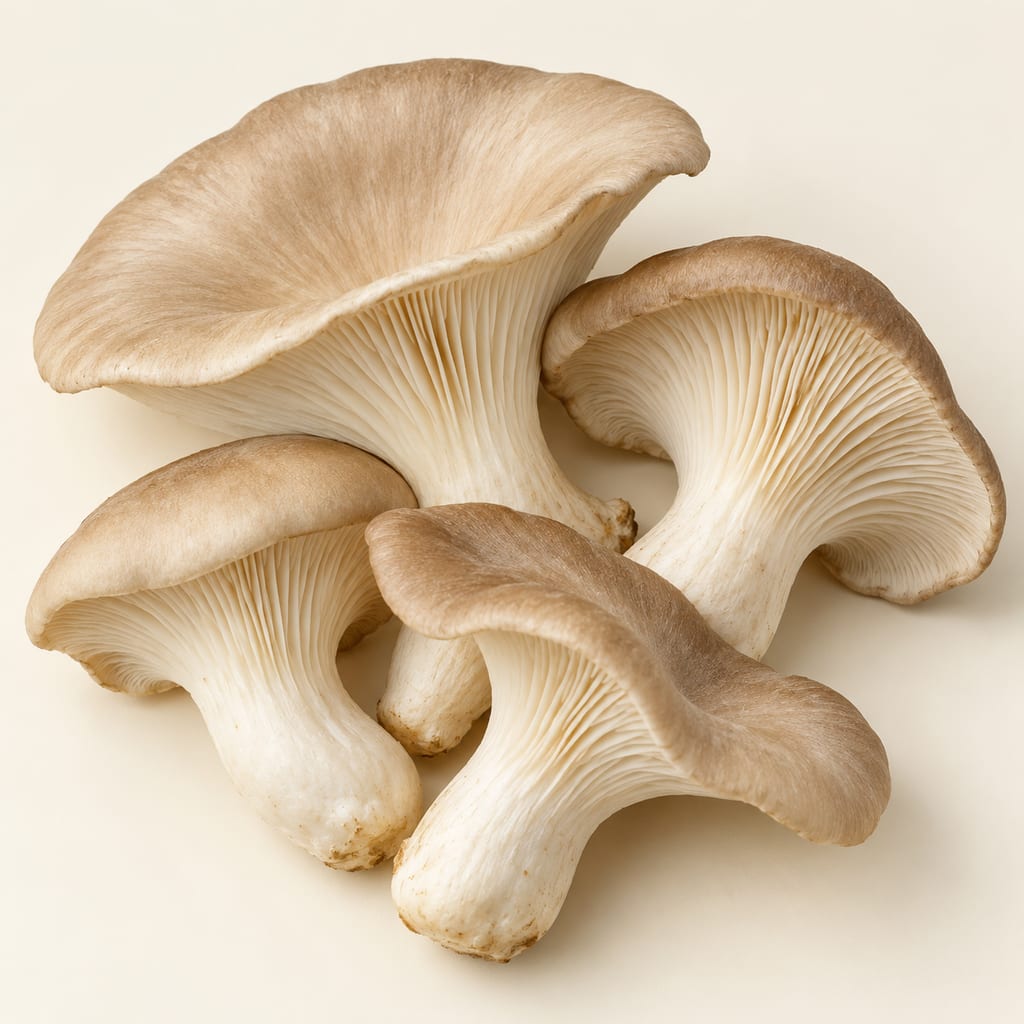
Pleurotus cystidiosus is the abalone mushroom, a cultivated oyster-type fungus with dark brown caps that grows more slowly and is more demanding than other Pleurotus species.

A dark, balanced vinegar from Emilia-Romagna made by combining cooked or concentrated grape must with wine vinegar, then acetifying and refining it in wood under a protected specification.
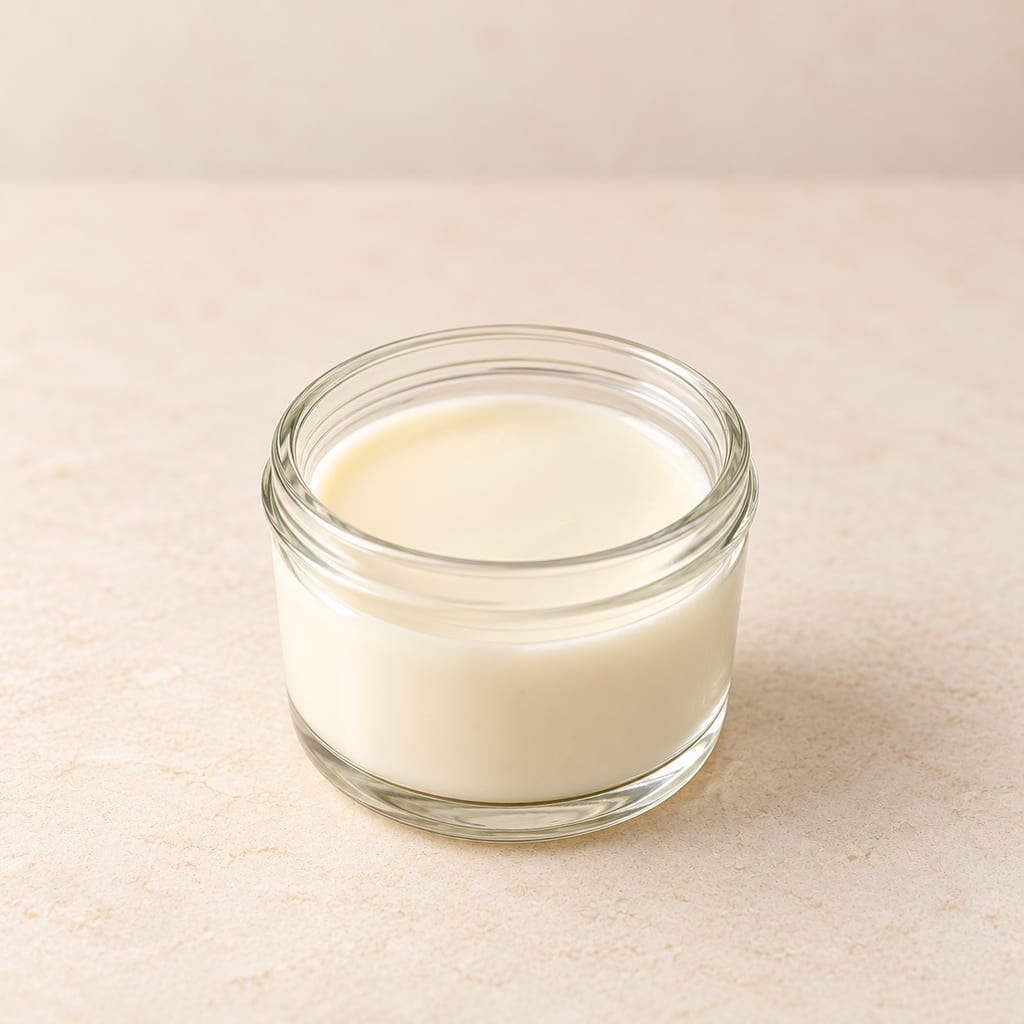
A living dairy inoculum that starts controlled cream fermentation, developing acidity and aroma before sour cream or cultured butter is finished.
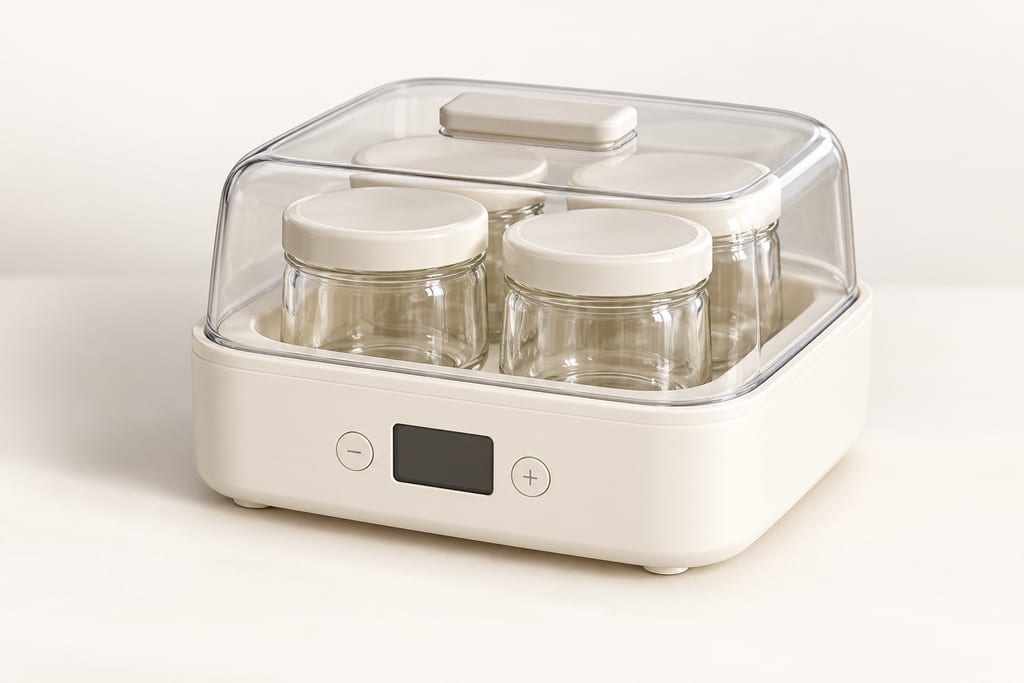
A small electric incubator holds jars at a selected temperature for yogurt and other documented warm food preparations. Controls, capacity and vessel arrangement vary by model.

Adygean salt is a seasoned table salt associated with Adygea and the wider North Caucasian culinary tradition. Salt is blended with garlic and a variable selection of herbs and spices; the exact mix depends on the named style and maker.
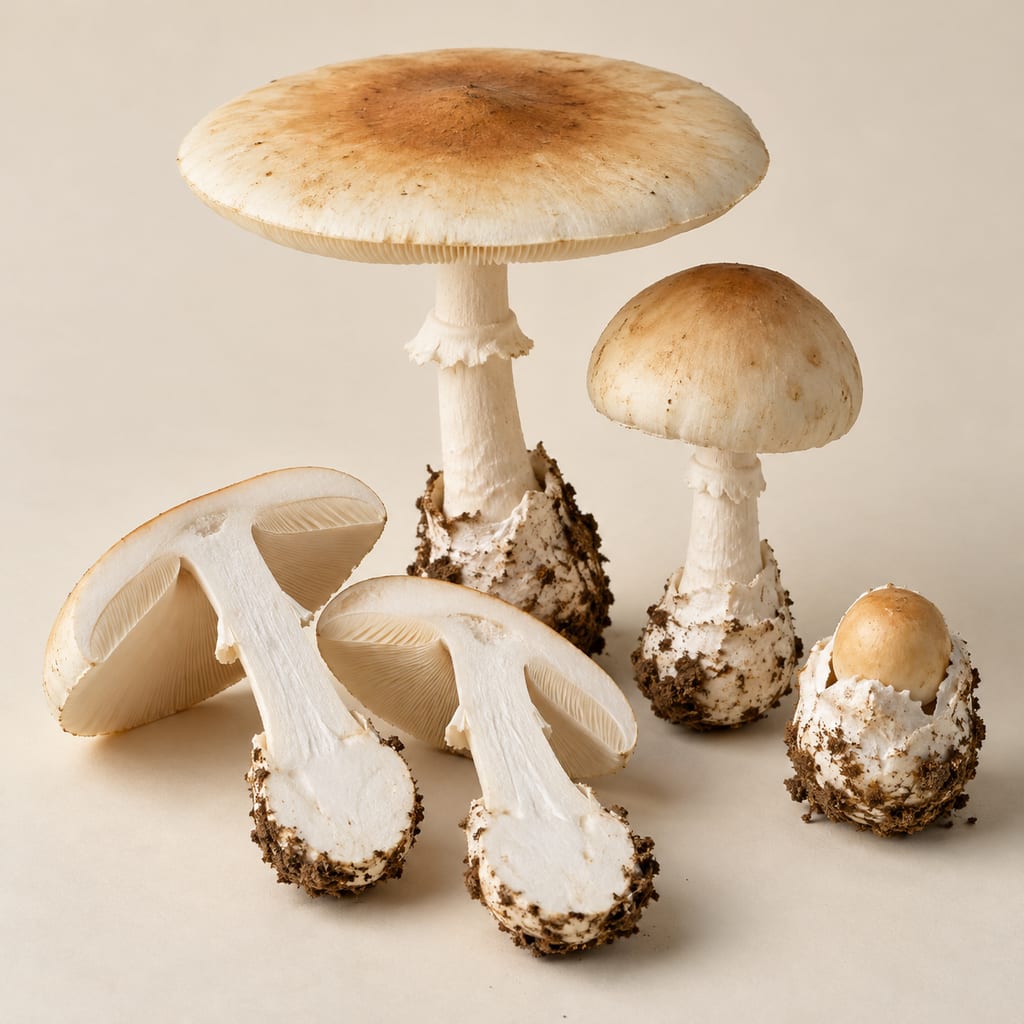
The African Caesar-group mushroom, Amanita masasiensis, is a wild ectomycorrhizal species of central and southern African woodlands, eaten locally. The genus contains deadly poisonous species, so identification needs care.
No community contributions have been published for this entry yet.
Sign in to contribute. Published comments and photos are free to read.
UC Davis Horticulture Innovation LabMethod · History · Safety
How to Build a Chimney Solar DryerFour components: black-covered table, clear chimney, mesh trays and clear polyethylene cover.
Example with a 4 m table and a chimney rising 2 m above the table; member labels A to M with cut lengths.
Leaks at the table and chimney joint cause bypass flow; stakes and guy ropes for windy sites.
Material schedule suggests about 10 per cent extra material; lumber labelled 3 by 3 cm.
Cited in: What it is; How the air moves; Dimensions and materials; Building it and what remains open
UC Davis Horticulture Innovation LabHistory
How to build a chimney solar dryer (archived university page)Summarises the four components and the table orientation.
Cited in: What it is