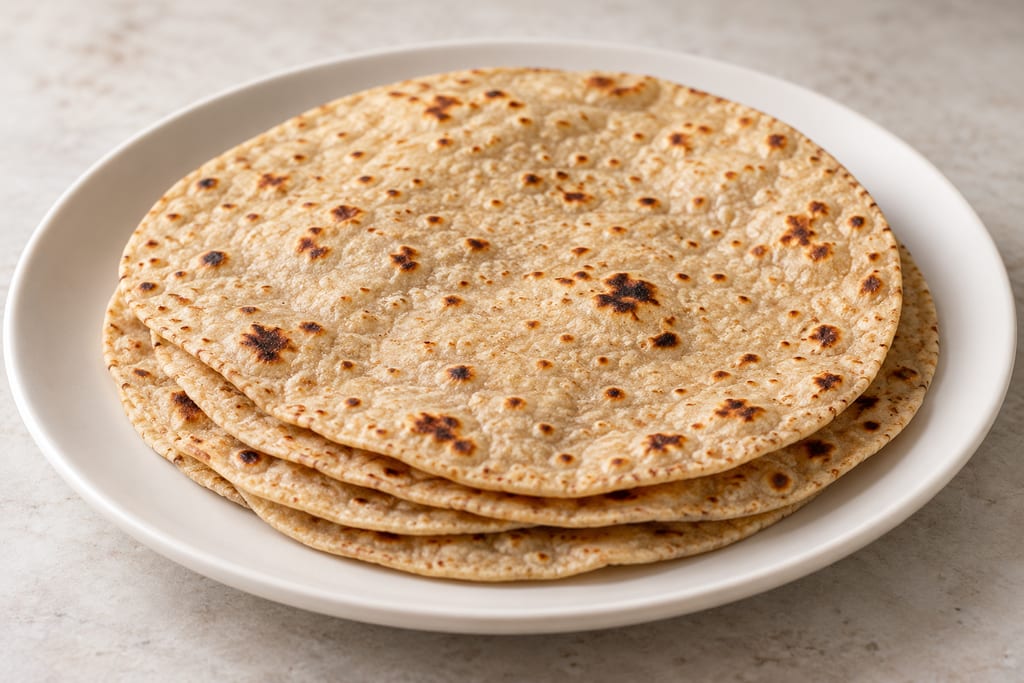
Chapati
This measured chapati uses whole-wheat atta and water, with salt and oil or ghee optional. Rest the dough, roll it thin and cook through on a hot tawa; it is distinct from the partly cooked, puffed phulka route.
 FermenteaWhere food goes to change
This unleavened North Indian tandoori roti uses atta, salt and water, then cooks on a handled wire rack over a low-to-medium flame. It makes 13 medium breads with tandoor-style browning.
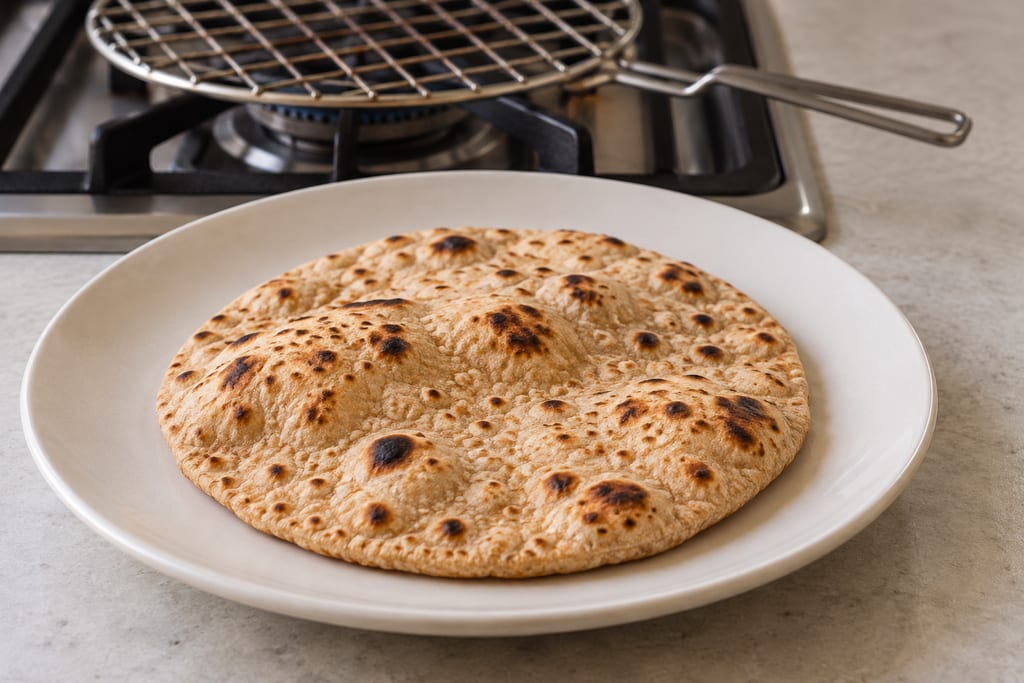
Tandoori roti is a thicker unleavened wheat flatbread, distinct from a thin roti cooked flat on a tawa. Dassana Amit describes its traditional setting as a pot-shaped clay tandoor, where the dough is baked against the hot inner wall. Her home recipe offers two stovetop routes that borrow parts of that cooking style. This page follows only the handled rack method: it uses a fireproof, heatproof wire rack held over a low-to-medium flame, while avoiding the separate instruction to invert a heavy tawa above the burner.
The home method is an adaptation. It can brown and mark the bread, but it does not recreate a clay oven's full heat, wall-baking technique or cooking environment. The author describes the recipe as North Indian and lists North Indian and Punjabi cuisine on the card. That supports a regional association for this preparation, not a claim that the bread began in one exact place or that every North Indian family uses this formula.
The word 'tandoori' points to a cooking tradition, but the recipe title does not mean the home bread was baked in a tandoor. The author's distinction between the traditional oven and the domestic rack or tawa methods is retained here. In particular, the rack-over-flame version produces a particular home result; it should not be presented as interchangeable with the clay-oven method or as a universal recipe for tandoori roti.
The dough uses 2½ cups of atta and 1 teaspoon of salt. Add ¾ to 1 cup of water gradually, as needed. Half a tablespoon of neutral oil or softened butter is optional in the dough. After cooking, 2 to 3 tablespoons of butter, ghee or neutral oil may be used for brushing, also optionally. No flour weight is stated, so the recipe keeps the household measure rather than guessing a gram conversion.
Atta is the Indian finely milled or superfine stone-ground whole-wheat flour described by the author. The page notes that commercially available whole-wheat flours in the United States and Europe may differ in grain and milling. It does not establish that any one substitute absorbs exactly the same amount of water or rolls identically. If using another flour, the source's gradual-water instruction and soft, supple dough description remain the available adjustment cues, not a promise of identical results.
This dough is unleavened: it has no yeast, yogurt, baking soda or baking powder. The author explicitly says those ingredients are not needed in this formula. The 30-minute covered rest is a dough rest, not a fermentation stage. The bread's bubbles appear during cooking, and are not evidence of fermentation. Keeping the raising system clear distinguishes this version from other North Indian breads, including leavened naan and chemically raised home recipes that may also be called roti.
Sieve the atta with the salt into a bowl or wide plate, or whisk them together. Stir in the optional half tablespoon of neutral oil or softened butter. Pour in part of the water and mix until the dry ingredients gather. Work in more water a little at a time while kneading. The amount needed varies with the flour, and the source gives a range rather than a single fixed volume.
Knead until the dough is smooth, soft and supple. If it becomes sticky, the recipe suggests adding some flour and kneading until the stickiness subsides. If it looks dry, floury or not soft, it suggests adding water bit by bit and continuing to knead. These are handling adjustments stated by the author; no measured dough hydration or stiffness test is provided. No kneading duration is specified.
Cover the bowl and let the dough rest for 30 minutes. This gives the process a clear pause before shaping, but the author does not give a temperature for the room or a volume change to look for. Since the dough contains no leavener, it should not be left until it doubles or treated as a proof. The recipe card counts ten minutes of preparation and 30 minutes of resting, but does not state whether the preparation estimate includes all shaping and handling.
After the rest, pinch or cut the dough into small or medium pieces. The batch yields 13 rotis, but no portion weight is specified. Roll each piece into a ball, flatten it with the palm, and dust the ball and rolling board with a little atta. Roll it evenly into a small or medium round. The author advises against making the bread as thin as phulka; the rounds should be medium or medium-thick.
The exact diameter and thickness are left to the cook and the chosen rack. No numerical dimensions are specified. Size the rounds to the rack and keep them within its usable area so the bread does not overhang. The author explicitly advises matching roti size to the rack. These rounds are also distinct from the very thin, large sheets of rumali roti.
Use only enough dusting flour to handle the dough. The source's stickiness advice allows a small amount of flour when kneading, but it gives no quantity. The recipe does not ask for a filling or folding step: each roti remains a single round. Prepare and cook the rounds in sequence so an uncooked roti does not sit on the hot rack while another is being handled.
The source's second home route calls for a fireproof, heatproof wire rack with a handle, held over a low-to-medium flame. Choose a rack designed for this heat and make each round small enough to sit without overhang. Keep the rack securely by its handle. Carefully place one roti on it, then turn the rack gently and evenly so the surface browns across the flame.
When air pockets appear, turn the bread with a spatula or tongs. Small bubbles and brown-black spots form as it cooks. Keep turning it to cook the other side and continue until the whole roti is cooked through. No exact cooking time or measured surface or interior temperature is specified for the rack method. Do not apply the tawa method's minute-per-side cue to this route.
A handled rack is important to this particular method. The recipe does not tell the reader to balance a pan upside down over the burner, and that heavy-tawa method is omitted from this recipe. Do not substitute a baking rack or improvised wire object unless it is made for direct flame use and has a secure handle. Keep loose cloth and hands clear of the flame; use a spatula or tongs to turn and remove bread.
The author also offers a separate tawa method, which cooks the water-brushed side on an iron skillet, then inverts the skillet over a flame to roast the other side. That is a distinct method and carries a different handling risk. It is not blended into the rack steps here. The two home routes need not produce identical breads, and neither fully reproduces a tandoor.
The source permits finishing the cooked breads with softened butter, ghee or neutral oil, or leaving them plain. For the brushed batch, it gives 2 to 3 tablespoons across the recipe. It does not define an amount per roti, so this remains a batch-level optional quantity. Butter and ghee are milk-derived; neutral oil is the non-dairy option listed by the author, but anyone with a wheat allergy still must avoid the atta dough.
Dassana recommends eating the skillet-method rotis fresh and hot because they become chewier and denser as they cool. For the rack method, she says the bread stays soft and can be eaten later; if it is not going straight to the table, the source suggests keeping the cooked breads stacked in a roti basket or casserole so they remain warm. These are quality and serving notes, not a validated storage interval. No safe room-temperature holding time is given.
The recipe pairs the breads with gravies, lentil dishes and paneer curries, including examples such as dal makhani, chana masala and vegetable gravies. Those suggestions explain why the bread's thicker, supple shape is useful for scooping up substantial accompaniments. They are serving options, not ingredients or a required meal. The page does not claim that one curry or one serving ritual is shared by everyone who makes tandoori roti.
Raw flour may carry harmful bacteria. Do not taste raw dough. Keep atta and dough away from ready-to-eat food, and wash hands, tools and work surfaces after handling them. Use the water-adjustment cues only for dough handling; tasting is not a safety check.
The rack method puts a bread and a cooking tool directly over an open flame. Use the source's fireproof, heatproof rack with its own handle, keep the roti within the rack, and use heat-safe tools to turn and lift it. Keep hands, sleeves and towels away from the flame. Do not balance a skillet upside down over a burner as part of these instructions. Stop if the rack cannot be held securely; the source does not provide a safe workaround for unsuitable equipment.
Cook the bread fully before serving. Air pockets and brown-black spots are process cues in the recipe, not proof of a particular internal temperature. The source gives no internal-temperature endpoint, and none is added here. It also supplies no validated storage limit.
Atta contains wheat. If the optional butter or ghee is used, the recipe also contains milk. Do not serve those versions to anyone who must avoid the relevant allergen, and take care with cross-contact when cooking for someone with a food allergy.
The directly inspected recipe page documents one contemporary North Indian home formula and the author's description of tandoori roti. It distinguishes traditional clay-tandoor baking from two home stove methods, specifies its dough quantities, rest, yield and serving ideas, and gives process observations for each cooking route. The current page is updated in 2025, but that update date does not date the bread's origin.
The recipe does not establish an earliest written mention, a precise birthplace, how cooking practices spread, or how atta and roti thickness vary across all regions. It does not provide a tandoor construction, temperature profile or a method for reproducing charcoal or wood aroma at home. It gives no numeric temperature for its rack-over-flame method, no exact cooking time for that method and no tested scale-up plan. Those limits are retained so the home adaptation stays separate from a claim about every traditional bread.
The source card lists 13 rotis, 10 minutes of preparation, 30 minutes of rest, 30 minutes of cooking and a 1 hour 10 minute total. The rack method itself does not provide per-roti timing. The total and method-specific cues should therefore be read together: the card supplies a household estimate, while the practical rack steps ask the cook to watch the bread and turn it until cooked through. The recipe does not say how to divide the 30-minute cooking estimate between the two alternative methods.
The listed recipe is a source batch. The author says it can be reduced or scaled, but does not give exact alternate quantities. Because the ingredient amounts use cups and a water range, and each roti needs individual handling over the flame, this record does not calculate a half batch or set an unsupported per-piece weight.
Dassana Amit describes tandoori roti as an unleavened whole-wheat flatbread traditionally baked in a pot-shaped clay tandoor, and distinguishes the home stovetop methods from that traditional oven. The page labels the recipe North Indian and Punjabi, but gives no first attestation, specific birthplace or historical date.
Yield 13 rotis · Scaling: source batch only
Uncooked flour may carry harmful bacteria.
Hazard sourceThis chosen method holds a wire rack over a flame and turns bread with heat-safe tools.
Hazard sourceAtta is wheat; optional butter or ghee is milk-derived.
Hazard sourceDo not taste raw flour or dough. Keep flour and dough away from ready-to-eat food, then wash hands, utensils and work surfaces after handling.
Control sourceUse only a fireproof, heatproof wire rack with a handle, sized so the roti does not overhang. Keep hands and loose cloth away from the flame; turn the bread with a spatula or tongs.
Control sourceCook the whole roti through before serving. Air pockets and brown-black spots are the source's progress cues, not independent safety tests.
Control sourceThis bread contains wheat; butter and ghee options also contain milk. Do not serve those versions to anyone who must avoid the relevant allergen.
Control sourceContains wheat. Optional butter and ghee contain milk.
Use only a heatproof handled rack over the flame; do not use the heavy-tawa inversion method in this recipe.
Dassana Amit labels this recipe North Indian and describes tandoori roti as traditionally cooked in a clay tandoor. This supports a regional association, not a precise birthplace.
This measured chapati uses whole-wheat atta and water, with salt and oil or ghee optional. Rest the dough, roll it thin and cook through on a hot tawa; it is distinct from the partly cooked, puffed phulka route.
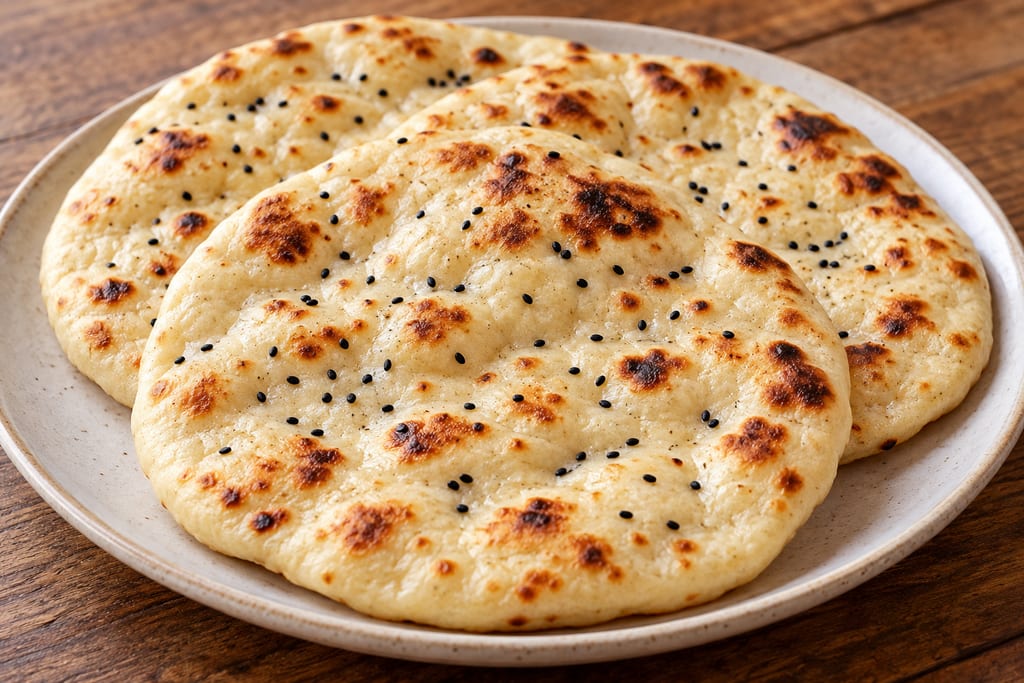
A plain North Indian kulcha uses an all-purpose wheat dough with yogurt, baking powder and soda, then rests and cooks on a hot tawa; optional seeds and roasting fat finish it.
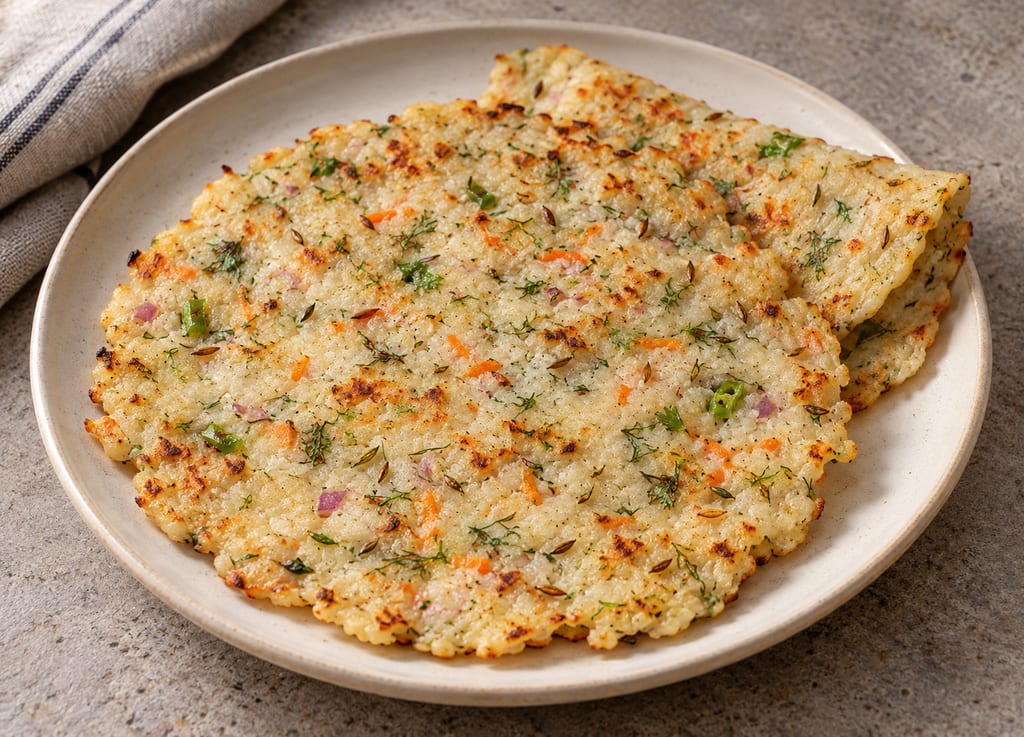
This Karnataka-style akki rotti mixes fine rice flour with vegetables, coconut, herbs and spices, then hand-pats and griddle-cooks the dough.
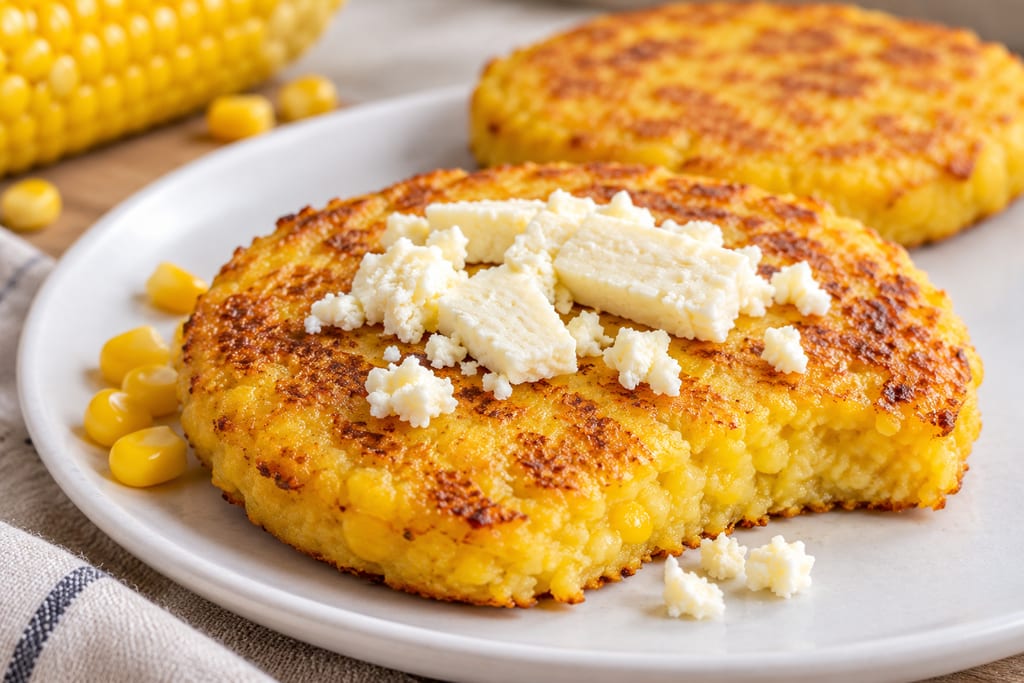
A Colombian Andean griddle cake made from fresh sweet-corn batter, cooked in butter and served with white cheese.
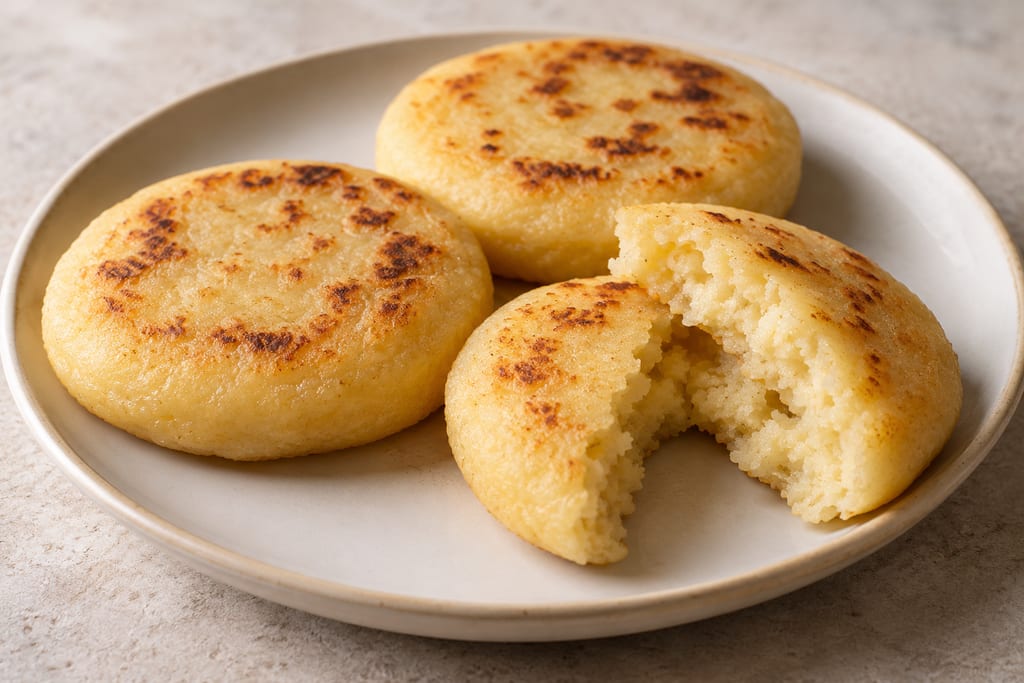
This household version combines precooked corn flour, warm water and salt, then cooks thick rounds on a lightly oiled skillet or griddle. It is one source-specific arepa method, not a universal Colombian or Venezuelan formula.
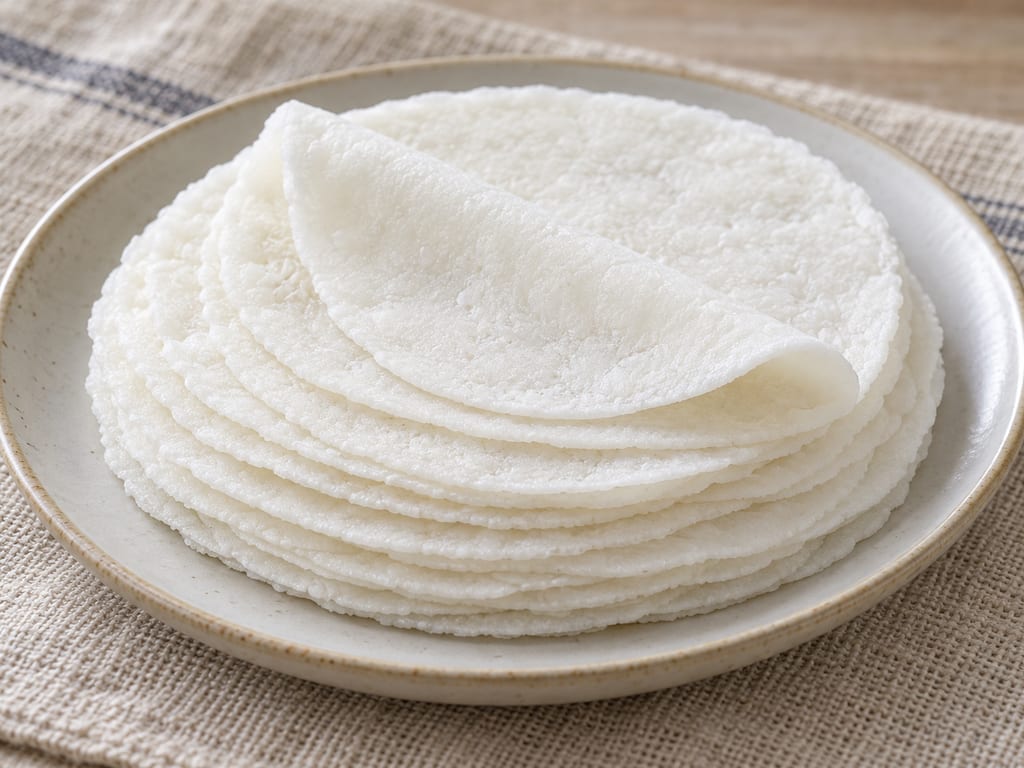
Thin Malabar rice-flour rounds made from roasted rice flour cooked into salted boiling water, kneaded after cooling, and rolled to about 1 mm. They cook on a hot griddle without taking on colour.
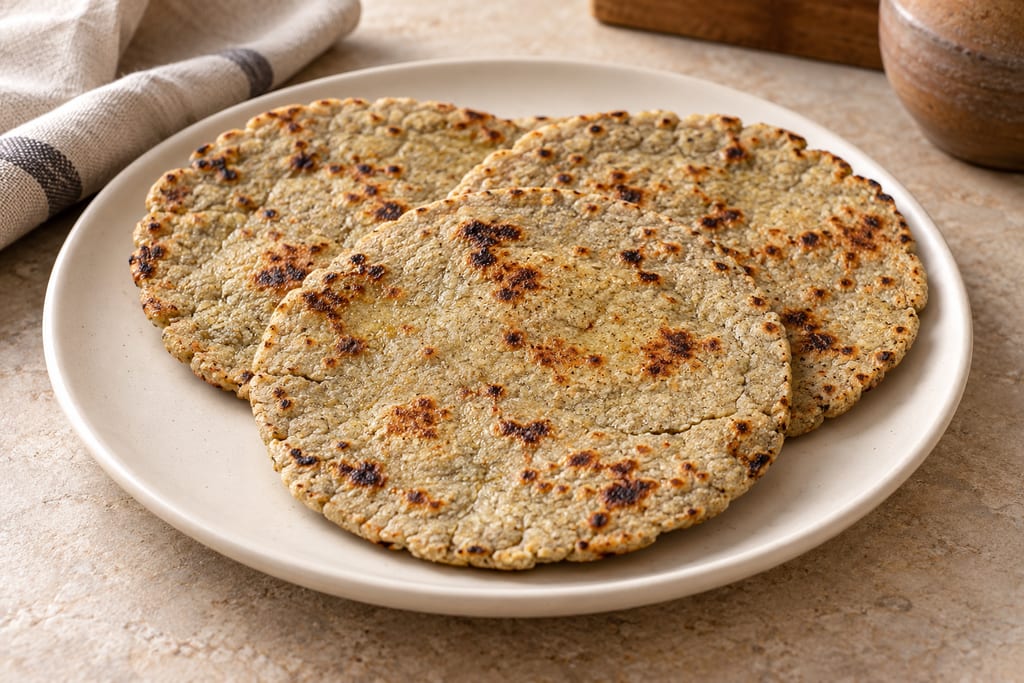
A pearl-millet flatbread shaped between sheets and cooked on a hot tawa. This home batch makes eight.
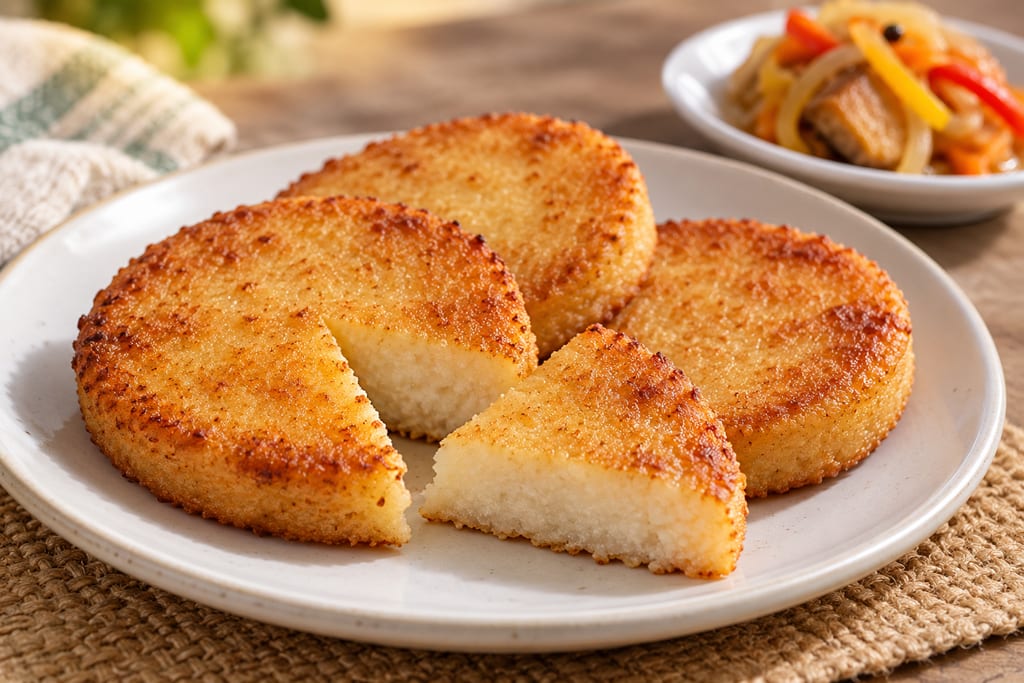
A serving method for approved, prepared bammy rounds: soak them in coconut milk and refry until golden. It does not process raw cassava.
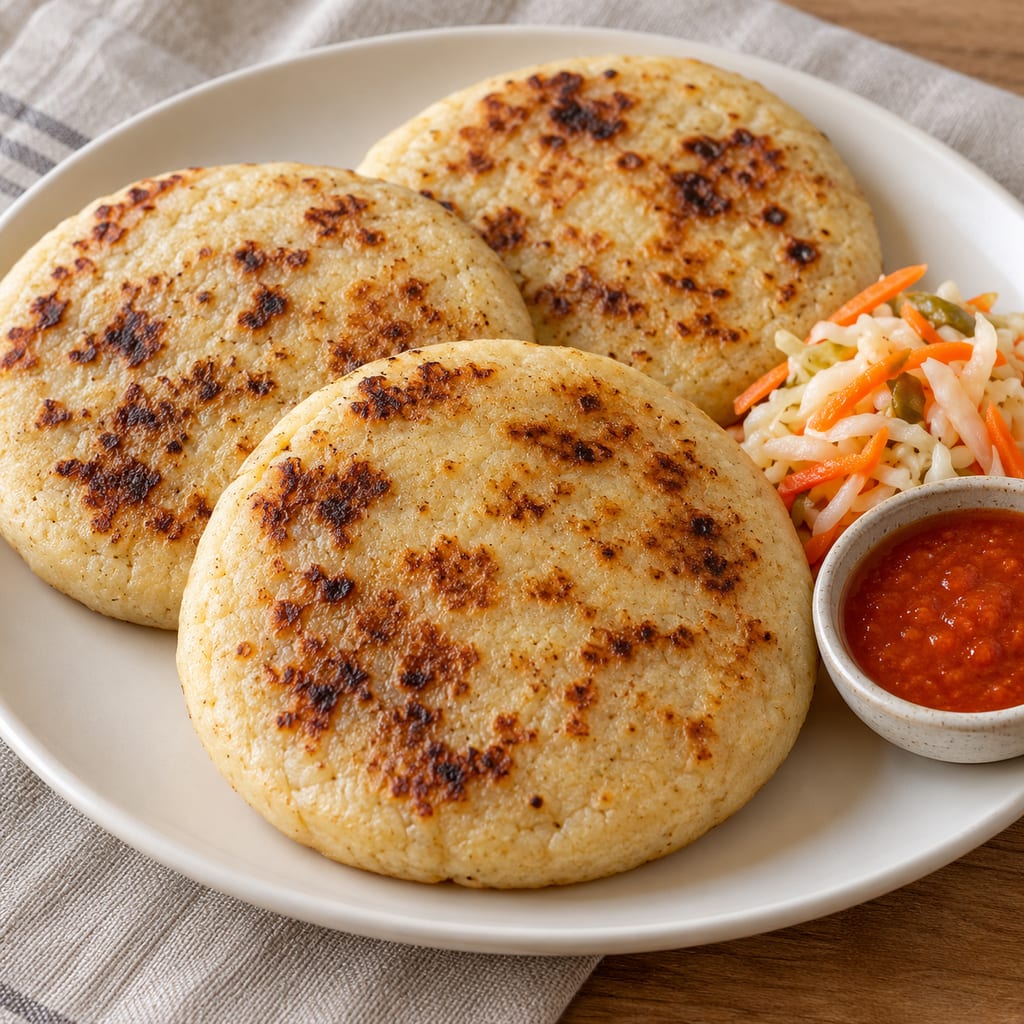
Salvadoran-style masa harina cakes filled with refried beans and cheese, sealed and cooked on an oiled skillet.
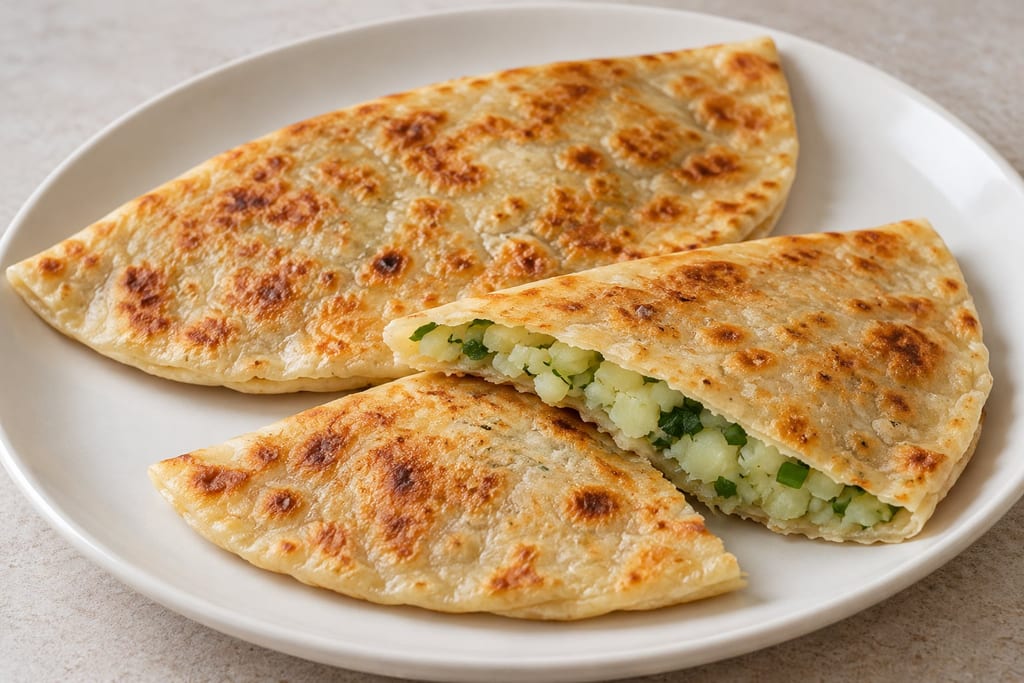
A thin, unleavened Afghan flatbread filled with mashed potato, scallion and cilantro, folded and pan-browned. This version uses a dough made from scratch.
No community contributions have been published for this entry yet.
Sign in to contribute. Published comments and photos are free to read.
Dassana’s Veg RecipesInspiration · Method · Geography · History
Tandoori Roti RecipeThe author calls this unleavened whole-wheat tandoori roti, describes a pot-shaped clay tandoor as the traditional oven, and labels the recipe North Indian/Punjabi. The recipe uses 2.5 cups atta, 1 teaspoon salt, optional ½ tablespoon neutral oil or softened butter, ¾–1 cup water as needed, and optional 2–3 tablespoons butter/ghee/neutral oil to brush. It gives 13 breads, 10-minute preparation, 30-minute rest, 30-minute cooking and 1 hour 10 minutes total. The dough is kneaded smooth and supple, divided and rolled medium-thick. The page documents two home methods: a tawa method that inverts the pan over a flame and a handled fireproof/heatproof rack-over-flame method. This record uses only the rack method and retains its lack of a specific cook time.
Cited in: An unleavened bread shaped by the tandoor; Atta dough with no leavener; Knead and rest the dough; Divide and roll medium-thick rounds; Cook on a handled rack over a flame; Brush and serve warm; Flour, flame and allergen care; What this recipe can establish
U.S. Food and Drug AdministrationSafety
Handling Flour Safely: What You Need to KnowRaw flour may carry harmful bacteria; do not taste raw flour or dough, keep it away from ready-to-eat food, and clean hands and surfaces after handling.
Cited in: Flour, flame and allergen care
U.S. Food and Drug AdministrationSafety
Food AllergiesWheat and milk are major food allergens. Atta is wheat; butter and ghee are optional milk-derived ingredients.
Cited in: Flour, flame and allergen care