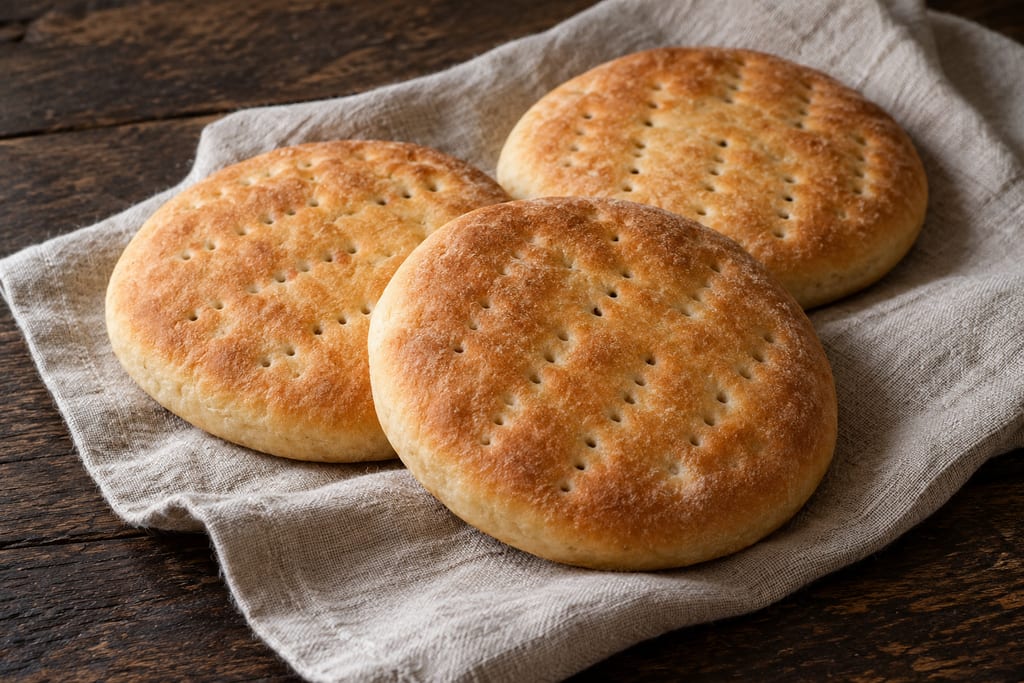
Chilean hallullas
Round Chilean yeast breads made with shortening, rolled and folded, then cut, pricked and baked until golden.
 FermenteaWhere food goes to change
Modern adaptation
Pan amasado · Chilean country bread · kneaded bread
Small, fork-docked wheat rolls made with yeast, water, sugar and butter, a modern home version of Chilean pan amasado.
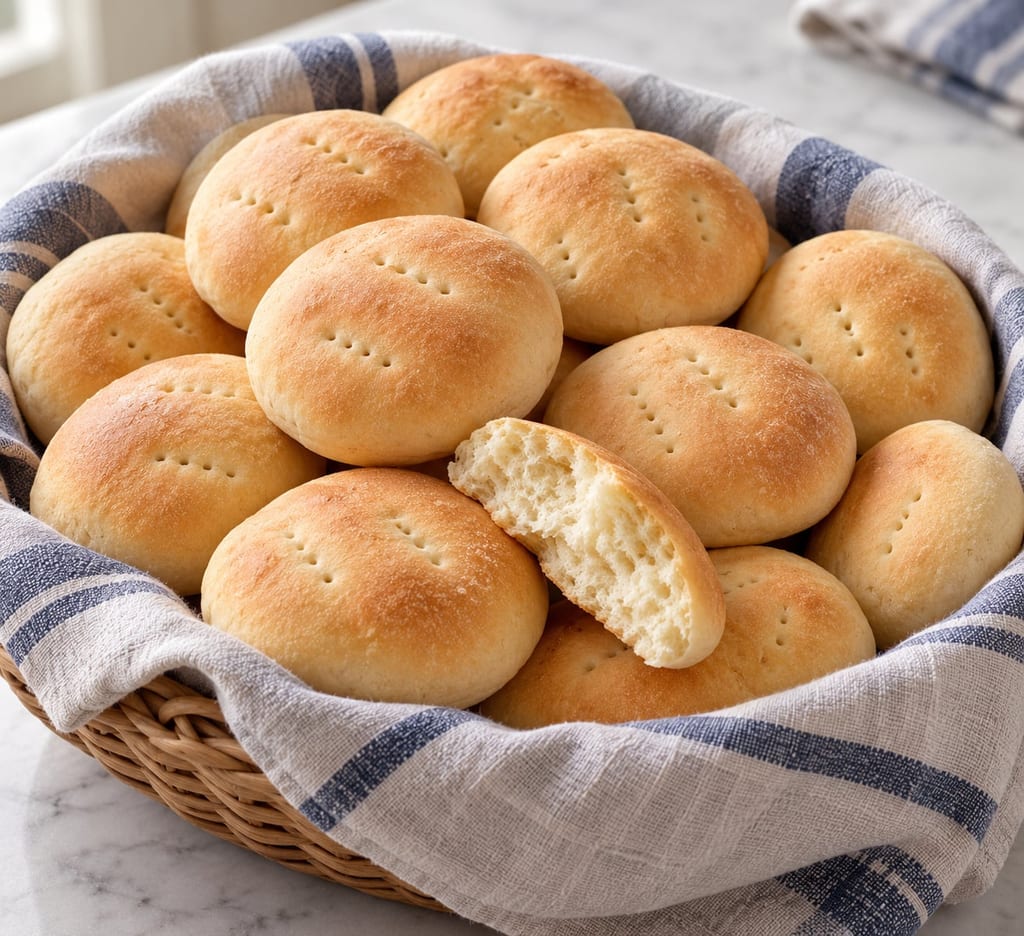
Pan amasado means kneaded bread. Pilar Hernandez presents this batch as Chilean country bread: small, round rolls made at home or sold by country cooks. She describes them as sturdier inside than American-style rolls. Her account is a contemporary description of the bread and its uses; it does not establish a first maker, a date of origin or a more precise place within Chile.
Hernandez says many Chileans eat pan amasado while on holiday at a lake or beach. It may be served warm with butter, alongside scrambled eggs and avocado at breakfast, cut for appetizers with pebre, or used for sandwiches. She notes that chicharrones or bacon can be kneaded into some versions. This page records the plain butter batch; it does not add either meat variation to the measured formula.
The name describes the work that defines this version: the dough is kneaded by hand or with a machine before it is portioned. Hernandez's introduction describes home baking and small-scale sale as familiar settings for the bread. That phrasing is her account of Chilean practice, not a claim that every baker uses this formula or that the bread belongs to one village. The recipe card gives one practical home batch and does not trace a historical origin.
Measure 500 g all-purpose wheat flour, 1 teaspoon salt, 1 teaspoon sugar, 1 cup water, 2 tablespoons melted butter and one 7 g envelope of quick yeast. The source permits shortening or lard instead of butter, but this version uses butter so the dairy content is explicit. The source does not give a weight for the cup of water or a precise amount for any extra water.
The recipe places warm water, melted warm fat and yeast in the middle of the flour, salt and sugar. Its troubleshooting notes say water used to hydrate yeast should be 35–37°C. That guidance is useful when the yeast is hydrated before mixing, but the recipe card does not describe a separate proofing step; this version follows the card's direct-mix sequence.
The ingredient list is short and the source gives quantities for each main component. It does not specify flour protein, water weight, a flouring allowance or the brand of yeast. Keep those limits visible when repeating the batch: the stated 500 g flour and 1 cup water are the starting formula, while the source leaves extra water to the baker's judgement. It gives no instruction to add extra flour during kneading. Butter is a deliberate choice among the source's three fats; shortening and lard are alternatives in the source, not extra ingredients to combine with it.
Hernandez calls for quick yeast in the ingredient list and puts it directly into the well with the water and butter. Her troubleshooting note discusses hydrating yeast separately at 35–37°C and waiting 8–10 minutes to see bubbles if activation is in question, but it does not replace the card's direct-mixing sequence. The author also says a new yeast packet does not need that check. This version therefore keeps one cup of water in the dough and does not add a separate starter, extra water or extra sugar.
Mix the flour with salt and sugar, make a well, and add the water, warm melted butter and yeast. Work the flour into the liquids until the dough comes together. Knead by hand for about 10 minutes, until it feels soft and pliable. If it seems too firm to knead, add water in small increments. Hernandez says to add more water as needed, but she does not quantify it, so the cup measurement is a starting amount rather than a guaranteed hydration for every flour.
The source suggests about 5 minutes of kneading with a bread maker or KitchenAid kneading paddle. A stand mixer is not required. Stop when the dough is soft and pliable, the source's own texture cue, instead of adding a large quantity of water or flour to force a particular feel.
The texture target is the source's description, soft and pliable. The method provides two kneading times because it gives both hand and machine options. It does not ask for a windowpane test, a particular dough temperature or a fixed hydration percentage, so none is needed to reproduce the recorded method. If using a machine, follow the five-minute time given for its kneading paddle and check that the dough has reached the same soft, pliable state. If working by hand, use the ten-minute estimate and stop when that texture is reached.
Roll the dough into a log and divide it into 12 equal portions. The source estimates about 70 g each. Shape each portion into a ball, then press it into a round disc. Keep the pieces covered with a clean tea towel so the exposed dough does not dry while you shape the rest.
Cover the shaped discs and let them rise in a warm place for about 1½ hours. The article's troubleshooting section describes a warm environment near 24°C as useful, with cooler kitchens slowing yeast and warmer ones speeding it up. It does not set a mandatory room temperature or a separate rise endpoint beyond its stated time, so allow for variation with the kitchen and yeast.
There are two separate shaping actions: first make a log and divide it into 12 even portions, then form each portion into a ball and flatten it into a disc. The source's 70 g figure is an estimate, not a second yield measurement; dividing the dough evenly is the instruction that matters for matching bake size. A scale can help if available, but the cited method does not require one. Keep the cover over waiting pieces while working so the towel step in the recipe is retained.
Hernandez gives a 1½-hour rise in a warm place, while her separate troubleshooting notes say yeast activity changes with room conditions. She places about 24°C in a useful range and notes slower activity below 21°C and faster activity above 30°C. These are her practical observations, not tested safety boundaries or a replacement timing formula. The recipe itself does not name a specific endpoint such as doubled volume, so this page does not insert one.
Heat the oven to 180°C (350°F). Pierce the top of each roll with a fork, arrange them on a baking tray and bake for 25–30 minutes, until lightly browned. The source does not specify a tray lining or give an internal temperature. It also does not call for an egg wash.
The recipe card says to brush the rolls with warm milk, although milk is absent from the ingredients. Hernandez later answered a reader that she did not use milk and that the water and yeast in her photos caused the confusion. This version follows her clarification and leaves out the milk wash rather than inventing an amount. Serve the rolls hot.
Fork docking is part of the source method and remains in the recorded sequence even though no reason for it is stated. The source pairs this with small, round discs and a moderate bake setting. Do not substitute an egg wash or treat the milk instruction as an ingredient: the card lists no milk, and Hernandez's response specifically says she did not apply it. The bake is complete in this recipe when the rolls are lightly browned after 25–30 minutes; this cue describes the author's recipe, not a universal safety temperature.
Flour is raw before it is baked. CDC warns that uncooked flour can contain germs and advises people not to eat raw dough. Keep the dough away from ready-to-eat foods, do not taste it during mixing, and wash hands, bowls, utensils and work surfaces after handling it. Bake in this recipe's oven setting and time; the source does not provide a validated internal-temperature endpoint.
Hernandez suggests wrapping extra rolls in a damp cloth and reheating them in a microwave. She does not give a microwave duration. Use short heating intervals and take care when unwrapping the hot cloth. The recipe has no storage validation; her separate article recommends freezing bread once cold to slow staling.
The serving notes make clear that pan amasado is used in more than one setting. Warm rolls can be eaten on their own with butter, placed next to eggs and avocado at breakfast, cut into pieces for pebre, or used as sandwich bread. The article's examples include ham and cheese, chacarero and Barros Luco sandwiches. Those are serving suggestions, not fillings built into this dough. The source also mentions adding chicharrones or fried bacon to some batches; that variation changes the ingredient list and is intentionally left out of this plain version.
The source recommends freezing the bread after it has cooled if it will not be used soon, because it lacks preservatives and stales. It does not give a storage duration or validated thawing procedure. The microwave reheat instruction for extras is also brief: wrap in a damp cloth and warm. No time is given, so inspect between short intervals rather than inventing a single duration. A damp cloth can retain steam and become hot; unwrap it carefully.
This recipe is intentionally recorded as a single contemporary home formula. The source does not name a named bakery style, a particular Chilean province or a historical date. It describes the bread as country bread, gives a Chilean cuisine label, and notes that each home batch can taste different from bakery bread. Those details support a Chilean country-bread association while leaving the exact origin and history open.
This batch makes 12 rolls. The recipe card gives a 45-minute prep estimate, a 30-minute bake and a 1 hour 15 minute total, but the detailed method calls for a 1½-hour rise before baking. The times therefore do not reconcile. Follow the detailed directions: knead about 10 minutes by hand, shape 12 pieces, rise about 1½ hours, then bake 25–30 minutes. The source does not separately measure shaping or hands-on setup time.
Use the measured batch as written. The source answers a reader that doubling all ingredients, including yeast, is acceptable, but supplies no tested scaled method. Larger batches can be harder to knead and portion evenly, so divide the work into separately mixed batches if the equipment or workspace is too small. This is a practical handling choice, not a source-tested scale-up.
The article also recommends serving the rolls hot and describes customary accompaniments. It does not define a critical internal temperature, a proofing temperature range, or a shelf-stable storage process. Those values are not added here. The dough's rise and the baked roll's colour are process cues from this particular recipe, not general safety measurements.
Pilar Hernandez describes pan amasado as bread made by rural women at home or for sale and as a familiar food many Chileans eat while vacationing at lakes or beaches. She mentions chicharrones or bacon as variations and serves including breakfast, pebre appetizers and sandwiches. This is contemporary foodway context, not evidence of a precise birthplace or first date.
Yield 12 rolls · Scaling: source batch only
Uncooked flour may carry germs; tasting the unbaked dough can cause illness.
Hazard sourceThe rolls bake in a 180°C oven and the tray will be hot when removed.
Hazard sourceDo not taste raw dough. Bake the rolls following the recipe, then wash hands, bowls, utensils and work surfaces that touched raw flour or dough.
Control sourceUse oven protection when loading and removing the tray, and set it on a heat-safe surface.
Control sourceContains wheat and gluten. This version uses butter and therefore contains dairy. The source offers shortening or lard as alternatives, but they are not used in this version.
Pilar Hernandez identifies the recipe as Chilean and describes pan amasado in Chilean home and holiday foodways. The source does not identify a particular locality or date of origin.
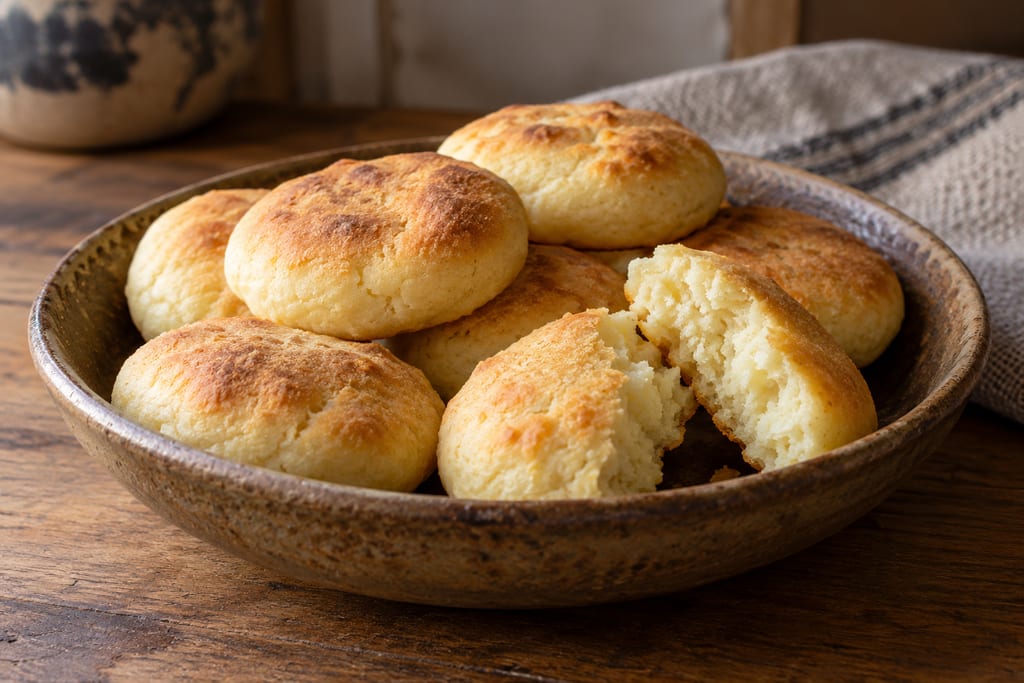
Round Chilean yeast breads made with shortening, rolled and folded, then cut, pricked and baked until golden.
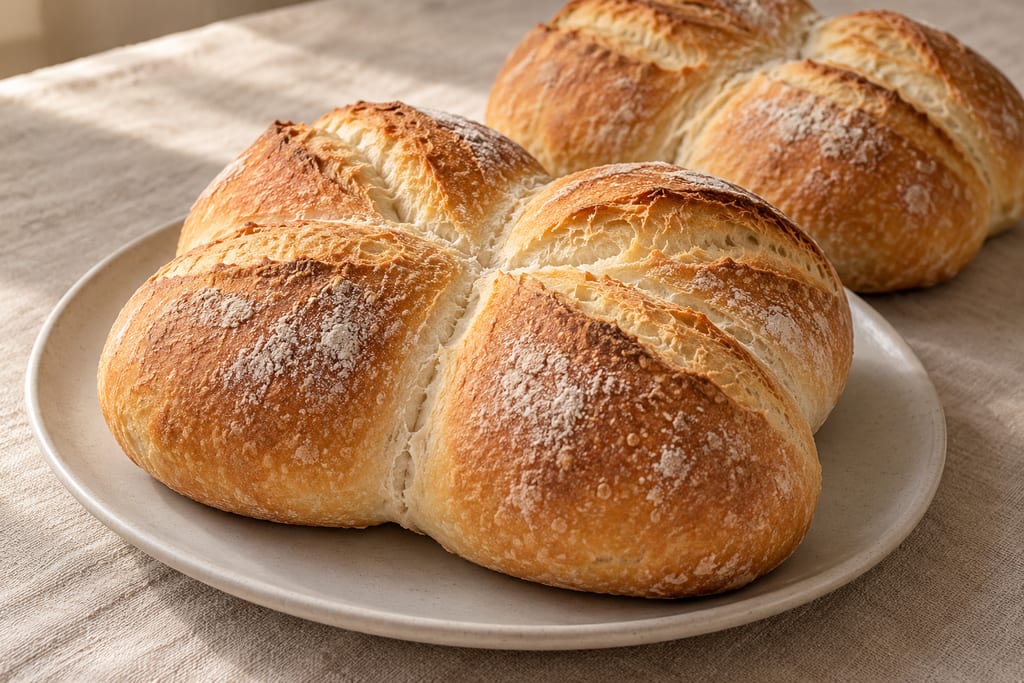
A lean Chilean wheat loaf shaped as two joined lobes, chilled overnight, then baked with steam for a crisp, deeply browned crust.
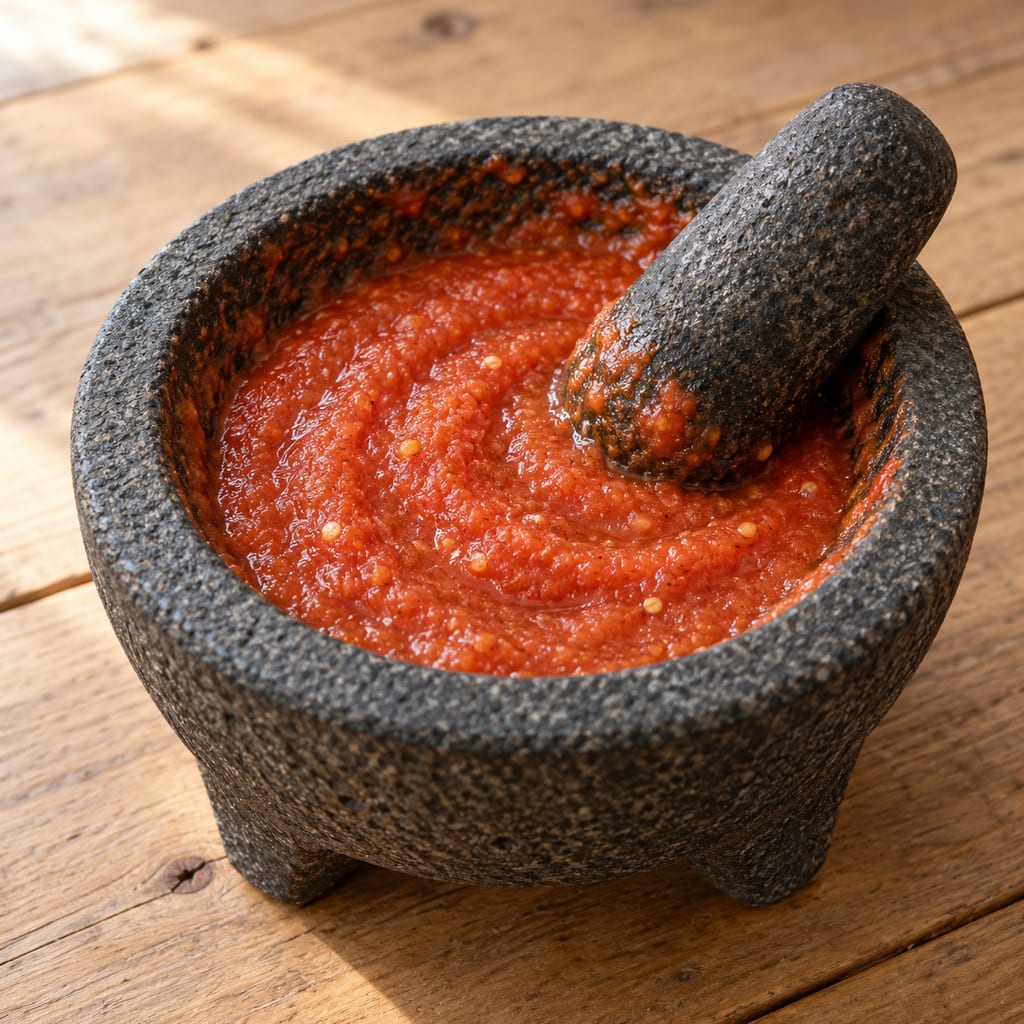
Chancho en piedra is a Chilean sauce of tomato, garlic, cumin and chilli, ground by hand in a stone mortar. Its name refers to the stone, not to pork.
A baked Chiloé chapalele based on Gourmet's recipe: smooth cooked potato mixed with wheat flour, baking powder, sea salt and butter, shaped into 16 pieces.
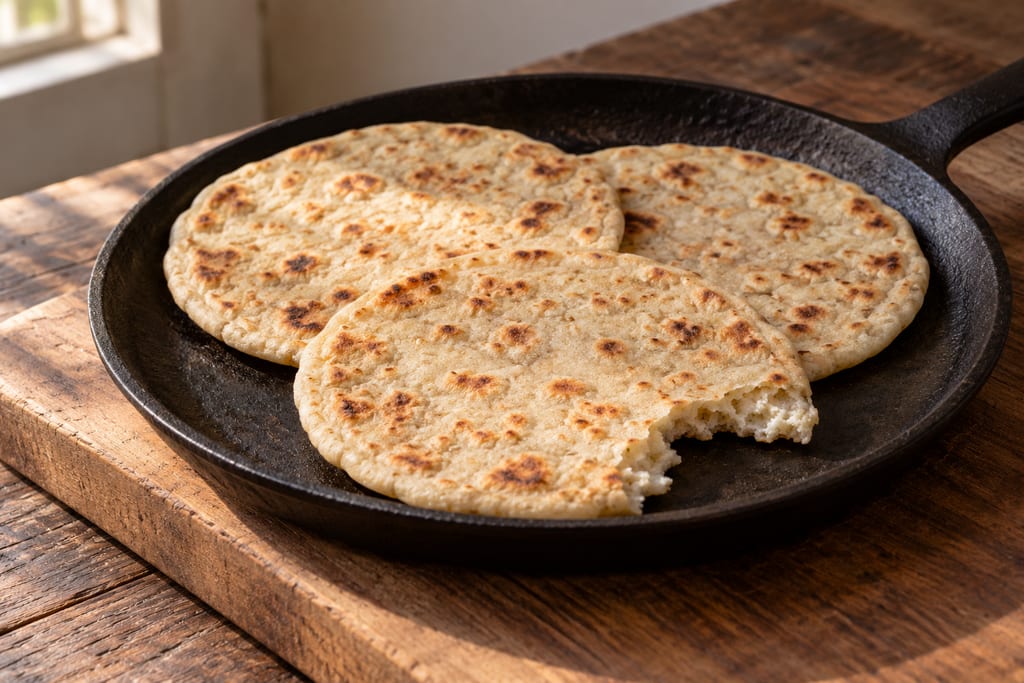
Six quick Chilean wheat flatbreads made with oil, baking soda and baking powder, then cooked in a dry skillet.
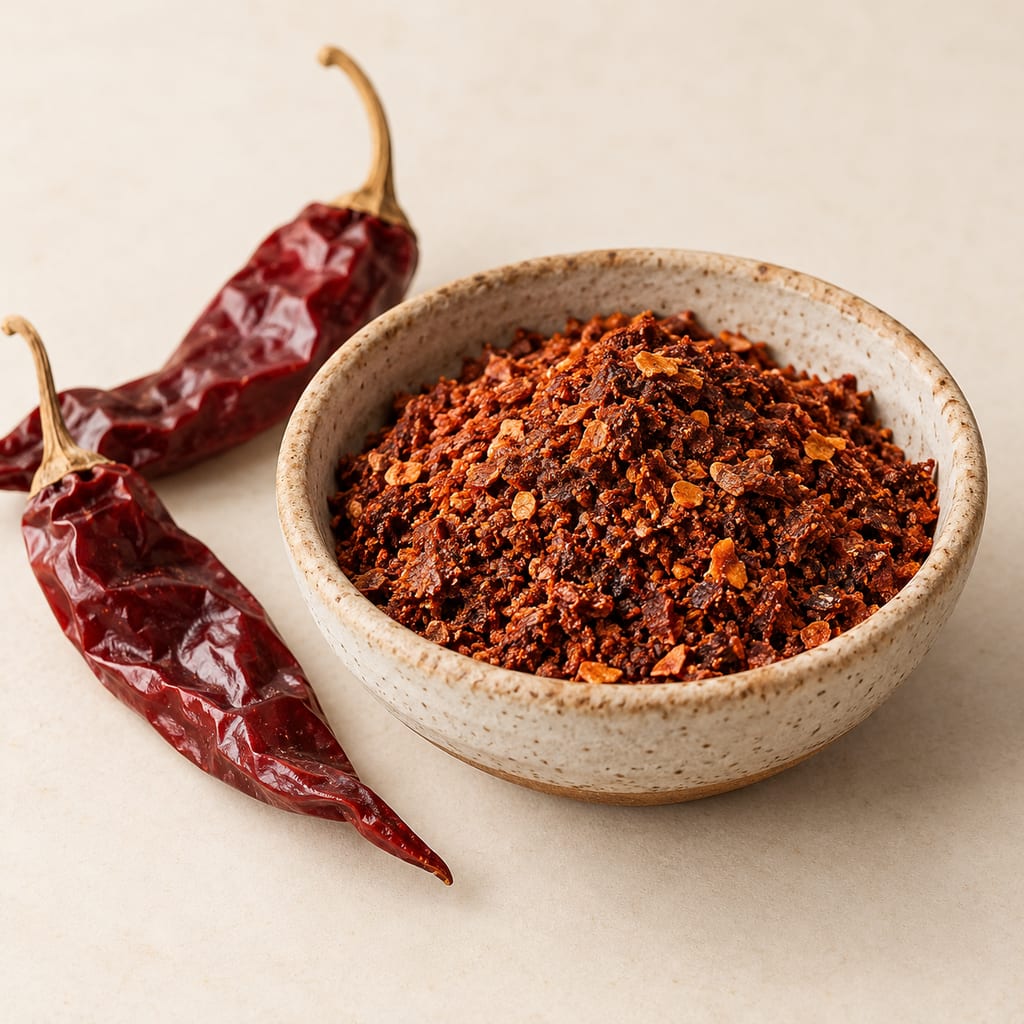
Merkén is the Mapuche seasoning of dried, smoked and ground ají cacho de cabra chile, sometimes with toasted coriander seed and salt, made in the Maule and La Araucanía regions of Chile.
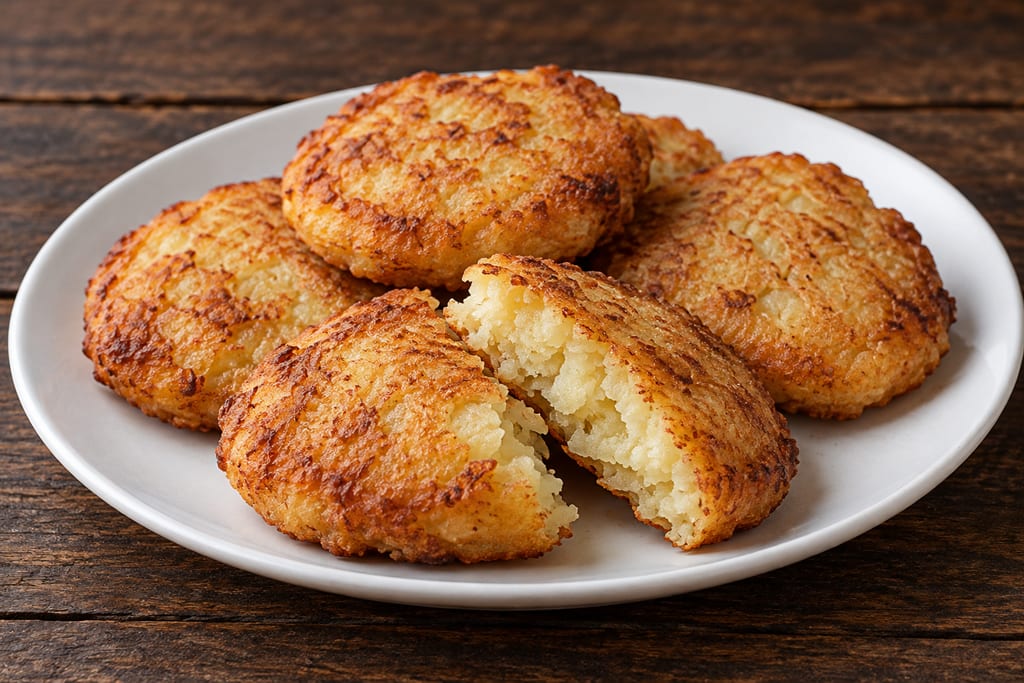
Chiloé potato cakes combine cooked mashed potatoes with drained raw grated potato; this measured version is fried and yields 20.
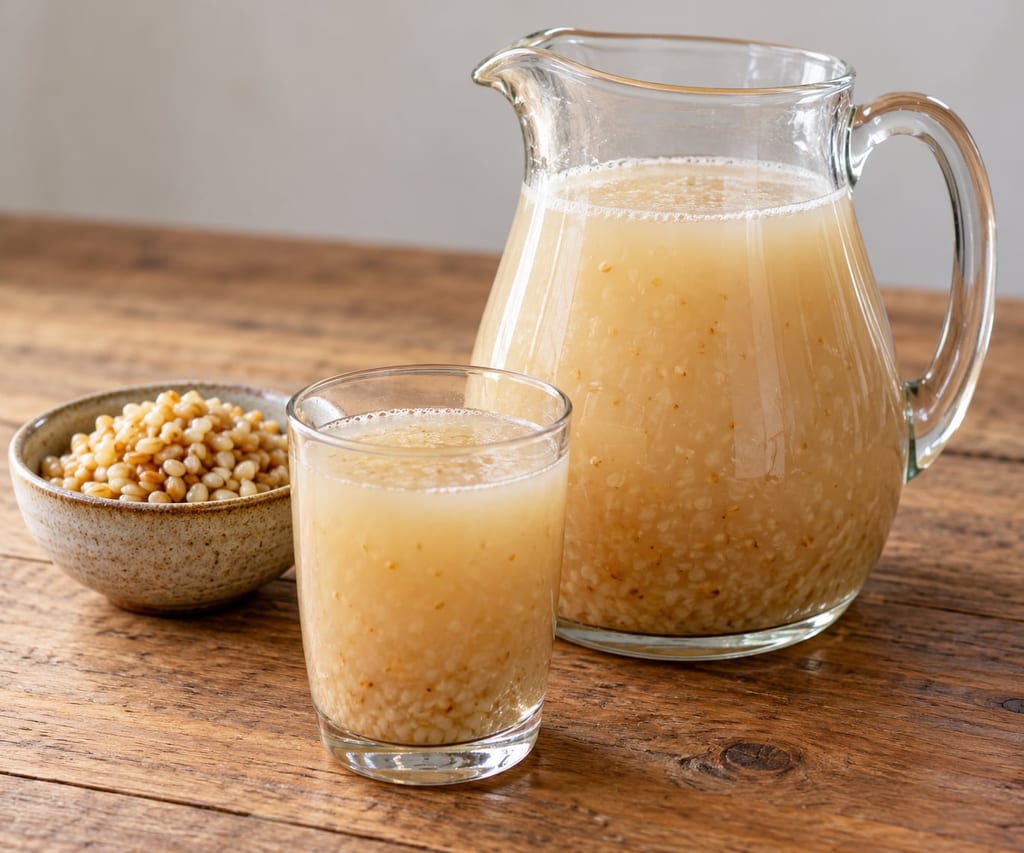
Muday de trigo is a wheat-and-honey fermented drink recorded from vendors at Feria Rahue in Osorno; this contemporary batch cooks and grinds the grain before fermentation.
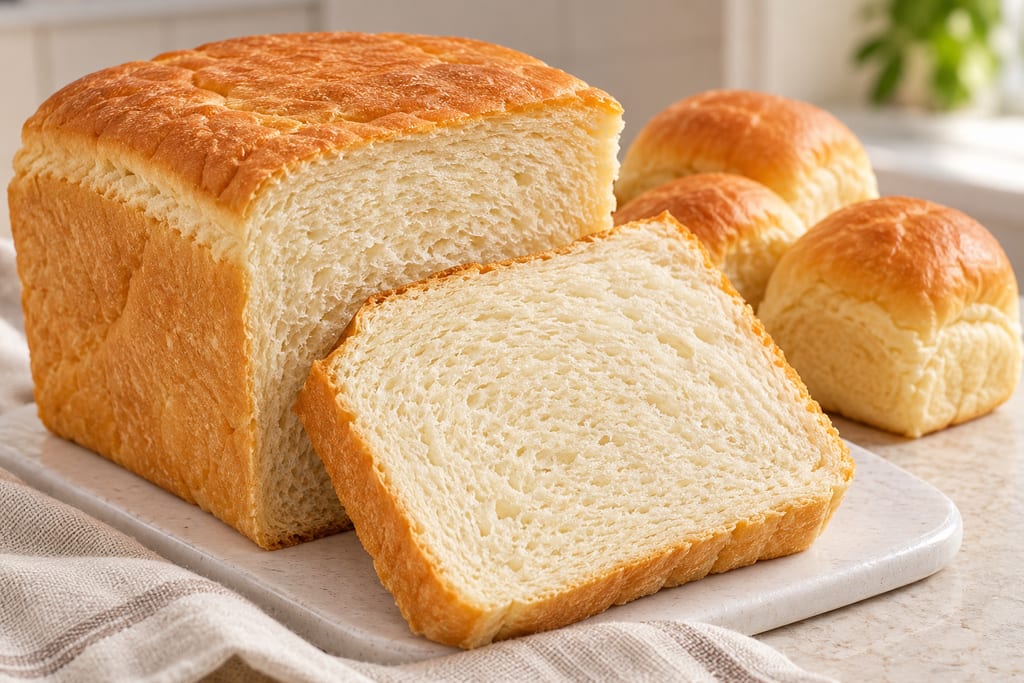
This softer home-style Agege bread uses a scalded flour paste, an enriched yeast dough and a 9×5-inch loaf pan, with rolls from the extra dough.
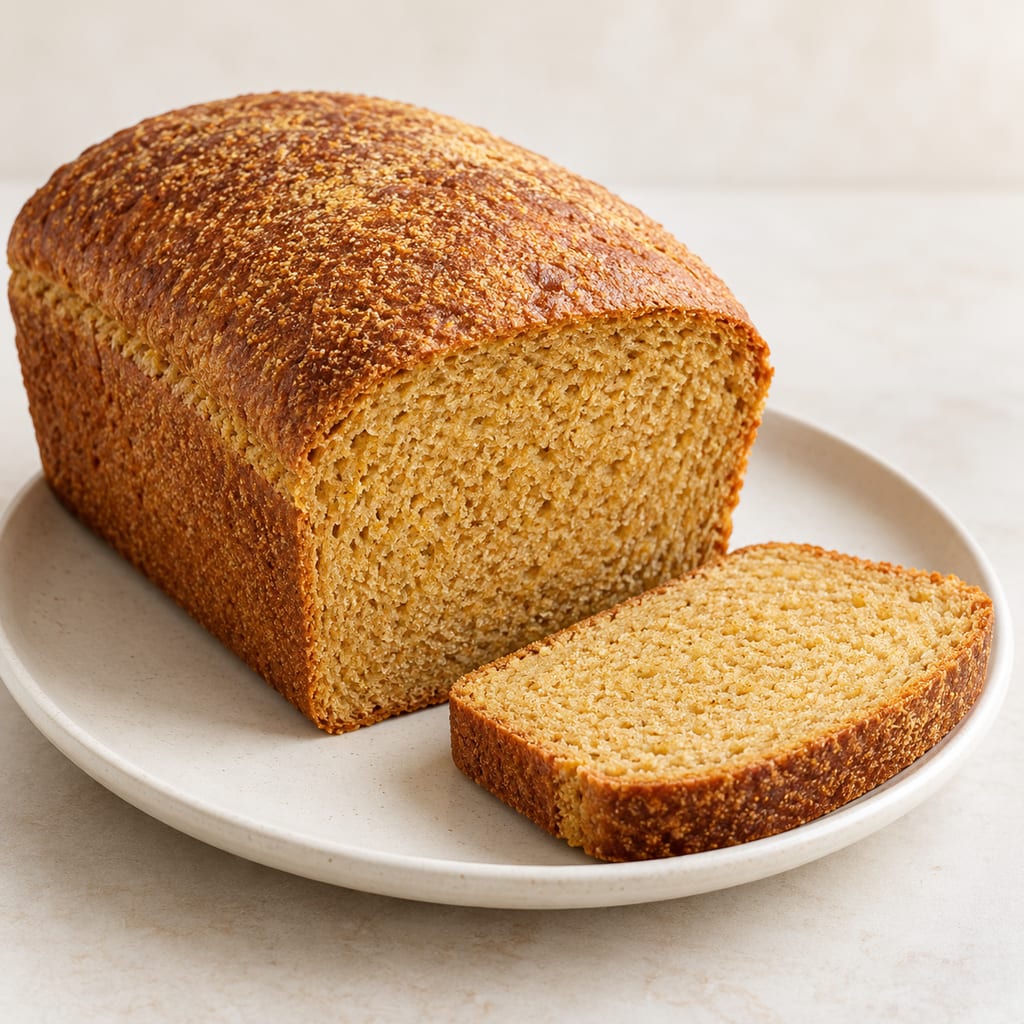
Anadama is a New England yeast loaf made with wheat flour, cornmeal and molasses. Scalded cornmeal enriches the dough, while molasses lends sweetness and a dark crust; it is especially good toasted or beside soup and baked beans.
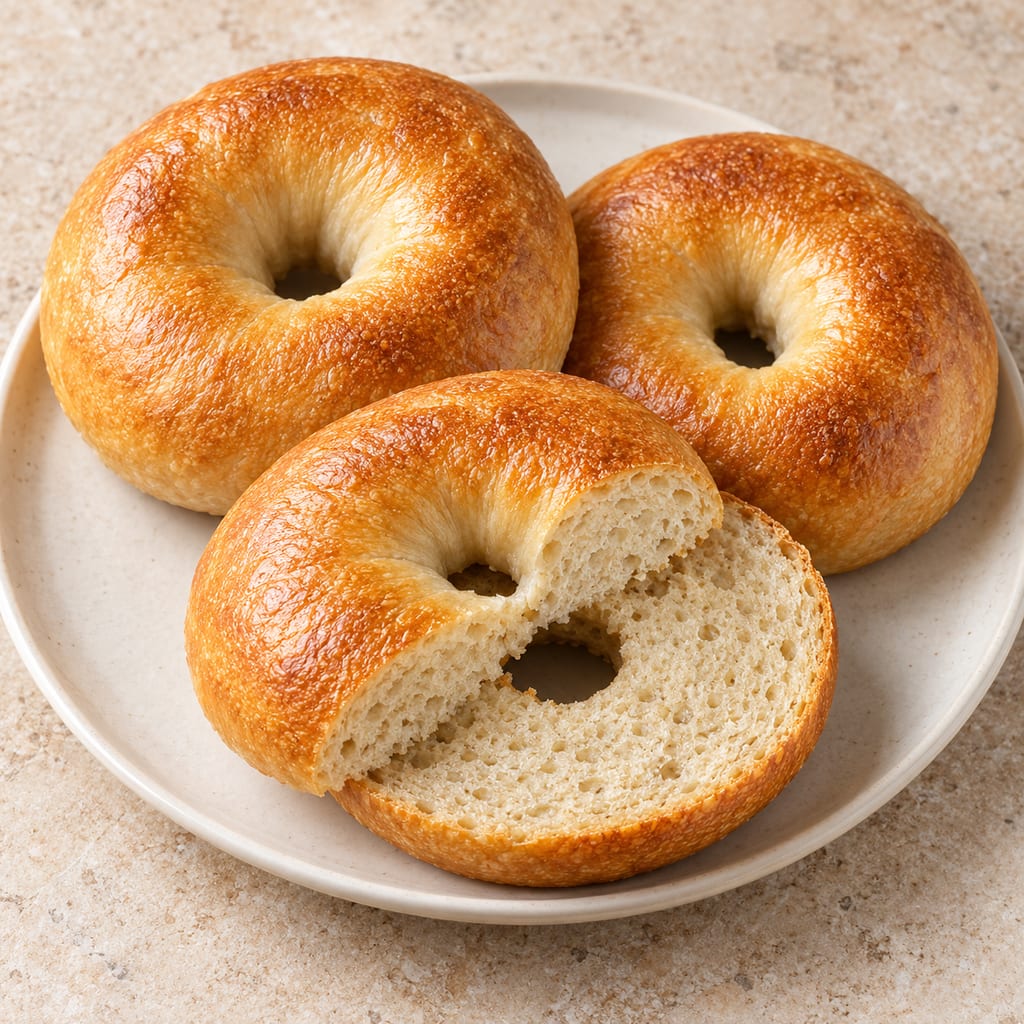
A yeast-raised wheat ring shaped from a firm dough, briefly boiled and baked. This source-batch formula gives a gently malted crust and a chewy crumb.
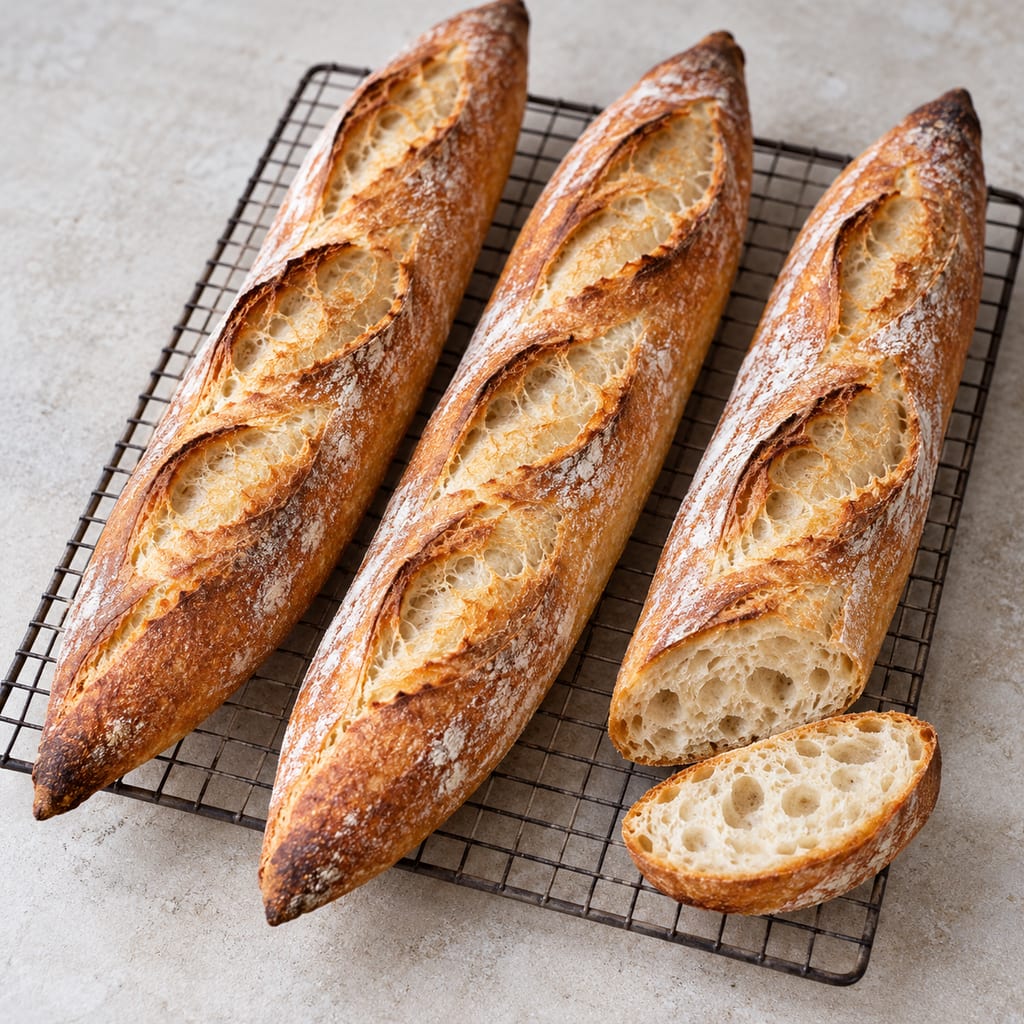
Three long, crusty wheat loaves made with an overnight yeast poolish, shaped by hand and baked with steam for a crisp crust.
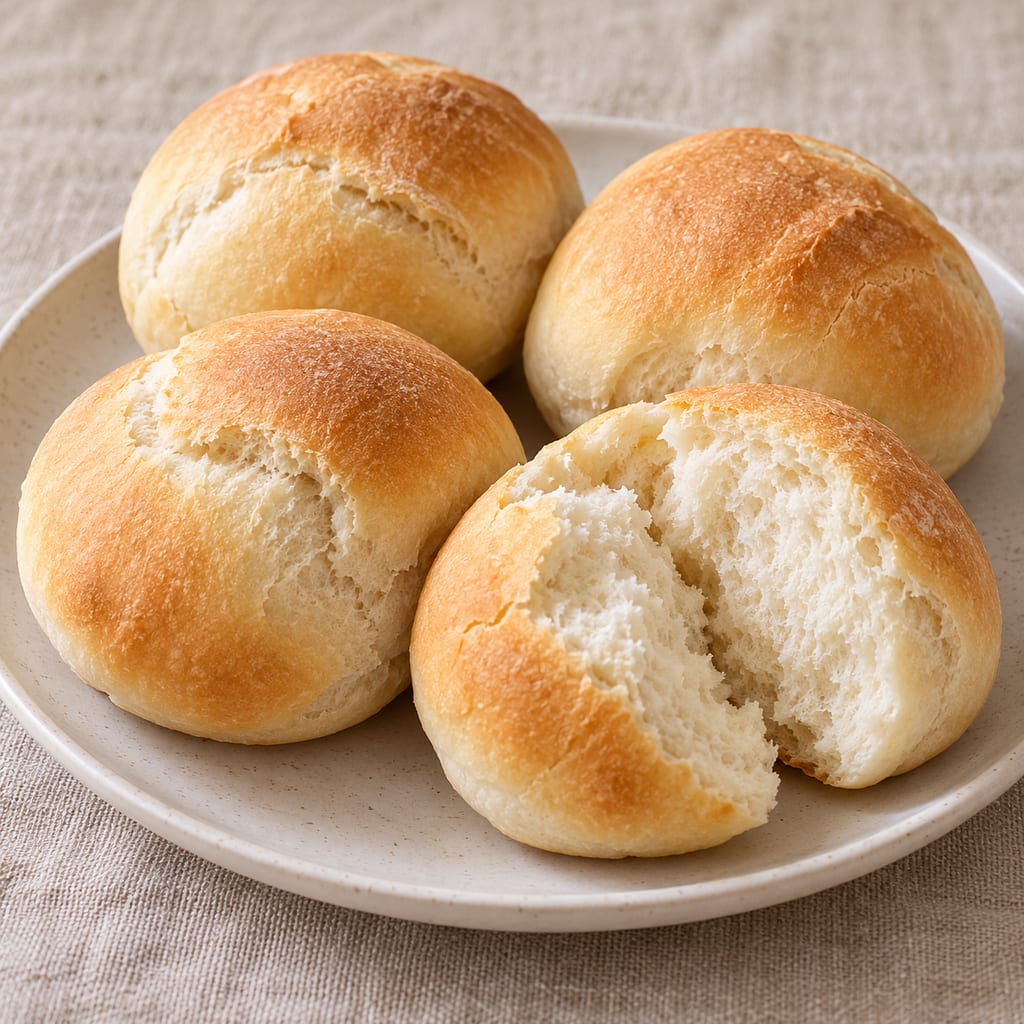
A lightly salted, yeast-raised Barbadian roll, baked in a dozen-roll home batch and often split for cutters.
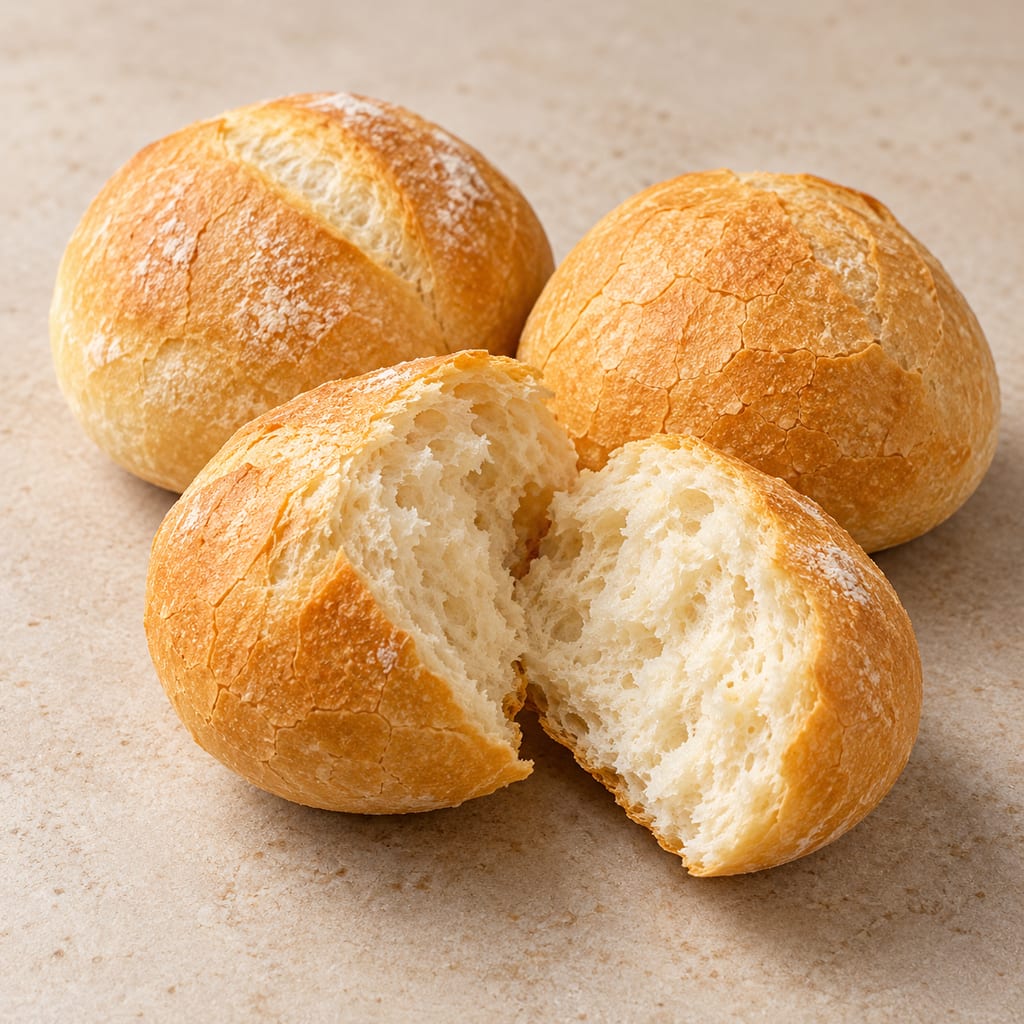
A crisp Belgian roll made from a supplier’s Croc-flour dough, mixed by hand or machine, proofed in rounds and baked with steam.
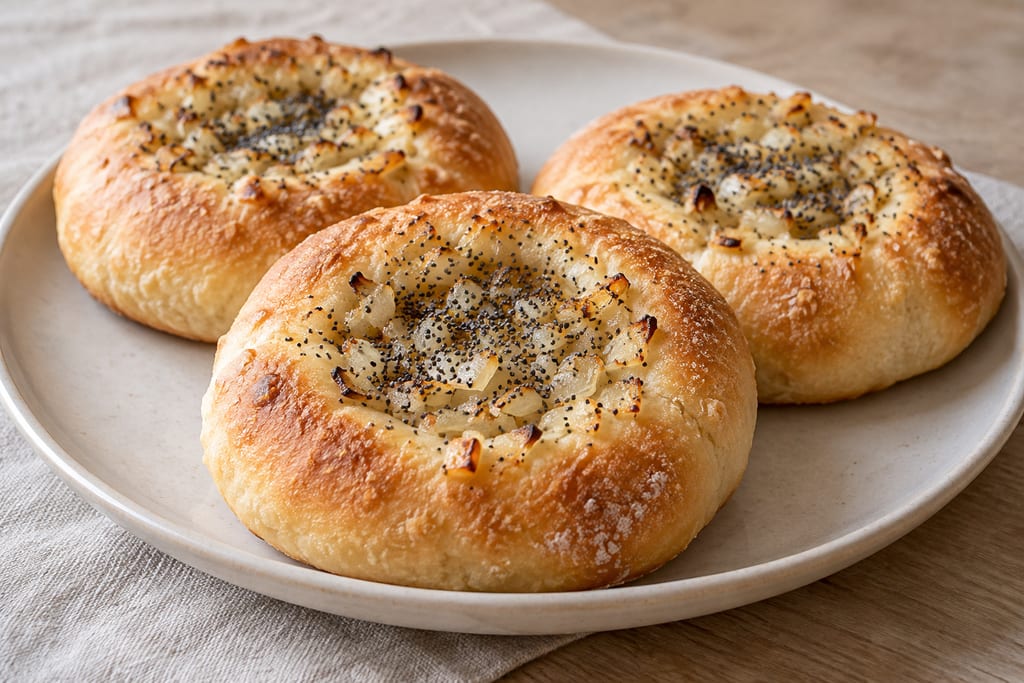
Bialys are soft, yeasted wheat rolls baked without boiling, each shaped with an onion-filled central depression instead of a hole.
A measured, commercial-yeast home method for Guadalajara-style birote salado, with a six-hour preferment, shaped rolls and a two-temperature steam bake. This formula contains no egg.
No community contributions have been published for this entry yet.
Sign in to contribute. Published comments and photos are free to read.
Pilar's Chilean Food & GardenRecipe · Method · History · Regional identity
Pan Amasado Chilean Country BreadThe measured formula uses 500 g all-purpose flour, 1 tsp salt, 1 tsp sugar, 1 cup warm/hot water plus more as needed, 2 tbsp melted warm butter or shortening or lard, and one 7 g envelope quick yeast.
The method kneads until soft and pliable, divides the dough into 12 pieces, forms round discs, rises covered for 1½ hours, docks with a fork and bakes at 350°F/180°C for 25–30 minutes until lightly browned.
The article identifies the bread as Chilean, describes home and vacation foodways, and suggests warm serving with breakfast foods, pebre or in sandwiches.
The recipe card's milk-brush step conflicts with its ingredient list; in an April 2026 reply, Hernandez says she did not use milk and clarifies the water and yeast shown in the photos. The body excludes a milk wash.
The detailed 1½-hour rise does not reconcile with the card's 1 hour 15 minute total-time estimate.
Cited in: A kneaded Chilean country bread; Measure the source's six ingredients; Mix and knead until pliable; Divide, round and rise; Dock and bake; Handling flour and reheating; Timing, batch size and source limits
Centers for Disease Control and PreventionFood safety guidance
Raw Flour and DoughCDC says uncooked flour may contain germs and advises against eating raw dough, recommends baking according to the recipe, and says to wash hands, bowls, utensils and countertops after handling raw flour or dough.
Cited in: Handling flour and reheating