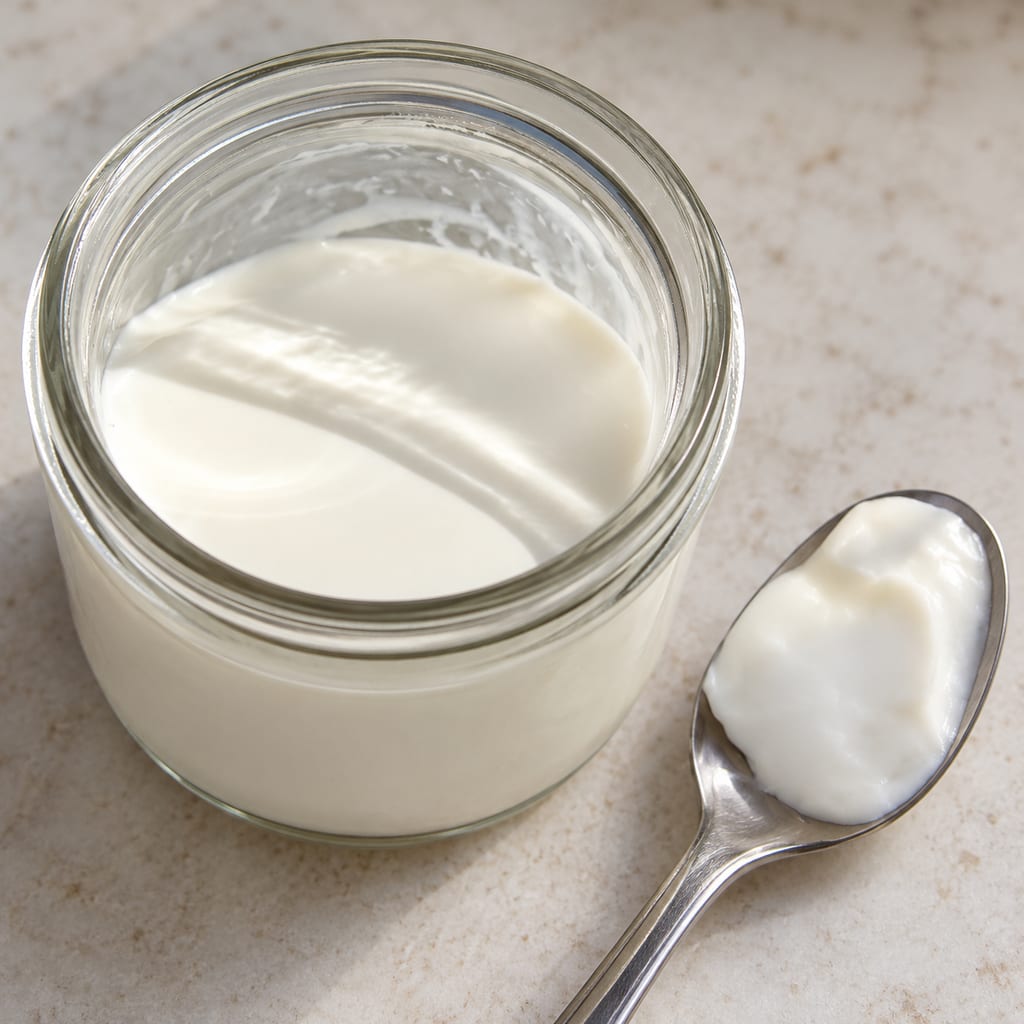
Actively growing dairy starter culture
A dairy inoculum grown before use to direct souring in household cheese, including acid-set and rennet-set preparations.
 FermenteaWhere food goes to change
Modern method
A mild whole-milk cheese set with starter and rennet, drained in a mould, dry-salted and ripened. This small-batch method appeared in Canadian home-dairy guidance.
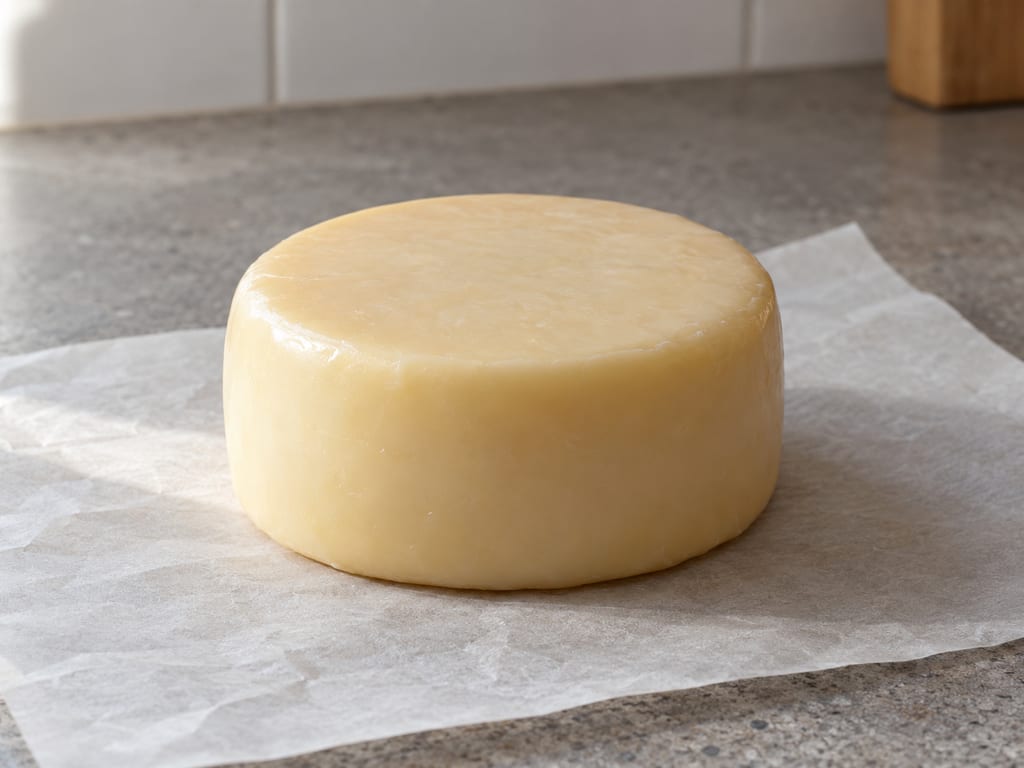
Semi-soft cheese gives under a knife without becoming a fresh curd spread or a hard grating cheese. Beyond that broad impression, the name leaves much open. A stretched mozzarella, a supple interior-ripened cheese and a creamy cheese with an active surface can all appear within a semi-soft grouping. Their resemblance in firmness does not mean they acquire that texture in the same way.
The small home cheese described here develops through a particular sequence: whole milk sets with starter and rennet, the curd drains in a mould, salt is applied to its surface, and the cheese cures before and after a paraffin coating. Its intended character is mild and rich.
Even classification systems draw their boundaries differently. Canadian dairy guides have grouped cheeses by firmness, by the way they ripen, or by both. That makes “semi-soft” a useful starting description when choosing a cheese, but an incomplete explanation of its flavour or behaviour. The questions that reveal more are how its curd formed, how much moisture remained, how it was salted and what happened during maturation.
This preparation appeared in Agriculture Canada’s Home-made dairy products, published in 1978 and reprinted in 1981. The booklet addressed a renewed interest in doing domestic dairy work that commercial dairies had largely taken over. Its practical scale was deliberately modest. Many products could be made with ordinary kitchen utensils, while a curd cutter or a cheese hoop could be improvised or bought as part of a kit. A good thermometer mattered more than an elaborate dairy room. The booklet estimated about 100 g of cheese from a litre of milk for the methods that followed. It offered a general guide to the small scale of the work, rather than a measured yield for this particular cheese.
There was an older economy behind that kitchen work. A family’s cows supplied household milk, much of it produced in summer. Surplus could become butter or cheese rather than remain liquid milk. Women and girls did much of this work, and produce beyond the household’s needs could be sold or exchanged. Cheesemaking connected animal care, kitchen labour and the management of a perishable food.
The shift to factories changed those relationships. In his 1911 account of Canadian dairying, agricultural official J. A. Ruddick described household butter and cheese being traded for groceries and other necessities. Factory production drew milk into a larger commercial system, including cheese for export. His account favoured that transition, but it also recorded the labour that preceded it: dairy production competed with the other work of the household.
The later home-dairy booklet belongs to a different setting again, one in which a cook might purchase pasteurized milk, an active starter and rennet. Its small batch brings several dairy operations back into the kitchen without recreating an earlier farm economy.
Milk contains dispersed fat and proteins as well as water and dissolved substances. During cheesemaking, the casein proteins form a network that holds some of that water and fat. The liquid that leaves this network is whey. The transformation begins with a change in the proteins, then continues through the physical removal of liquid.
Starter culture and rennet contribute differently. Lactic starter organisms produce acid as they use milk sugar. Acidification changes the conditions around the casein particles and influences how they associate and release whey. Rennet supplies a milk-clotting enzyme. It acts on components that help keep those particles dispersed, allowing the altered particles to aggregate into a gel. Enzyme action and the subsequent joining of particles are related stages, rather than one instantaneous thickening.
An acid-set fresh cheese and a rennet-set cheese therefore need different explanations even when both contain a lactic culture. In this make, both starter and rennet are added. During the approximately one-hour setting period, freely flowing milk becomes a gel that can be divided with a knife.
Once a gel exists, a knife can divide it, a mould can support it and whey can drain away. Those operations are mainly physical. Calling the entire transformation “fermentation” would hide the separate work done by the enzyme, the changing protein network, gravity and the movement of water.
The make begins with fresh, pasteurized whole milk. “Whole” matters because the cheese retains milk fat alongside its protein structure; this is not the skim-milk beginning used for the accompanying cottage-cheese method.
Pasteurization and clean handling have different jobs. Heat treatment addresses organisms present in milk, while sanitation helps prevent contamination afterward. Pasteurized milk can still encounter dirty utensils, containers or hands. The small scale of a kitchen batch does not remove those routes of contamination.
The starter is described as actively growing. That qualification is more informative than treating it as a flavouring measured into the milk: it must contribute biological activity during the make. The starter enters before the milk has become a curd, distributing it through the starting liquid rather than adding it to a finished cheese.
Rennet also has to be understood through its actual preparation and strength. Here its amount is expressed relative to the booklet’s cheddar method, whose own dose depends on product directions. That leaves a real practical uncertainty. There is no defensible conversion from the printed relationship to a universal number of drops, a fraction of a tablet or a measured spoonful.
After setting, the curd is cut into cubes rather than left as an intact mass. Cutting increases the surface through which whey can leave. The dairy term for the contraction and release of whey is syneresis. The word describes a change that can be seen in the vat: curd pieces become firmer while more liquid separates around them.
A curd cutter is consequently a texture tool as well as a way to divide the batch. The specified 15 mm pieces give the make a particular starting geometry. Irregular pieces present different surfaces and do not necessarily lose liquid alike. Rough cutting can produce small fragments, often called fines, which escape with whey instead of remaining in the cheese.
Gentle stirring follows for about five minutes. Its purpose is not to beat the milk or create an emulsion. It keeps the pieces moving without destroying them as they begin to firm. In general cheesemaking, stirring also helps keep curds from settling together into a single mass and assists whey release. The instruction’s emphasis on care fits the fragility of newly cut curd.
The optional warming to 36°C introduces a meaningful variation within the same make. It produces a drier, firmer cheese that ripens more slowly. Heat at this stage is a way of changing curd treatment and moisture retention. It is distinct from the pasteurization of the starting milk and should not be interpreted as a separate pathogen-kill step.
These choices explain why the same broad ingredient list can produce different textures. Curd size, handling and warming affect the material entering the mould. Maturation starts with that material; it cannot be considered independently of the earlier make.
The perforated mould gives the curd a shape while allowing whey to escape. It sits over a collecting pan, with a screen between them. Turning it through the draining period changes which face bears the cheese’s weight and which surfaces are exposed. The cheese shrinks enough to be removed as liquid leaves.
Dry salting then begins at the outside. The top and sides receive salt first; the following day the bottom is salted too. This differs from mixing a measured amount throughout milled curd or immersing a cheese in brine. The route by which salt enters the cheese is part of the method, not merely a different way to season its surface.
Salt distribution also changes with time. Studies of other ripening cheeses have measured differences between their outer and inner regions before distribution becomes more even. That helps explain why a freshly salted surface does not tell the whole story of the interior.
Salt has several effects in cheesemaking: flavour, water movement and changes to the environment in which enzymes and microorganisms act. Their extent depends on the cheese and the make.
The cheese cures in two periods, with the surface allowed to dry before paraffin is applied between them. The coating is intended to limit desiccation and surface mould. Its role is physical: it changes the cheese’s exposure to its surroundings. It does not create a living rind or identify a desirable surface organism.
Ripening continues to change cheese beneath a coating. Protein breakdown, called proteolysis, produces smaller protein fragments and amino acids; fat breakdown, called lipolysis, releases fatty acids. These processes can contribute to changing texture and flavour in ripened cheeses. They involve enzymes and microbial activity, rather than simply the passage of time or the evaporation of water.
Different makes follow different paths. Research on brined sheep-milk cheeses, for example, has measured both salt movement and changes in protein and fat during ripening. Those observations explain why maturation is a combination of processes. The interior changes while the surface treatment controls contact with the surrounding air; those two parts of maturation have different jobs.
Keep the curing conditions even, because a cheese’s surroundings influence its surface and the changes within it. The method gives “cool” without a numerical temperature or humidity, so conditions cannot be borrowed from a different cheese. The approximate curing periods are part of this make, not a tested storage rule.
The range within semi-soft cheeses becomes clearer by following what happens after the first curd forms. Pasta-filata cheeses such as mozzarella undergo a distinct cooking and stretching stage. The acidified curd becomes a smooth, elastic mass as it is worked. Shaping and cooling follow. Their thread-like body comes from that treatment, rather than from allowing cut curd to drain into a mould and cure under a coating.
A surface-ripened cheese takes another route. The cheesemaker deliberately encourages organisms at the surface, sometimes applying a culture in a salt solution. A coating instead provides a barrier around the cheese. These approaches make the outside an active part of manufacture in different ways: one maintains a selected living surface, while the other limits exposure and water loss.
These operations help explain a sensory range that includes elastic, mild pasta-filata cheeses, supple interior-ripened cheeses and creamy surface-ripened cheeses with stronger flavour. A category on a cheese counter can therefore contain foods with different structures and aromas, even before differences in individual recipes are considered.
The home make offers its own comparison within a single batch design: the unheated curd can remain moister, while the optional warming makes it firmer and drier. That is a choice made before moulding. Stretching, cultivating a surface and controlling curd moisture all shape cheese, but at different stages and through different operations.
This cheese demands attention at more than one timescale. Setting and cutting happen within the first part of the make. Drainage requires repeated turning over the following day, followed by separate applications of salt. The cure then extends the work over weeks, with surface care and coating between its two periods.
The equipment follows the same progression. A thermometer serves the milk and curd stages. The perforated mould, screen and collecting pan provide support and an exit for whey. Later, the cheese needs a place where its surroundings can remain even, as well as room for inspection and surface care. A vessel that holds the milk is only the beginning of the equipment needed to finish the cheese.
A vinegar-dampened cloth provides surface care before coating. Wiping discourages mould; the surface is then dried before paraffin is applied. The cheese is handled again instead of being coated immediately after it leaves the mould. Draining, salting, drying and coating are consecutive changes in the material and its surroundings.
Following these stages makes the intended mild, rich cheese easier to understand. Its body starts with whole milk, develops through enzyme setting and whey removal, and continues changing through the cure. The finished food contains the effects of those earlier operations even when the cut surface looks like a single uniform piece.
This is an unnamed Canadian household method. Rennet strength and dose, salt mass, starter identity, numerical curing temperature and humidity, yield and finished-cheese storage limits are not given. It does not establish the serving customs or melting behaviour of a named regional cheese. Use pasteurized milk and clean equipment; the unquantified cure still needs process-specific controls.
Home cheesemaking lost ground as commercial dairies expanded, then attracted renewed interest. Agriculture Canada included this mild, rich cheese in its 1978 home-dairy guide, reprinted in 1981. It has no named regional identity: the method belongs to a broader class of cheeses whose texture changes with curd handling, salting and ripening.
Scaling: source batch only
Unsanitized utensils and containers can contaminate milk and finished cheese.
Hazard sourceUse pasteurized milk and thoroughly cleaned, sanitized utensils and containers; keep the cheese away from unsanitized equipment.
Control sourceUse pasteurized milk. Keep milk and finished cheese away from unsanitized equipment, and keep the curing area clean and dry.
Actively growing dairy starter culture — Acidifying starter; the booklet does not identify its species or strains.
Cure about 2 weeks before waxing and another 2 weeks after waxing. Temperature and humidity are qualitative only.
A Canadian home-dairy preparation; this is not an origin claim for semi-soft cheeses.
A dairy inoculum grown before use to direct souring in household cheese, including acid-set and rennet-set preparations.

Paraffin wax is a solid mixture of hydrocarbons that cheesemakers melt and dip cheese in to slow moisture loss and keep surface mould off. Modern cheese waxes are usually blends.
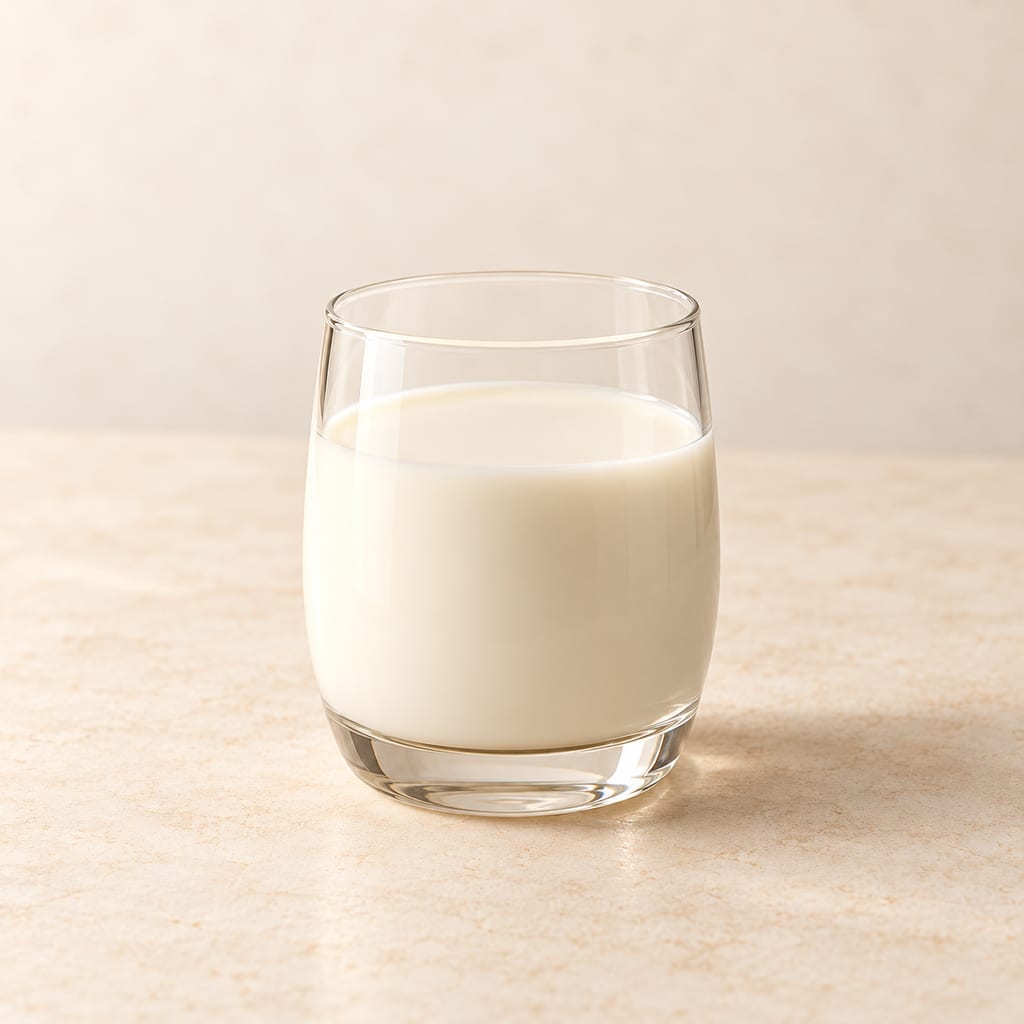
Full-fat milk given conventional pasteurization, selected in linked cultured-milk and cheese methods for its composition and treatment.
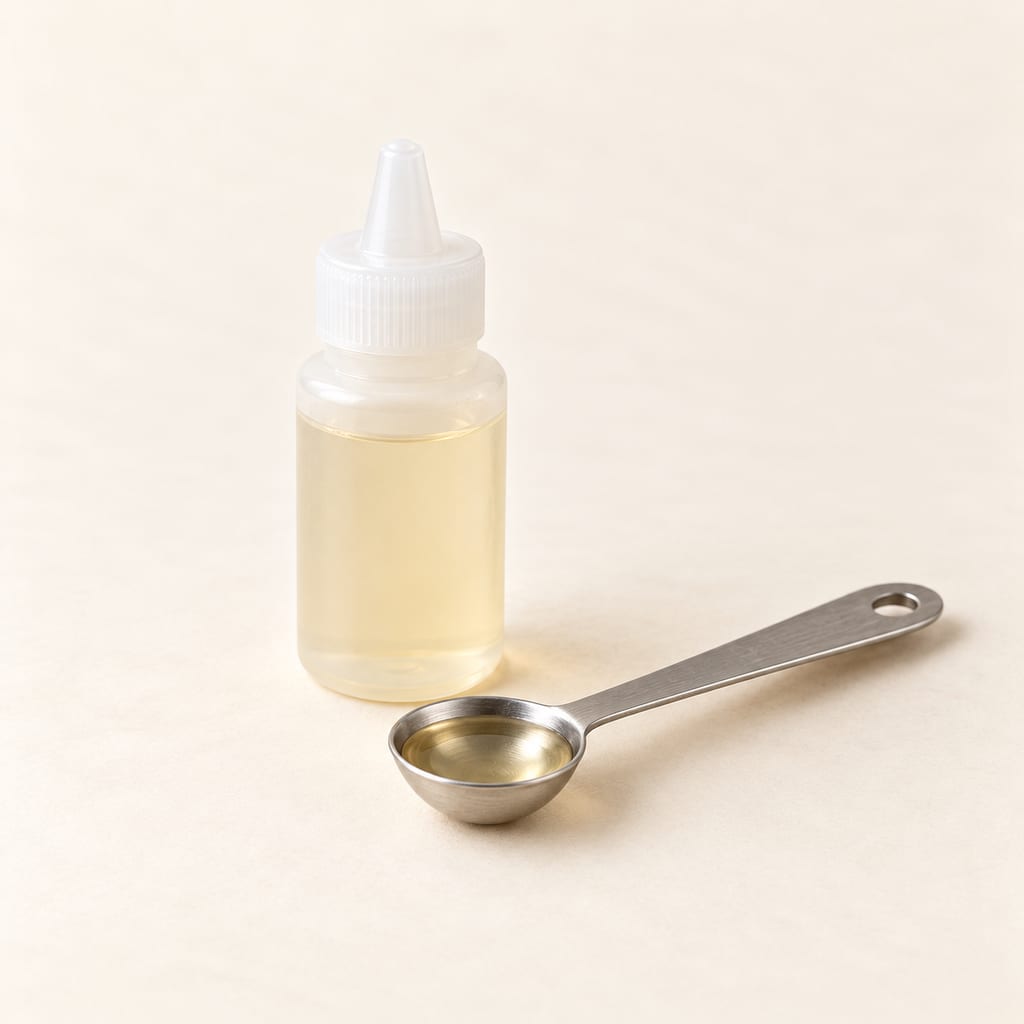
Rennet is an enzyme preparation that helps milk form a cuttable curd. Animal, microbial, fermentation-produced and plant coagulants have distinct identities and strengths.

Food-grade sodium chloride seasons food and changes water movement in brines and cures; crystal size and the recipe's measurement method matter.
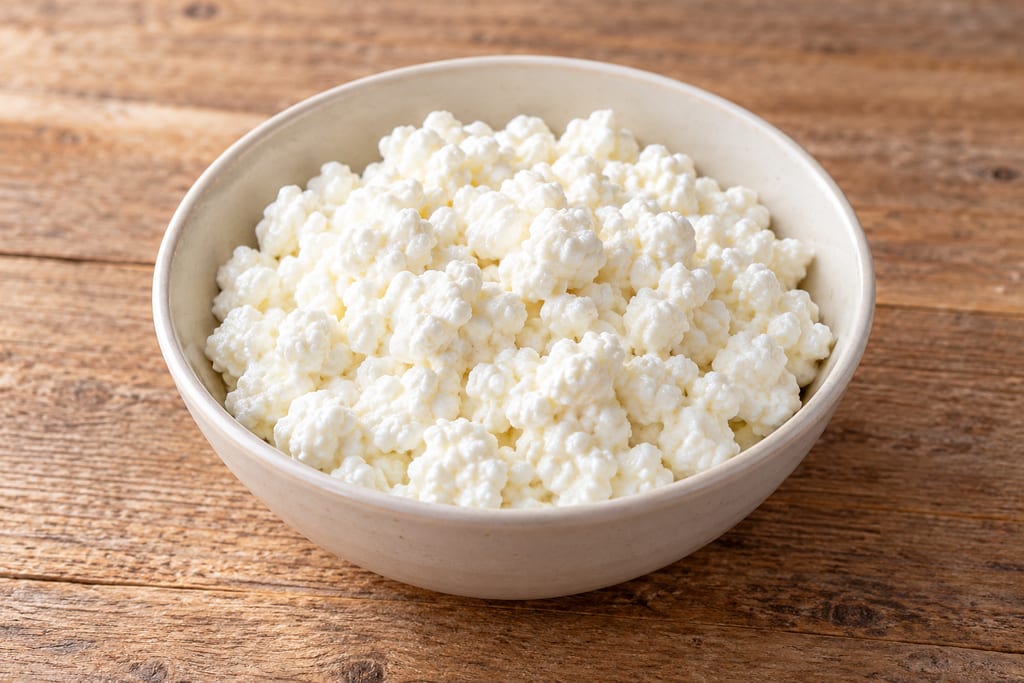
Skim milk is cultured slowly, cut into curds, warmed and drained to make fresh cottage cheese. Cold-water washing softens its flavour before cream and salt are added.
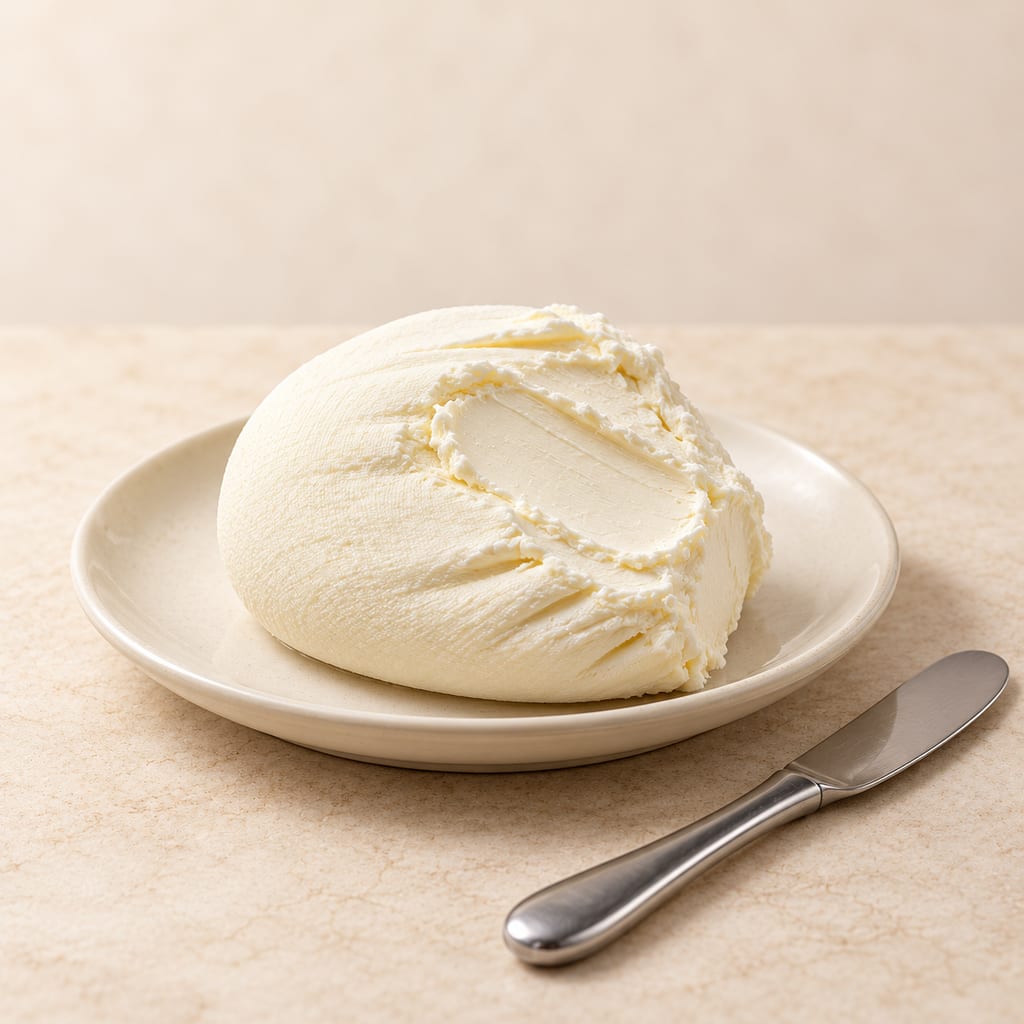
A fresh cultured-cream spread, set gently and drained in muslin in the refrigerator. This home method uses light cream and a small amount of cultured buttermilk.
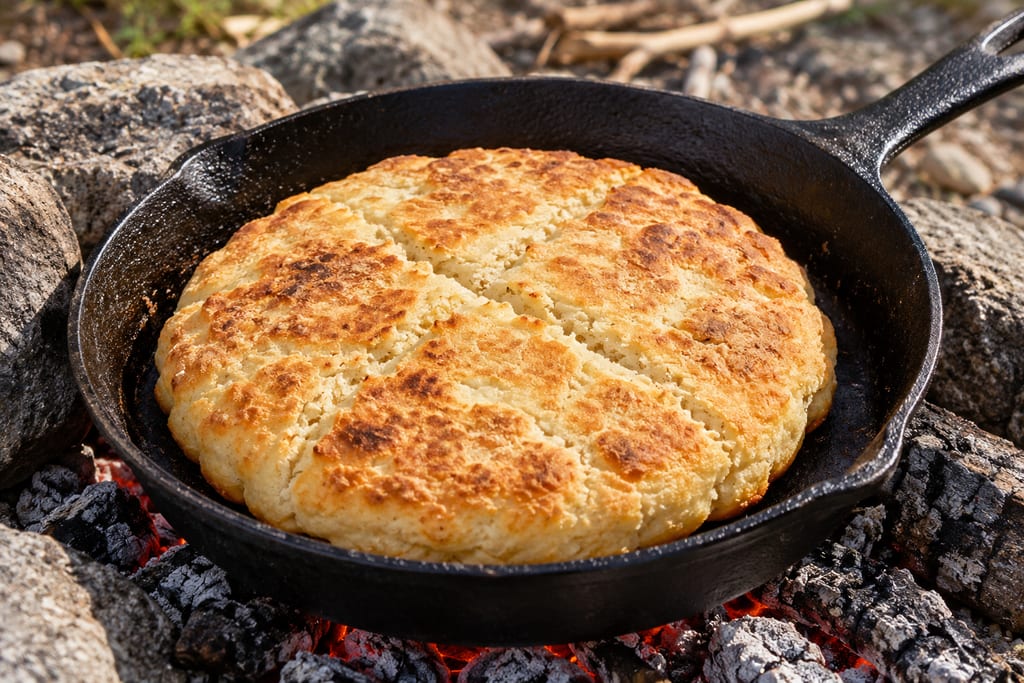
This flour, baking-powder and oil dough is Parks Canada’s contemporary Métis-interpreter version prepared at Rocky Mountain House; its specific recipe origin is unknown.
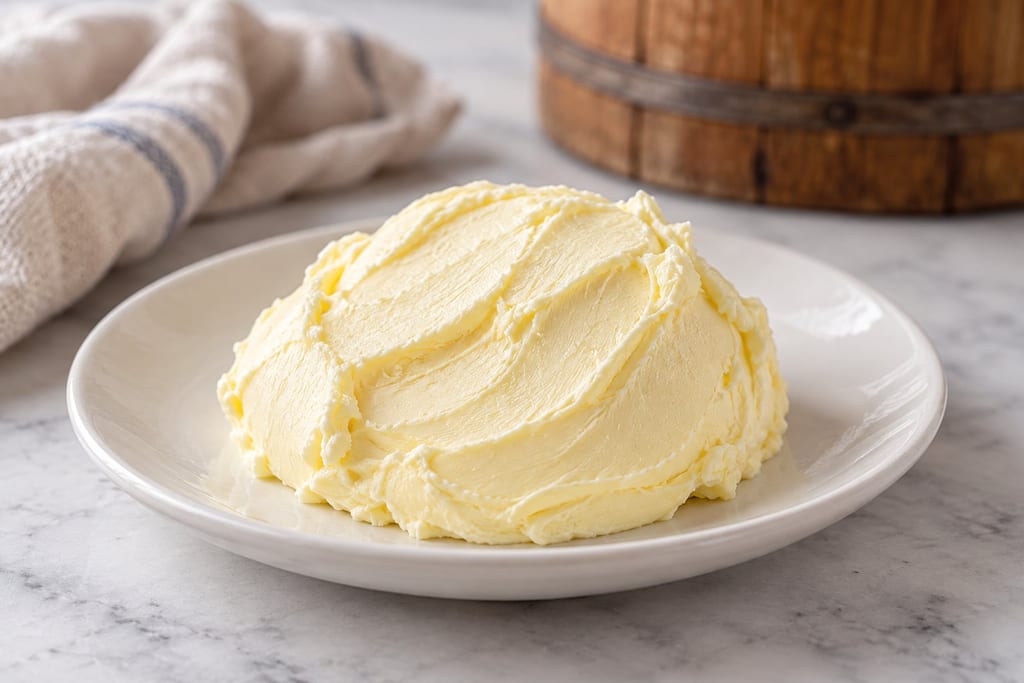
Sweet-cream butter is made by churning unsoured cream until its butterfat globules join, then draining, washing, salting and packing the butter.
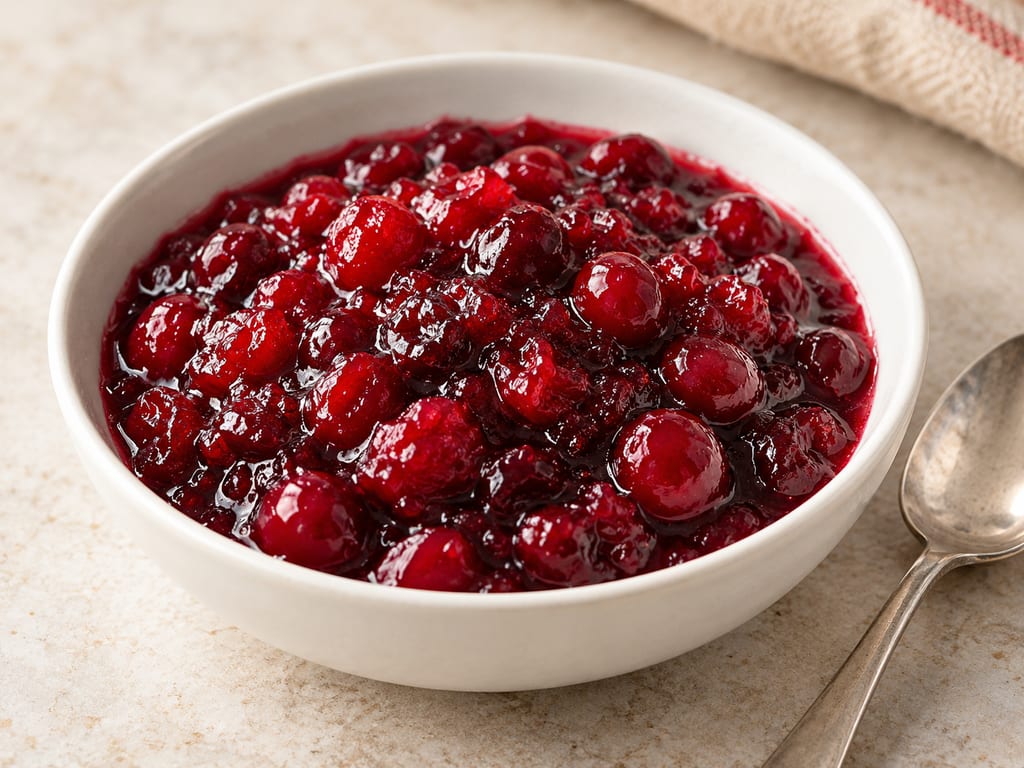
Cranberry sauce is a sauce of cranberries cooked in sugar syrup until the berries burst and thicken, served with roast turkey, pork, chicken and ham.
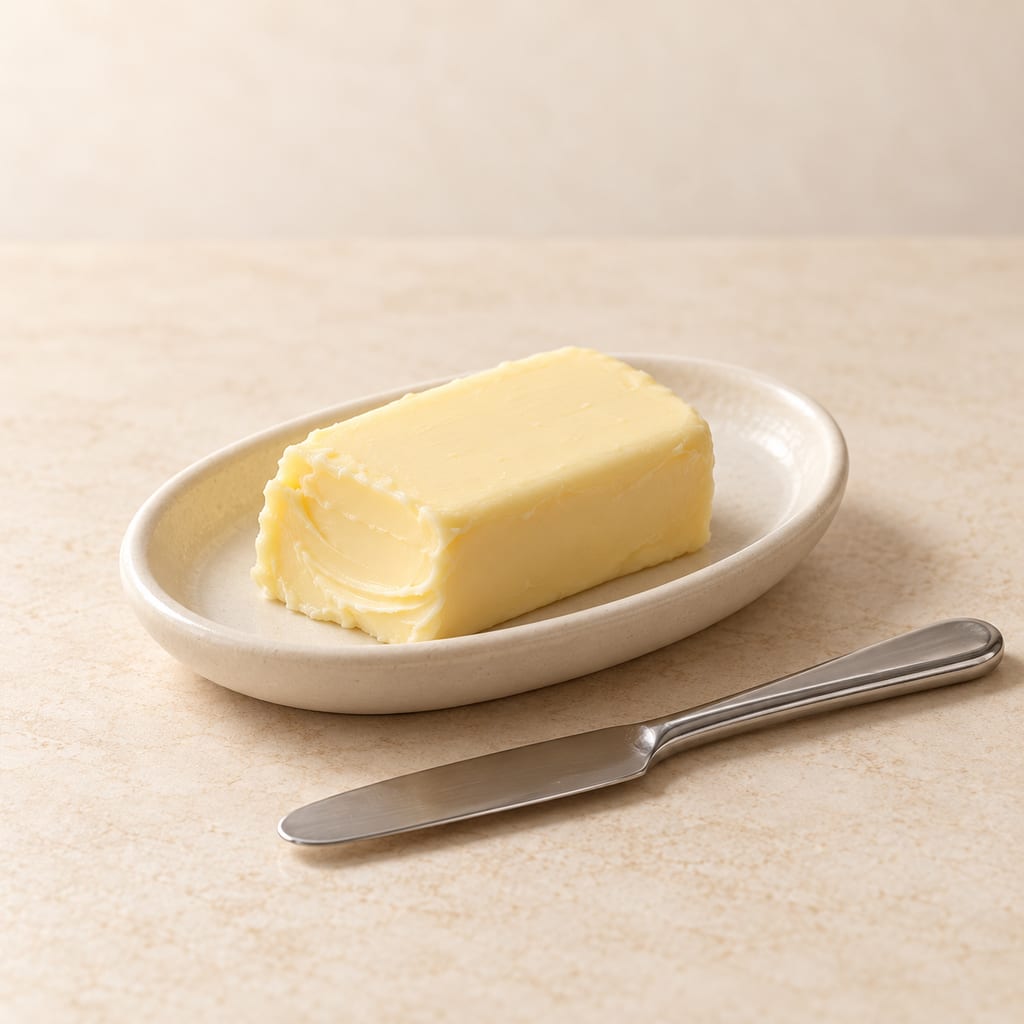
Cultured butter is churned from cream soured with lactic cultures. Its lightly tart flavour comes from the cultured cream, which separates into butter grains and buttermilk.
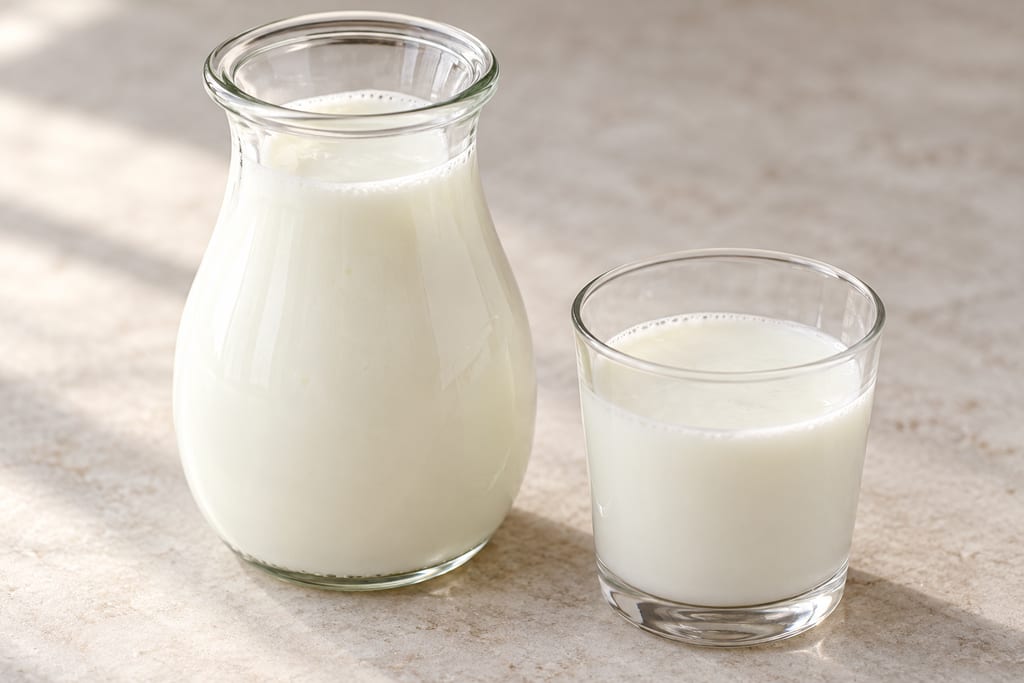
Cultured buttermilk is skim milk soured with a lactic starter into a tangy drink. This Canadian home method sets the milk without churning cream.
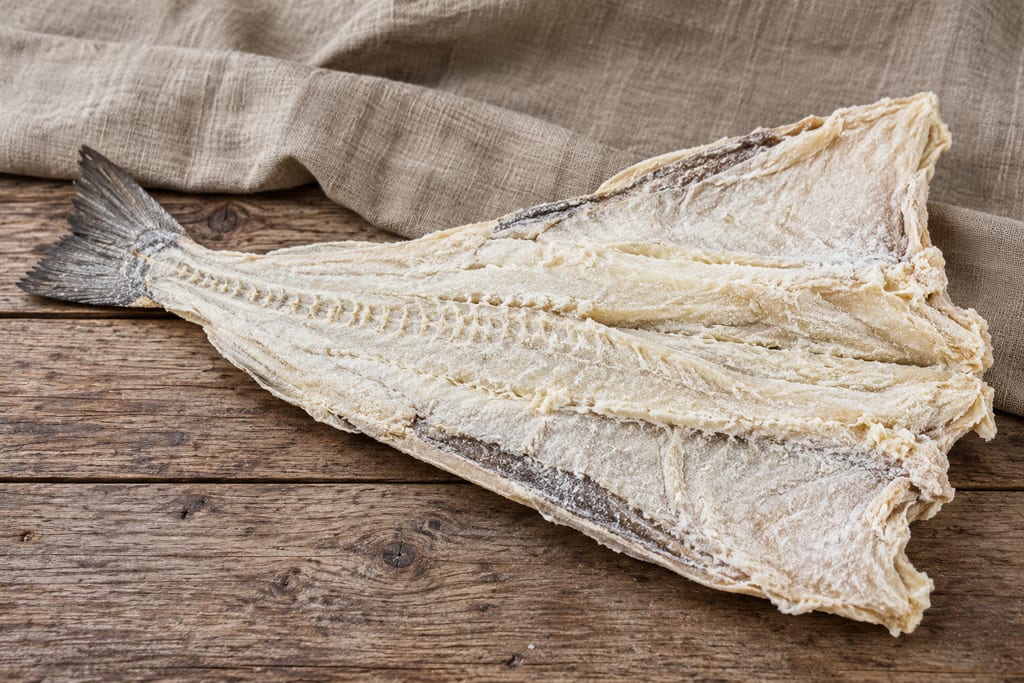
Cod split, salted and dried on flakes until hard, a long-keeping fish that must be desalted and rehydrated before use; the salting and the extensive drying together make it portable where light salting or partial drying does not.
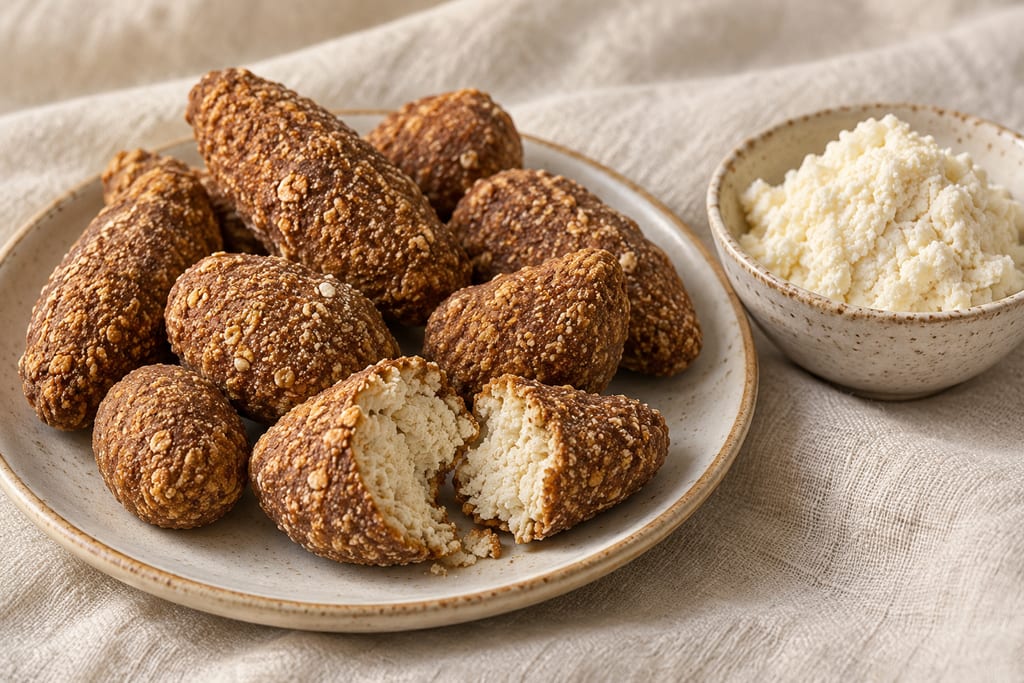
A two-stage Altai dairy preparation: sour chegen is heated into soft aarchi, then portions are drained, pressed and traditionally smoked into firm kurut.

A washed-curd cheese with propionic bacteria, warmed by hot water in two steps and then held in a warm room for weeks so the bacteria can form its holes.
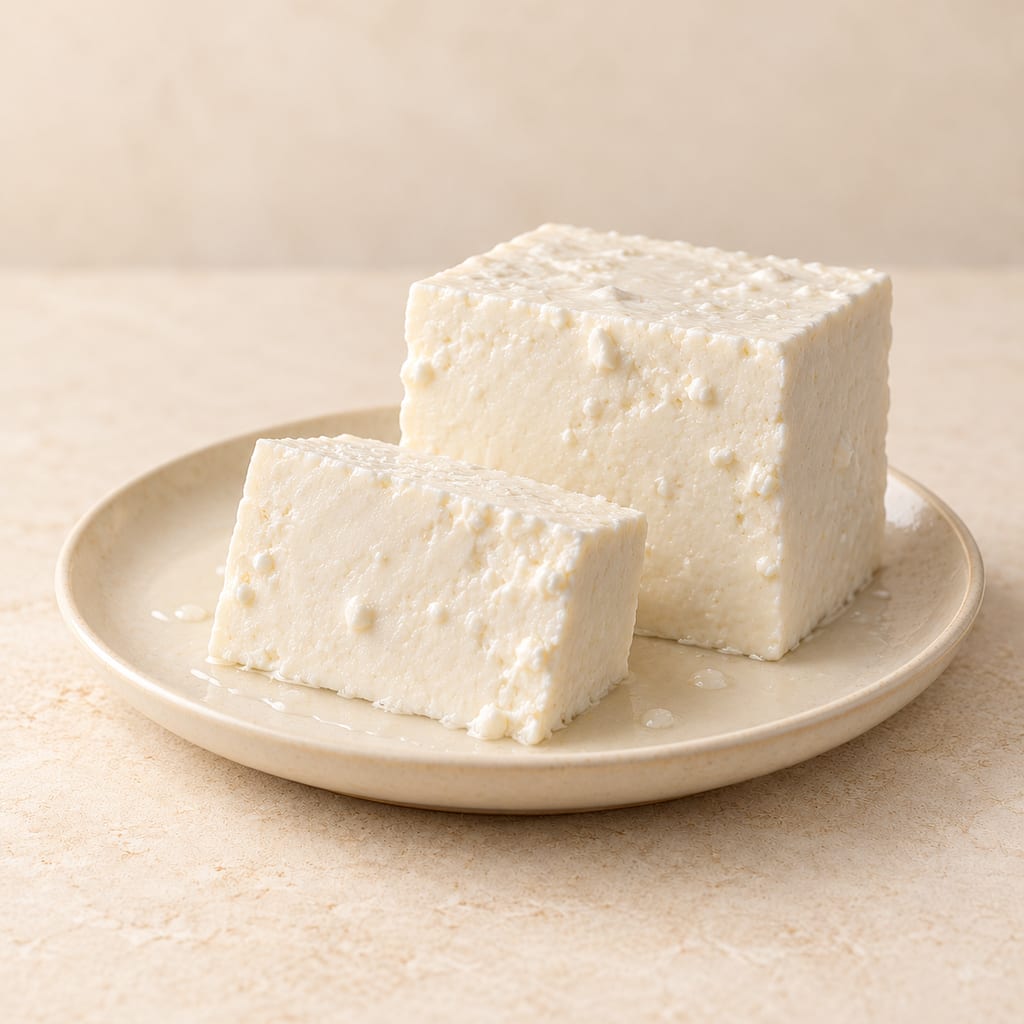
Beyaz peynir is a Turkish white cheese matured in brine. Sheep milk, alone or mixed with other milks, gives a close-textured cheese cut into blocks and packed in cans.
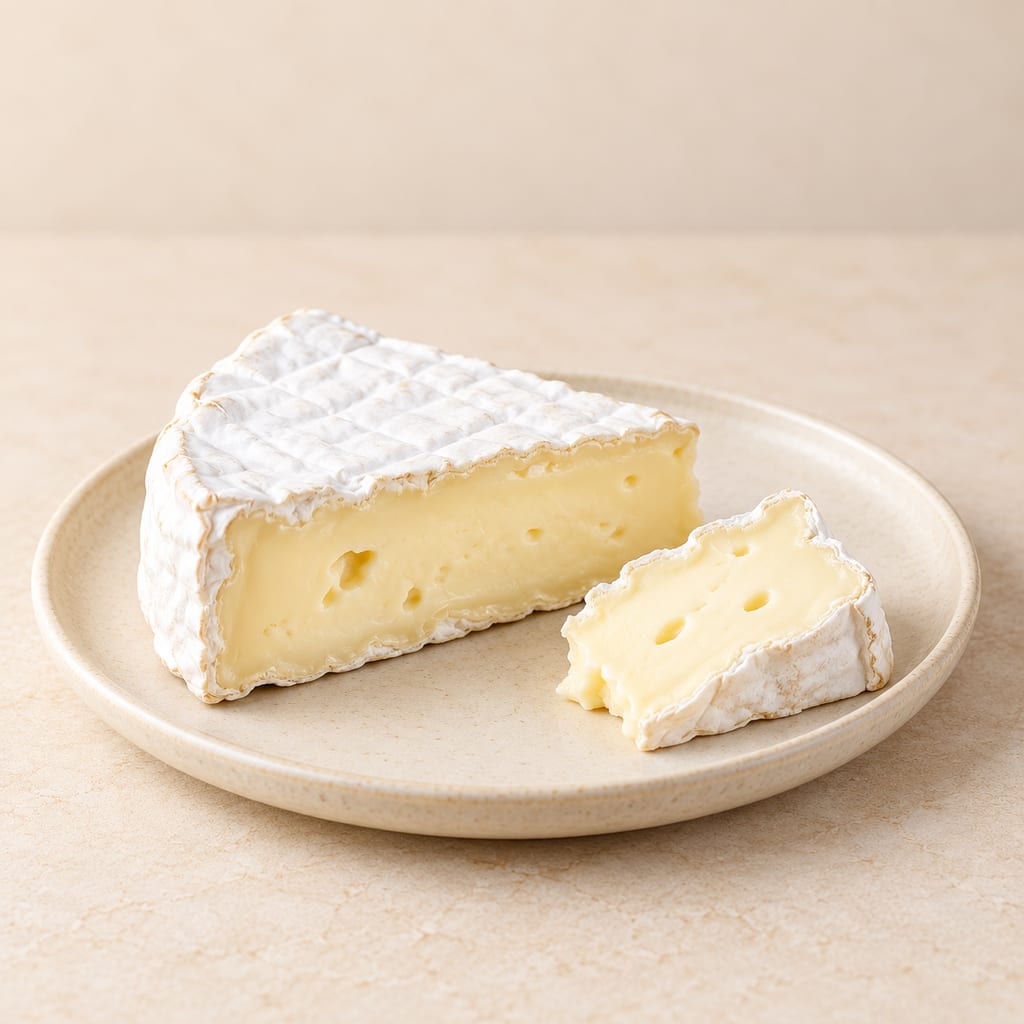
A cream-enriched Brie with a white bloomy rind and a softening center, made from pasteurized milk with lactic and surface cultures.
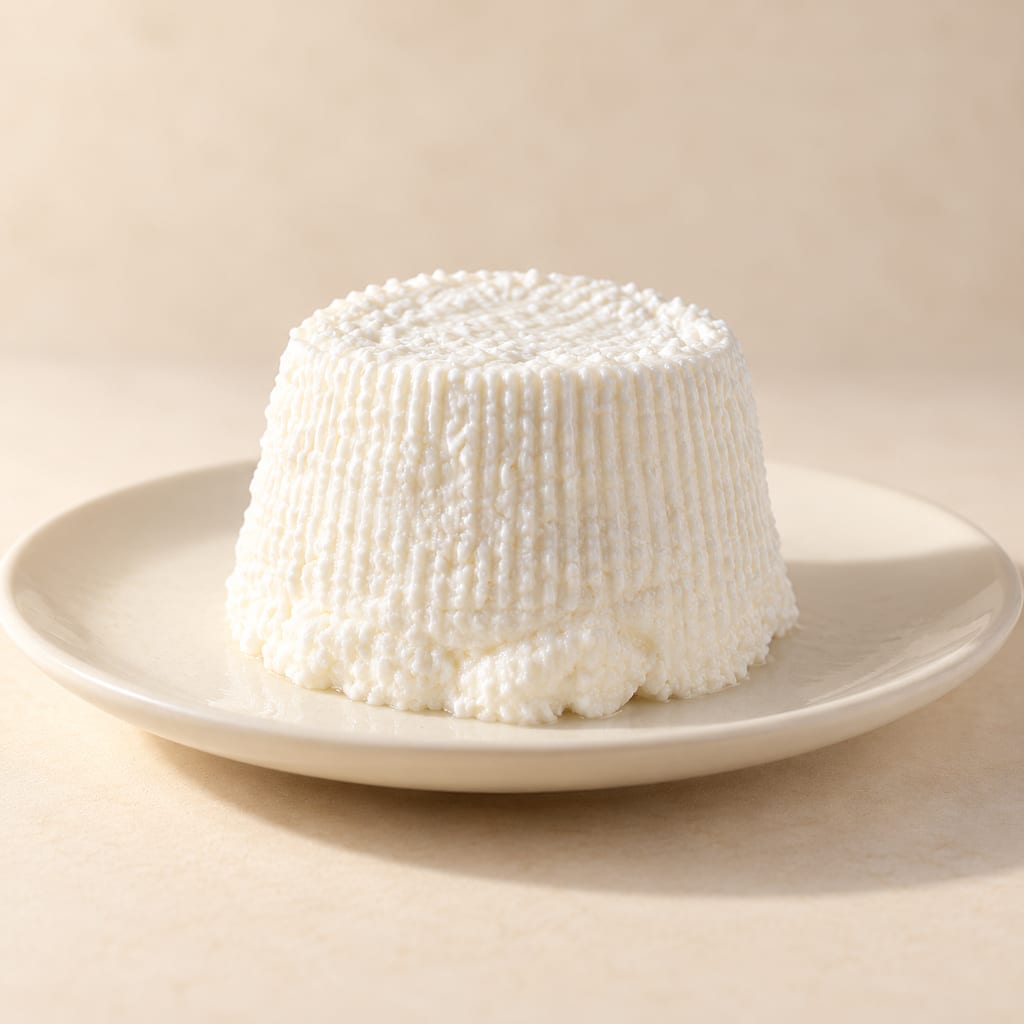
Corsican Brocciu is a whey cheese made by heating sheep's or goat's whey with whole milk and salt, then gently draining the flocculated curds. It is eaten fresh or salted and ripened as Brocciu passu.
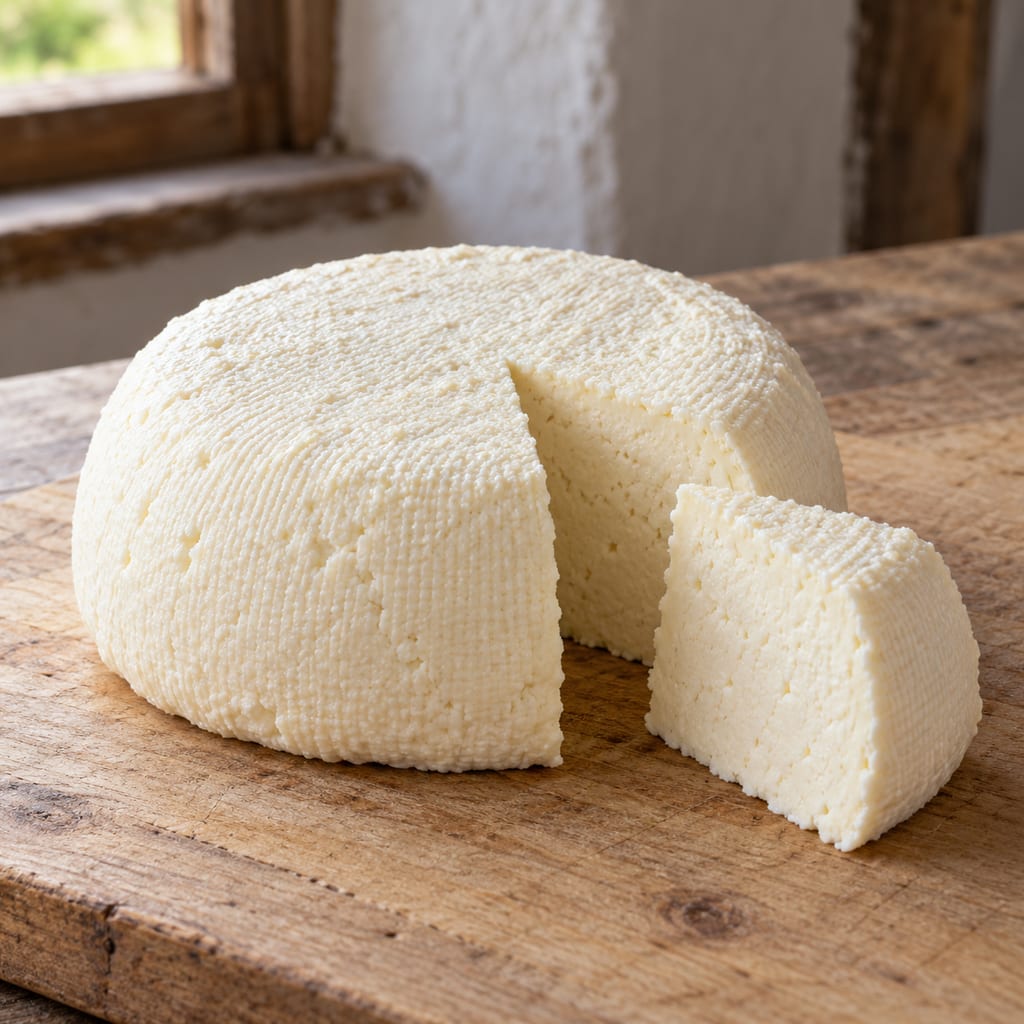
Budz is a traditional Hutsul rennet-set cheese made from sheep, cow or goat milk in the Ukrainian Carpathians, forming a fresh curd that can be eaten, smoked or processed into salted bryndza.
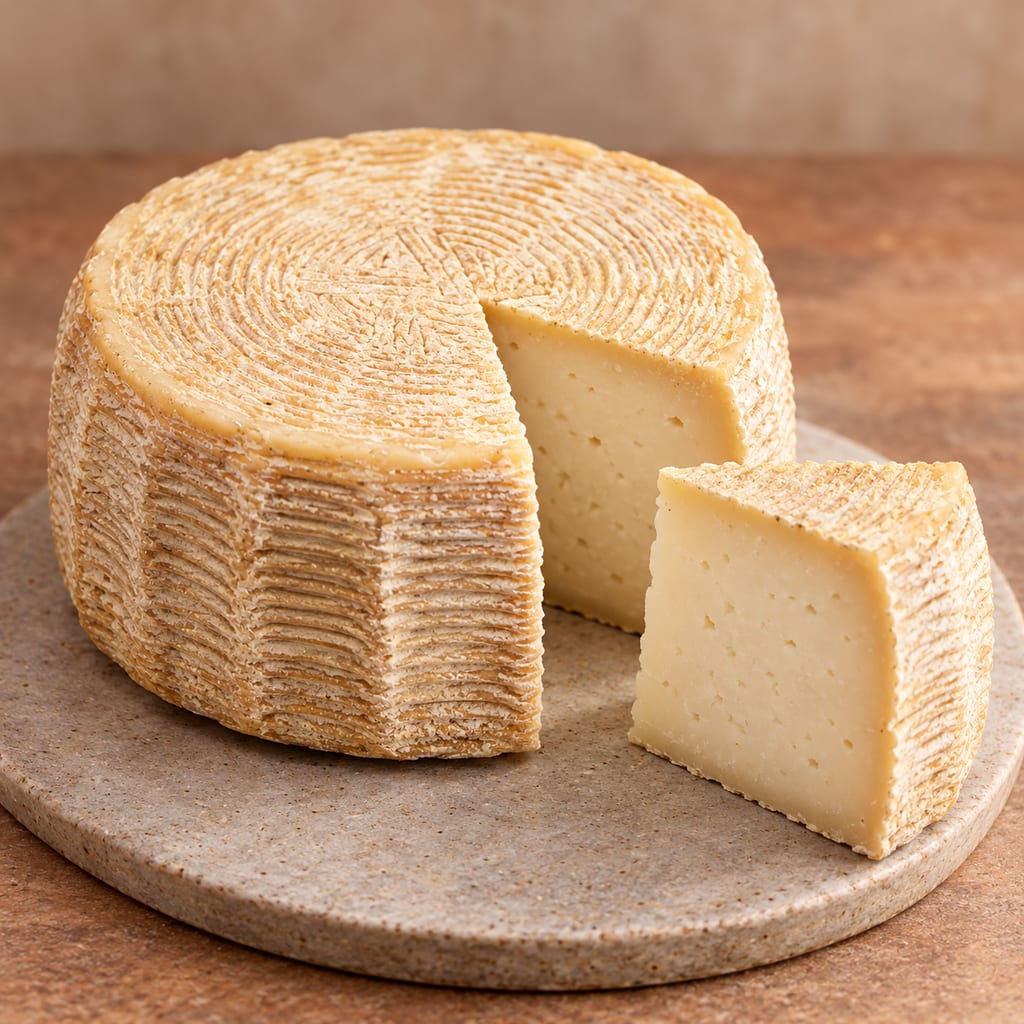
A scalded cheese moulded in baskets and re-cooked in its forms in hot whey, made alongside a ricotta from the same milk, then acidified, brined and aged for months.
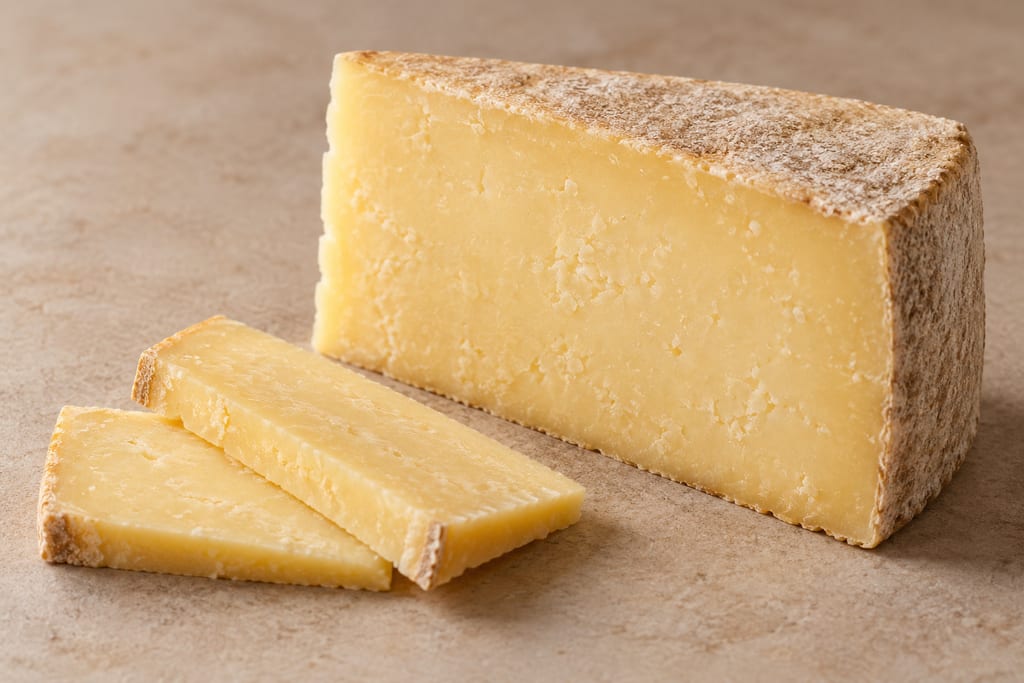
A pressed cheese whose curd is cooked slowly, then cheddared: kept warm in slabs that are turned and stacked for hours before milling, salting and pressing.
No community contributions have been published for this entry yet.
Sign in to contribute. Published comments and photos are free to read.
Agriculture CanadaInspiration · Process
Home-made dairy products, Publication 1669Semi-soft cheese method on printed pages 8–9; sanitation and pasteurization on pages 4–5; home-dairy history in the introduction. Reprinted 1981.
Exact target method and ingredients; curd handling and optional warming effects; intended mild/rich flavour; household-revival context; hygiene and pasteurization; limitations of inputs and curing controls.
General estimate about 100 g cheese from 1 L milk, explicitly scoped to the following methods; not recipe-specific measured yield.
Cited in: A texture shared by different cheeses; A small cheese in the Canadian home kitchen; How liquid milk becomes a curd; Milk and starter establish the starting conditions; Cutting and warming change the moisture; Drainage and the movement of salt; Ripening and the role of the coating; Stretching, surface ripening and a coated cure; Working through the make; Notes on this preparation
Canada Agriculture Museum / Canada Science and Technology Museums CorporationContext
Canadian DairyingSummer milk production, family needs, women’s household dairy work, surplus butter/cheese sale or exchange, shift toward factory production.
Cited in: A small cheese in the Canadian home kitchen
Department of Agriculture, Dairy and Cold Storage Commissioner’s BranchContext
An historical and descriptive account of the dairying industry of CanadaHousehold women’s labour, grocery trade of surplus, factory production and English export market. Author’s favourable position toward factories is preserved as perspective, not adopted as neutral judgement.
Cited in: A small cheese in the Canadian home kitchen
Food and Agriculture Organization of the United NationsContext
Small-Scale Dairy Farming Manual, Volume 1, Technology Unit 10.3: Small Scale Cheese MakingCasein gel, starter acidification versus rennet enzyme action, destabilization and aggregation, cutting/syneresis, fines and yield loss, stirring and cooking as physical curd treatment. No FAO numerical process limit transferred to the recipe.
Cited in: How liquid milk becomes a curd; Cutting and warming change the moisture
Foods / MDPIContext
Salt Distribution in Raw Sheep Milk Cheese during Ripening and the Effect on Proteolysis and LipolysisGeneral salt movement, spatial variation and ripening mechanisms; proteolysis and lipolysis concepts. Study concerns brined raw sheep-milk hard cheese, not this dry-salted household preparation; no measured times, levels, organisms or outcomes transferred.
Cited in: Drainage and the movement of salt; Ripening and the role of the coating; Notes on this preparation
BC DairyContext
Cheese Lover’s Reference GuideSemi-soft category includes distinct pasta-filata, interior-ripened and surface-ripened examples; texture and sensory distinctions are comparisons, not identities assigned to the target method.
Cited in: A texture shared by different cheeses; Stretching, surface ripening and a coated cure
Tetra PakContext
Dairy Processing Handbook: CheeseCooking/stretching acidified curd, shaping/cooling; selected surface culture compared with physical coating.
Cited in: Stretching, surface ripening and a coated cure; Notes on this preparation