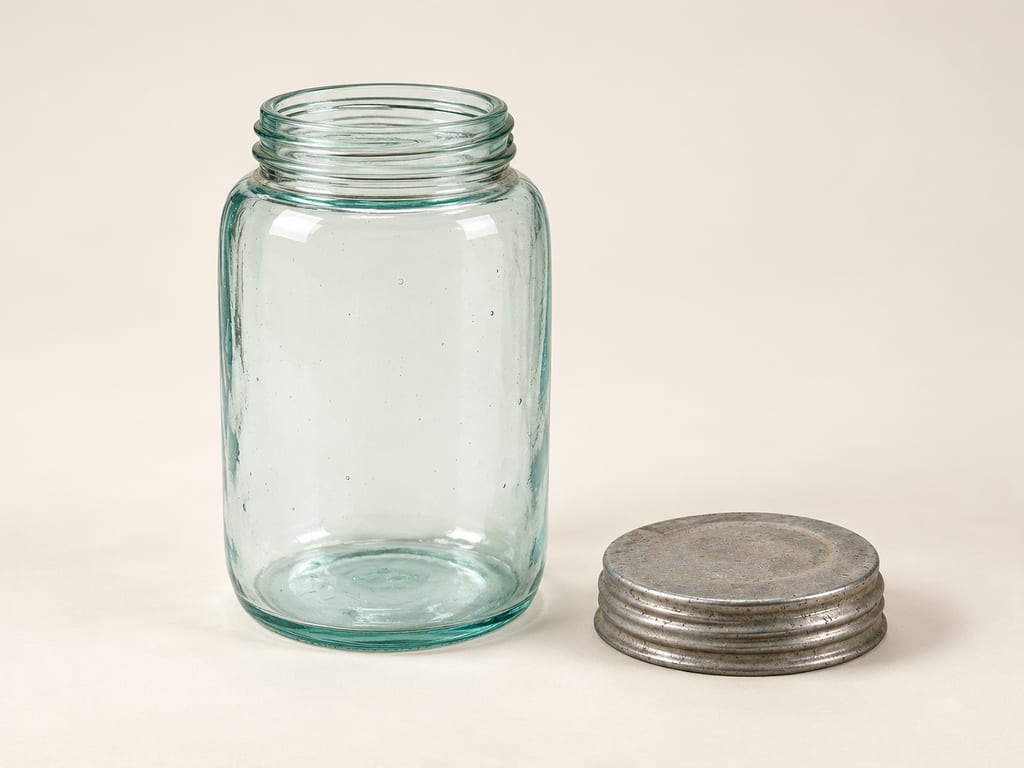
Canning jars
Threaded, heat-processing jars hold food and a fitted lid during a tested canning process; jar size and process belong to the specific recipe.
 FermenteaWhere food goes to change
Modern method
Plain pumpkin cubes hot-packed in water and pressure-canned for later cooking. The pieces stay intact during canning; mash them only after opening.
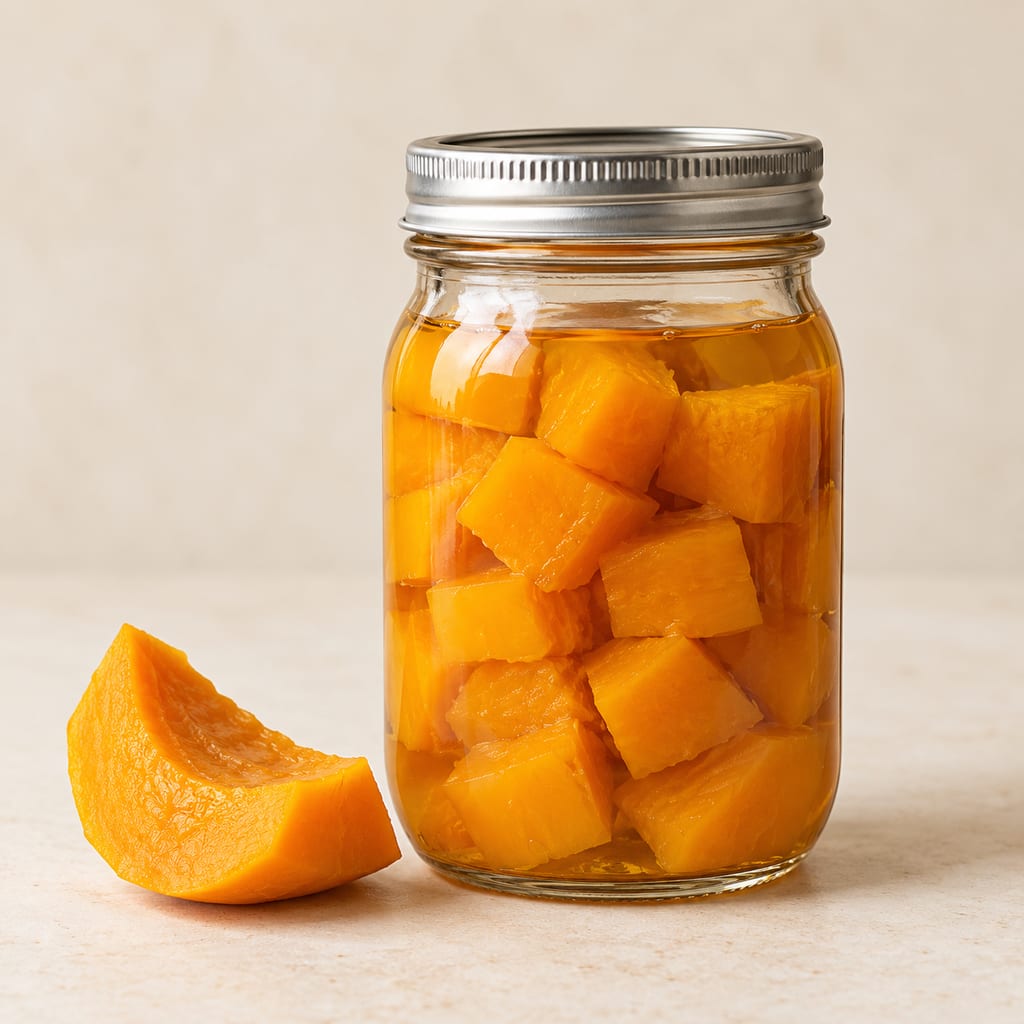
This is the established USDA process for keeping plain pumpkin or mature winter squash in jars at room temperature. It applies to firm cubes in water. It does not cover puree, mash, soup, pumpkin butter, dense paste, oil-packed pumpkin, or spaghetti squash that separates into strands. The liquid spaces between intact cubes matter because they change how heat moves through the jar.
Allow approximately 4.5 kg whole pumpkin for a load of nine US pint jars, or 7.3 kg for seven US quarts. Actual yield varies with rind and seed-cavity size. A US pint is approximately 473 ml and a US quart approximately 946 ml; these are not British imperial pints or quarts. The published table uses those US jar sizes.
Use a pressure canner suitable for USDA methods, large enough to hold at least four quart jars upright on a rack. Do not transfer this schedule to a small pressure cooker or multicooker. Check the gauge and canner instructions before beginning.
Hot pack only. Maintain the required pressure continuously for 55 minutes for US pints or 90 minutes for US quarts. Choose the pressure by gauge type and actual elevation.
Elevation, feet: 0–2,000; Dial-gauge canner pressure: 11 psi.
Elevation, feet: 2,001–4,000; Dial-gauge canner pressure: 12 psi.
Elevation, feet: 4,001–6,000; Dial-gauge canner pressure: 13 psi.
Elevation, feet: 6,001–8,000; Dial-gauge canner pressure: 14 psi.
Elevation, feet: 0–1,000; Weighted-gauge canner pressure: 10 psi.
Elevation, feet: Above 1,000; Weighted-gauge canner pressure: 15 psi.
The cited dial-gauge table stops at 8,000 feet; do not extrapolate another row without qualified guidance.
Operate the canner correctly.
Follow the canner's water-fill and loading instructions. Vent a continuous stream of steam for ten minutes before pressurising. Begin the processing timer only when the required pressure is reached. If pressure drops below the target at any point, restore it and restart the entire processing time.
At the end, turn off the heat and allow natural depressurisation. Never force cooling with water or venting. After full depressurisation, remove the weight or open the vent as directed, wait ten minutes and carefully open away from the face. Lift jars upright, then let them cool untouched for 12–24 hours; do not tighten the bands as they cool.
Check the seals after cooling. Refrigerate unsealed jars promptly for early use or follow an approved reprocessing procedure; a loose lid does not become safe through shelf storage. Remove bands from sealed jars, clean the jars, label and store cool, dry and out of light. A one-year rotation is the recommended best-quality target for home-canned foods.
Drain and puree the pumpkin after opening if a smooth preparation is wanted. That sequence retains the tested cube process without pretending its time also covers a thick puree. NCHFP withdrew older mashed-pumpkin directions following review; old printed instructions should not override current guidance.
The selected method is published in the USDA Complete Guide to Home Canning, revised 2015.
Yield 9 US pint jars · Scaling: source batch only
Incorrect packing or processing can permit botulism.
Hazard sourceUse cubes, hot pack and the exact jar-size/altitude schedule.
Control sourceUse a pressure canner, not a boiling-water bath or small pressure saucepan. Do not can pumpkin purée using this schedule.
Association with the published household method, not a claim of invention.
Threaded, heat-processing jars hold food and a fitted lid during a tested canning process; jar size and process belong to the specific recipe.
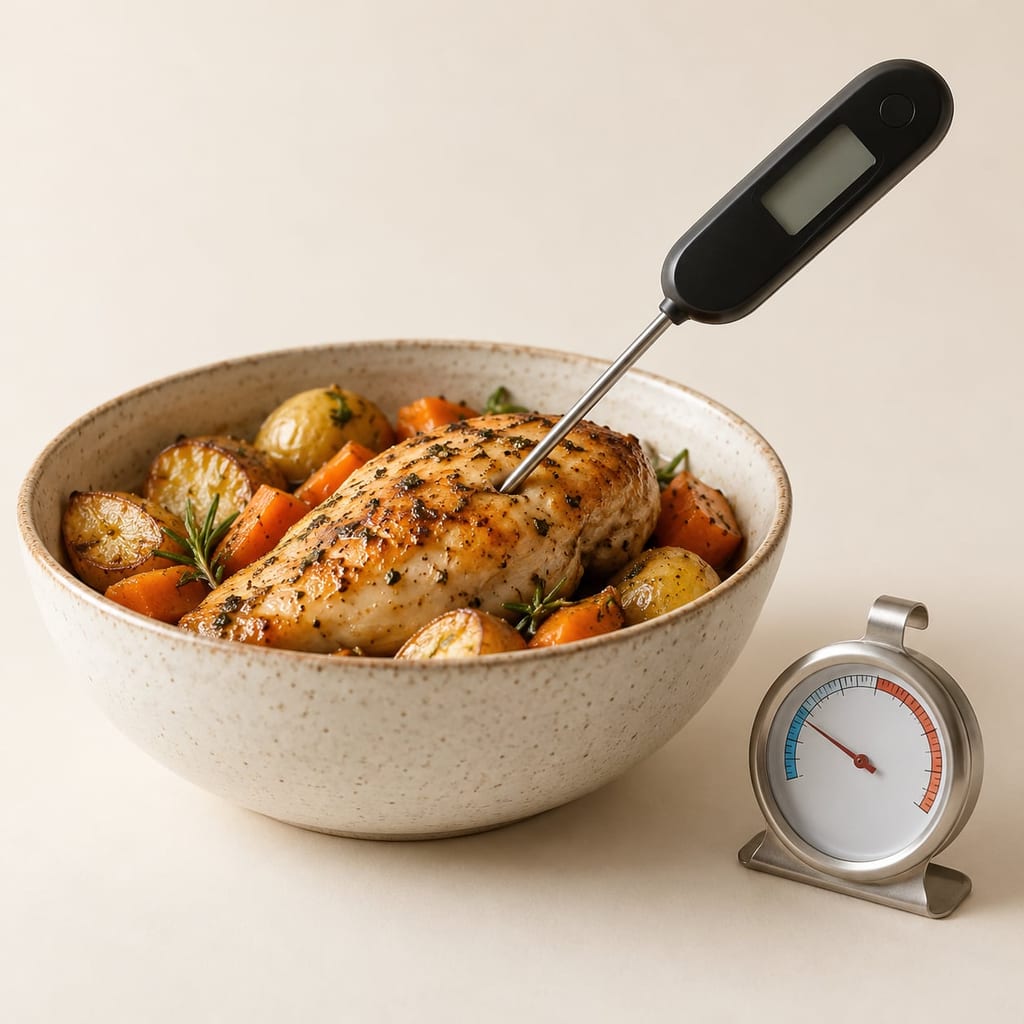
A food probe measures the temperature inside food at the probe tip; a refrigerator thermometer measures the cold storage environment. They answer different questions and cannot establish acidity or validate a preservation process.
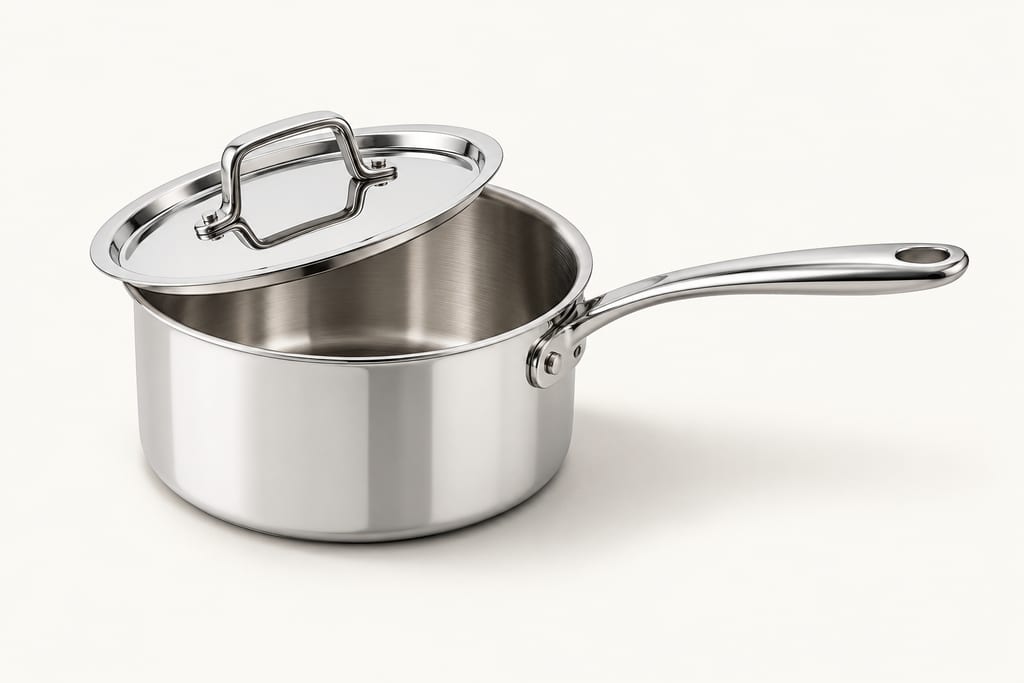
A modern, portable stovetop pan with a stainless-steel cooking surface for sauces and other small simmering jobs. Size, cladding, lid, compatibility and care vary by model.
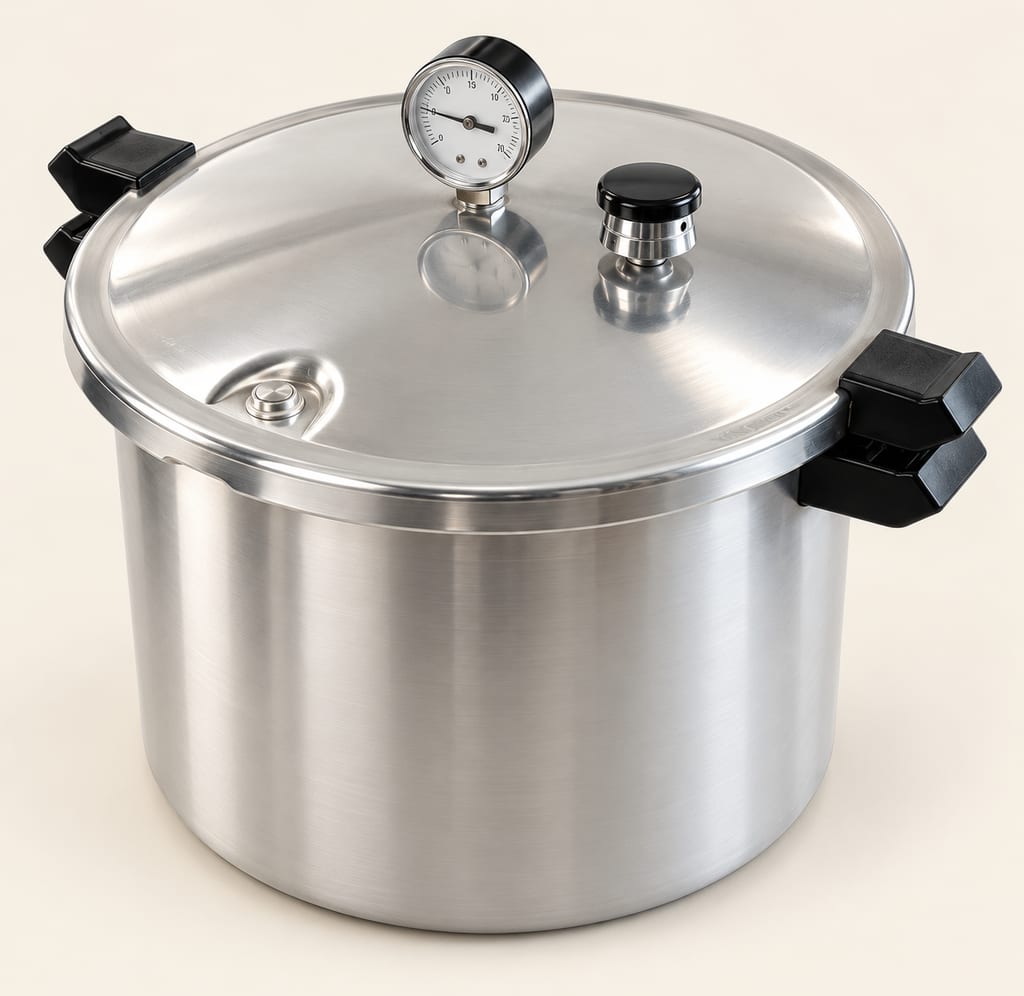
A lidded, vented pressure vessel processes jars at temperatures above the boiling point. For low-acid foods, use the equipment with a tested product-specific process; an ordinary pressure cooker is not a substitute.
An ordinary household refrigerator used to store selected fresh produce in vented crates or drawers, at low temperature and at a humidity chosen by the drawer. Not every crop benefits from cold.
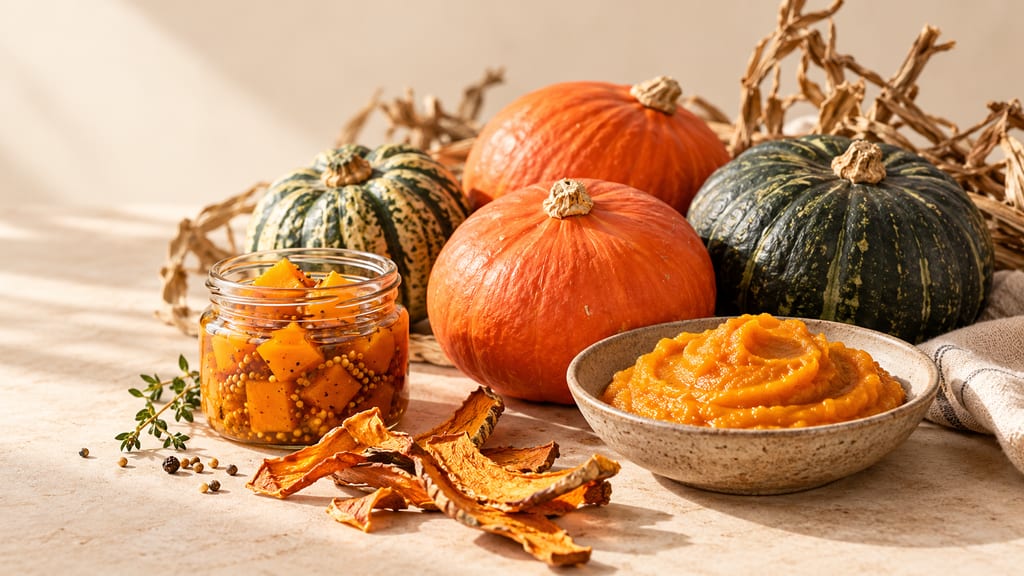
A full harvest-to-pantry guide to keeping pumpkins whole, drying and freezing them, and making pickles and sweet preserves around the world—with the exact distinction between tested canning and cold storage.
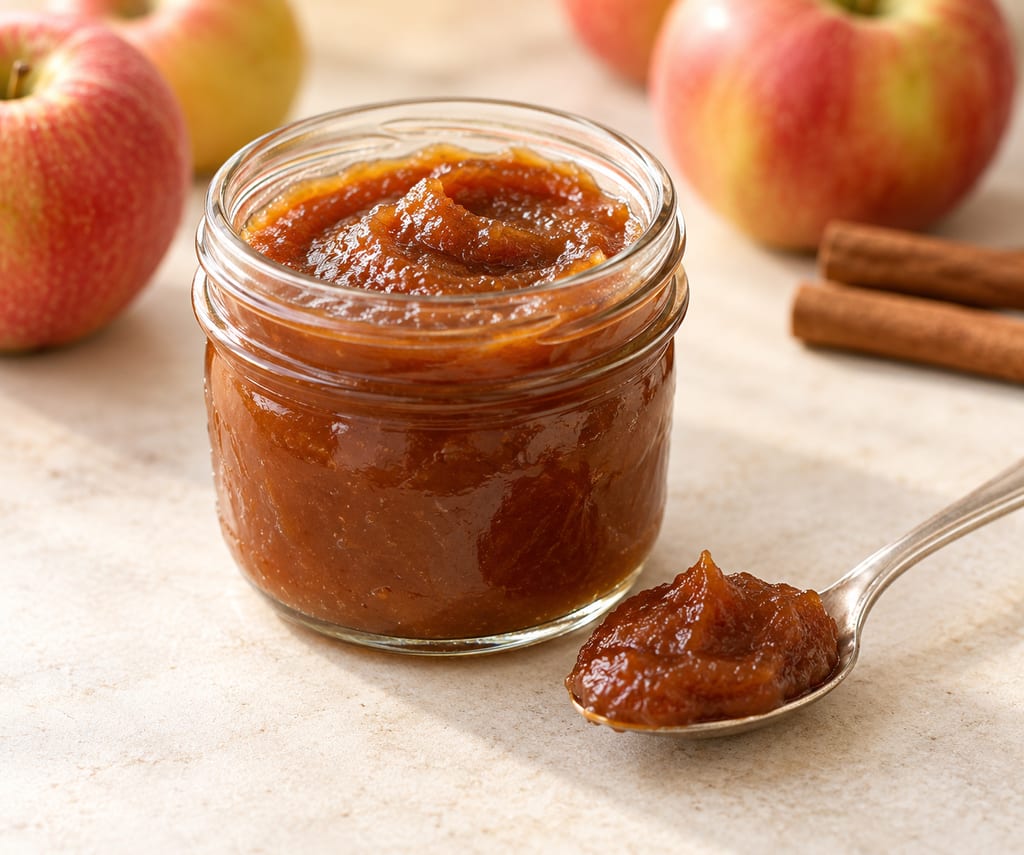
Apple butter is a smooth, concentrated apple preserve cooked with cider, vinegar, two sugars and spices, then hot-filled and processed in a boiling-water canner using the published jar-size and elevation schedule.
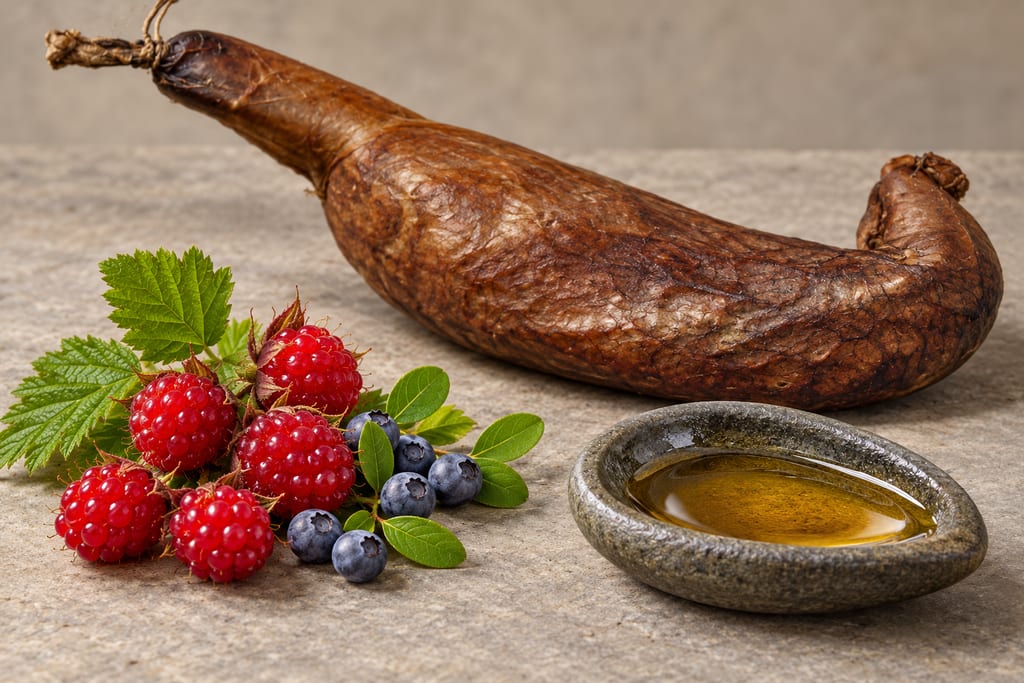
Berries, greens and fish eggs were kept in seal oil by Indigenous Alaskan communities. The oil seals the food from air, and the result depends on preparation and the surrounding conditions.
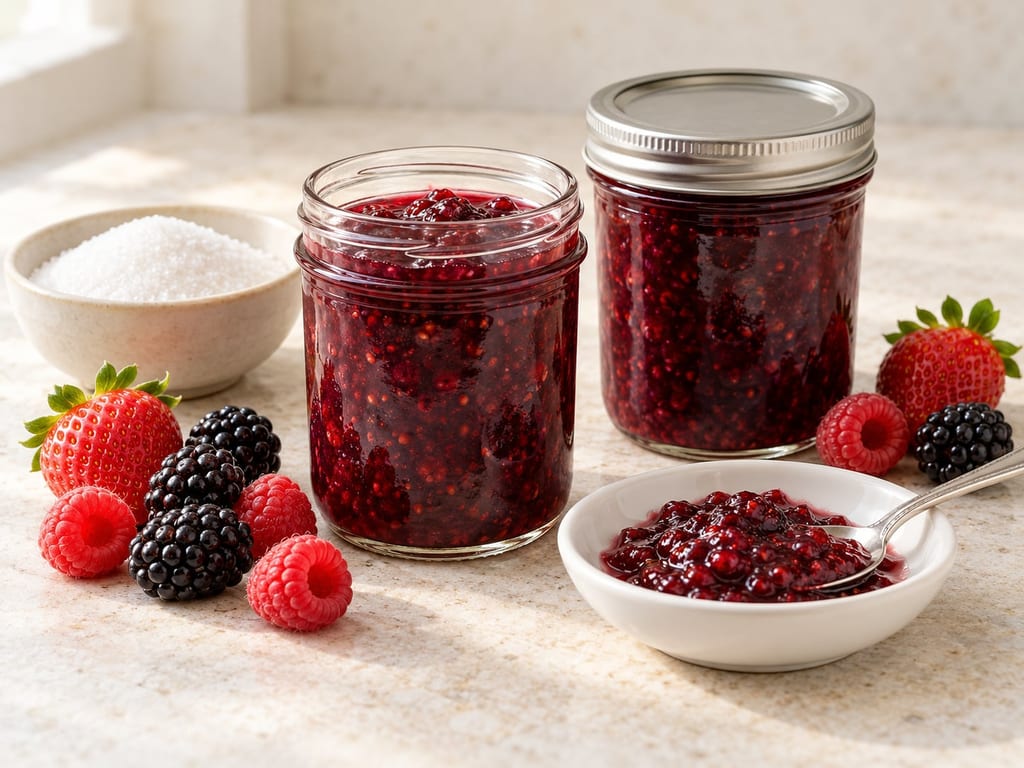
A NCHFP berry jam made without added pectin: crushed berries and sugar are cooked to the desired gel point, hot-filled into sterile half-pint or pint jars, and processed in a boiling-water canner.
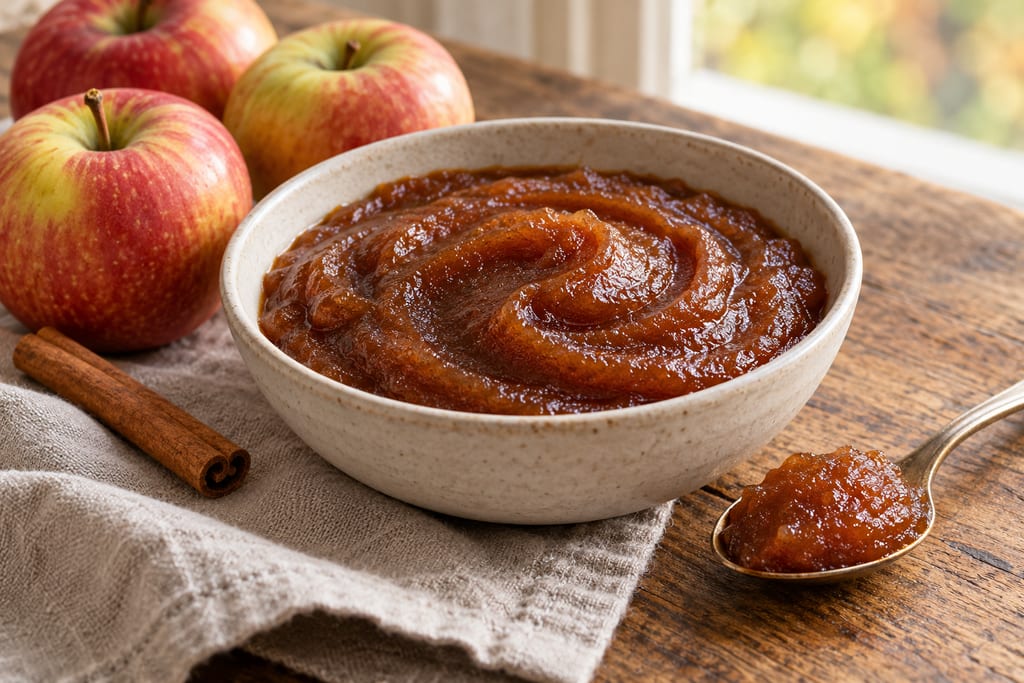
A smooth fruit pulp cooked down with sugar and spice until it holds its shape on a spoon, made by three documented routes in a slow cooker, a microwave or an electric multicooker.
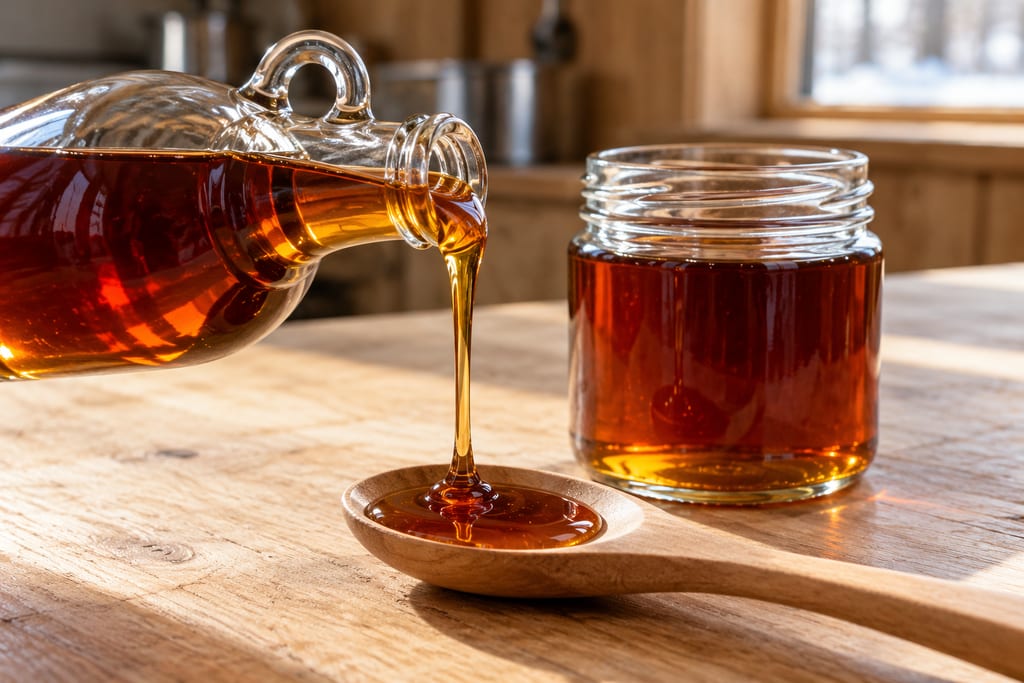
Maple sap of about two percent sugar boiled down in a shallow pan until it reaches syrup density, the sugar concentration the standard defines, then filtered hot and packed hot.
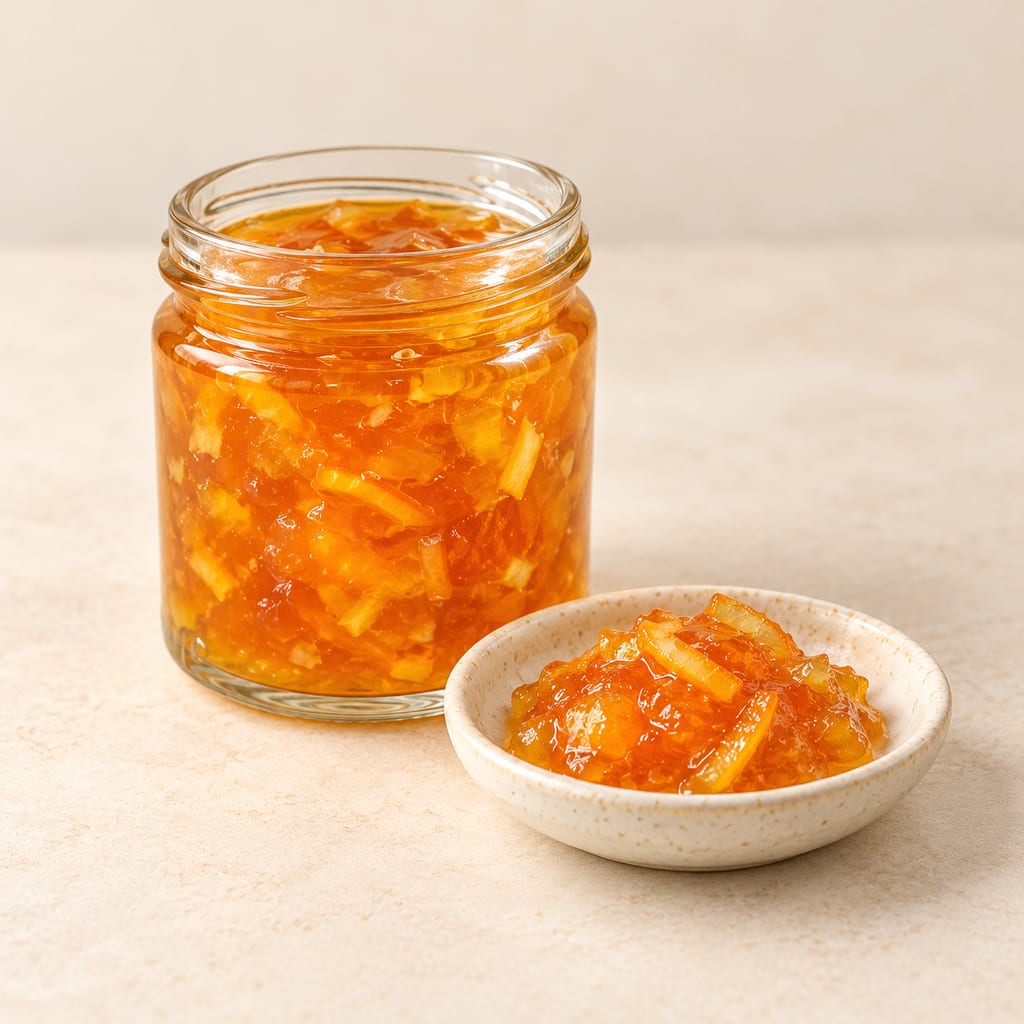
Orange marmalade suspends thin strips of citrus peel in a sweet gel. This navel-orange batch includes pulp and lemon and is preserved in a boiling-water canner.
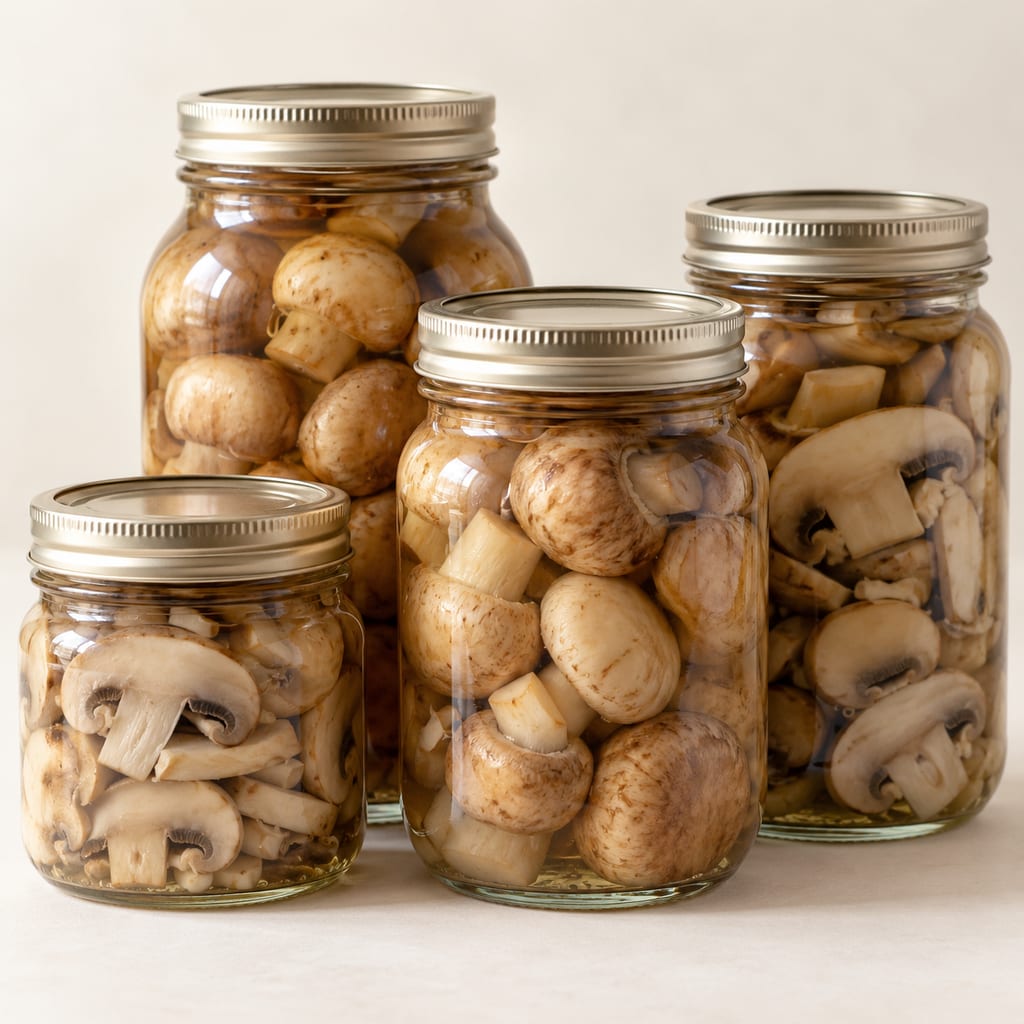
Whole or sliced domestic mushrooms packed hot in jars with fresh water and processed in a pressure canner, the tested home method for a low-acid vegetable.
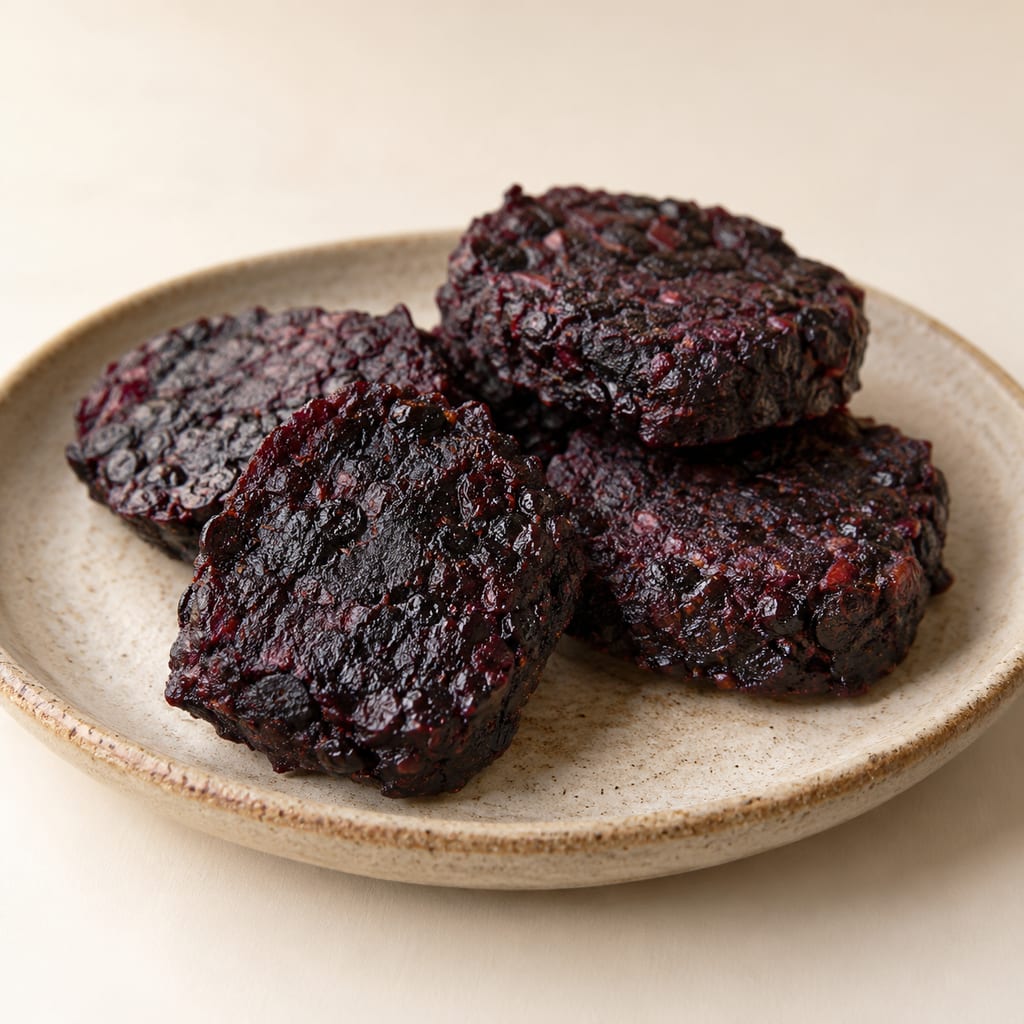
Salal berries pulped, formed into cakes and dried, a compact berry reserve of the northwestern American coast.
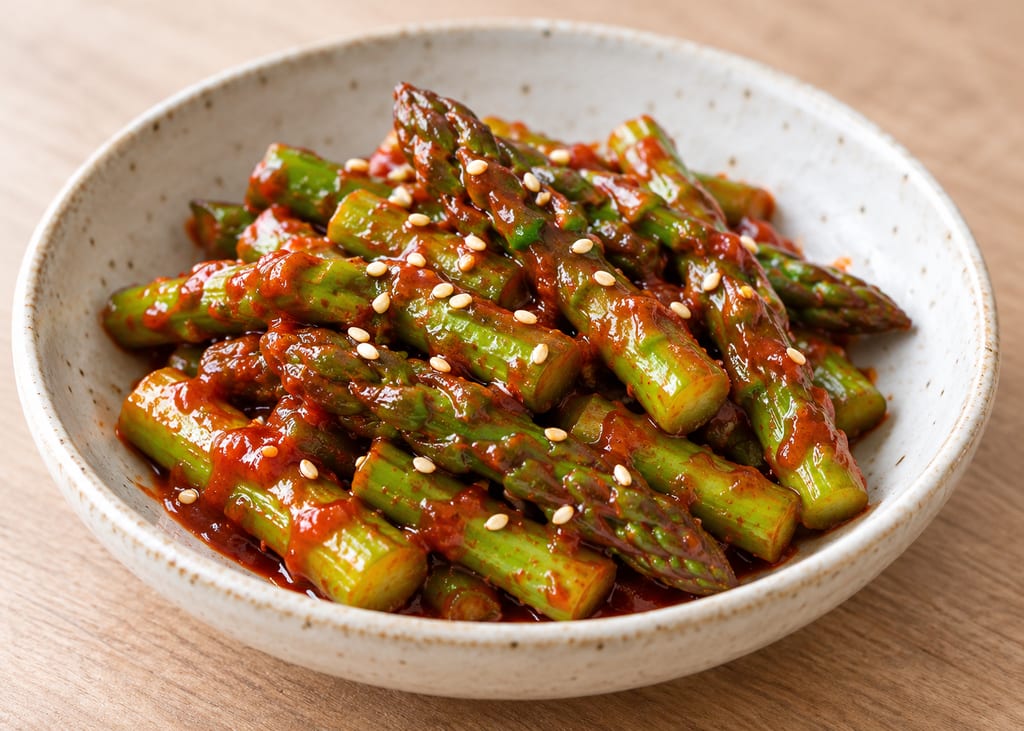
A Korean banchan of blanched asparagus dressed with a sweet-sour cho-gochujang sauce; Hyosun's version cools the spears in ice water before tossing.
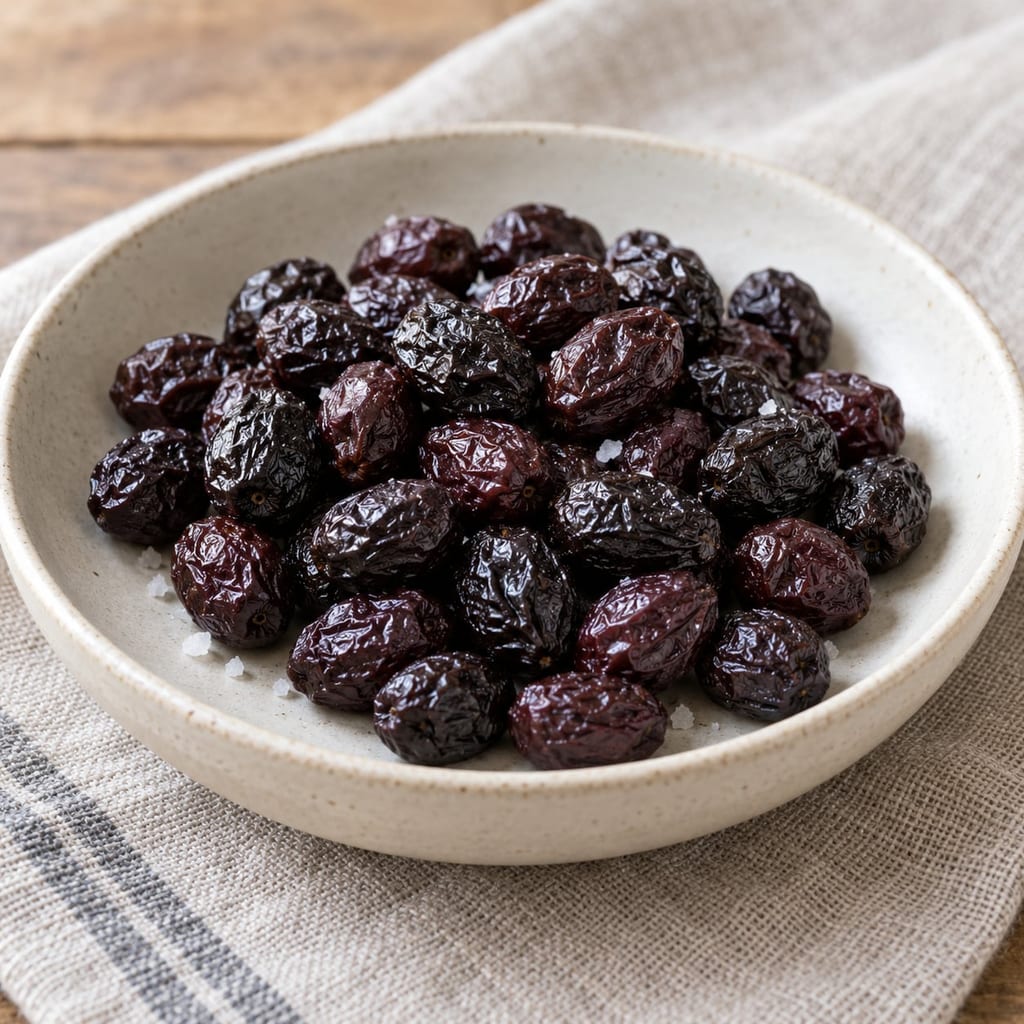
Fully ripe dark olives are mixed with salt and turned weekly as salt draws out moisture. Distinct from existing brine-fermented and lye-treated olives.
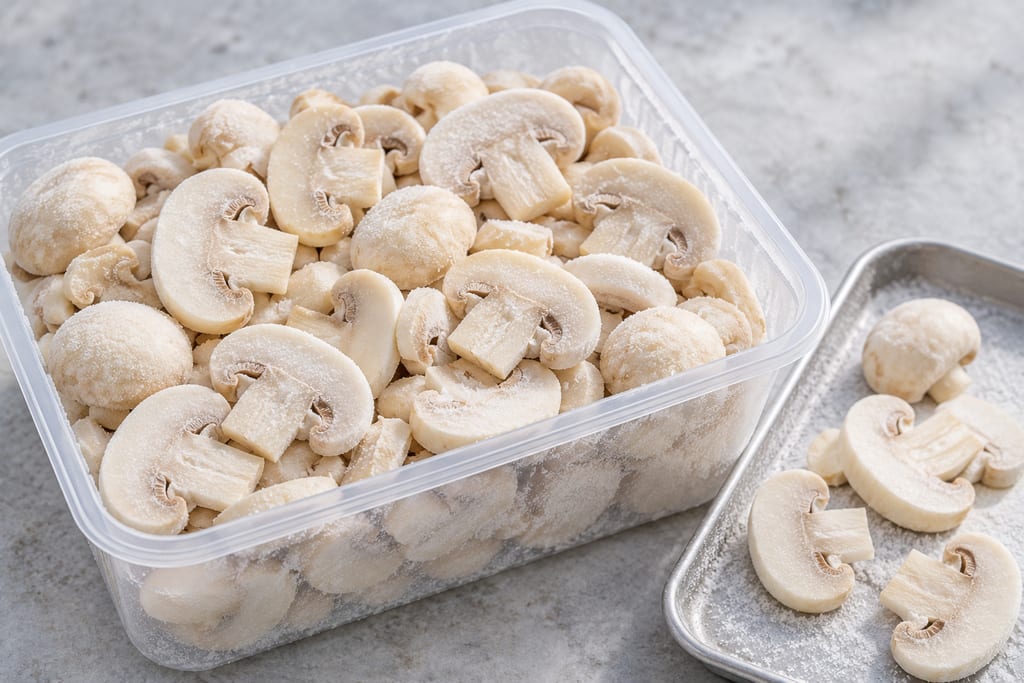
Steam-blanched frozen mushrooms are whole, button, quartered or sliced mushrooms given a short steam treatment, cooled promptly, packed with headspace and kept frozen.
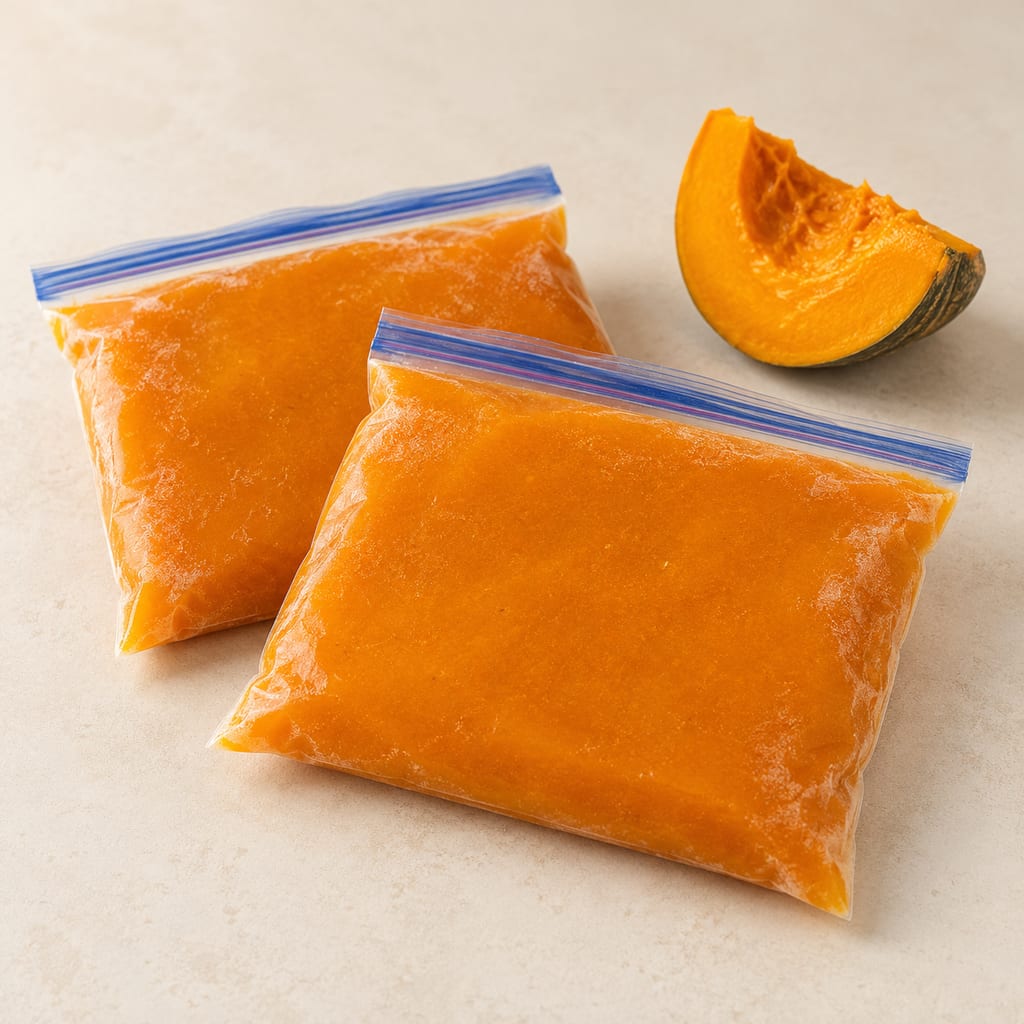
Cooked pumpkin mashed, cooled and frozen in portions: a plain base for pies, soups and baking without canning a dense purée.
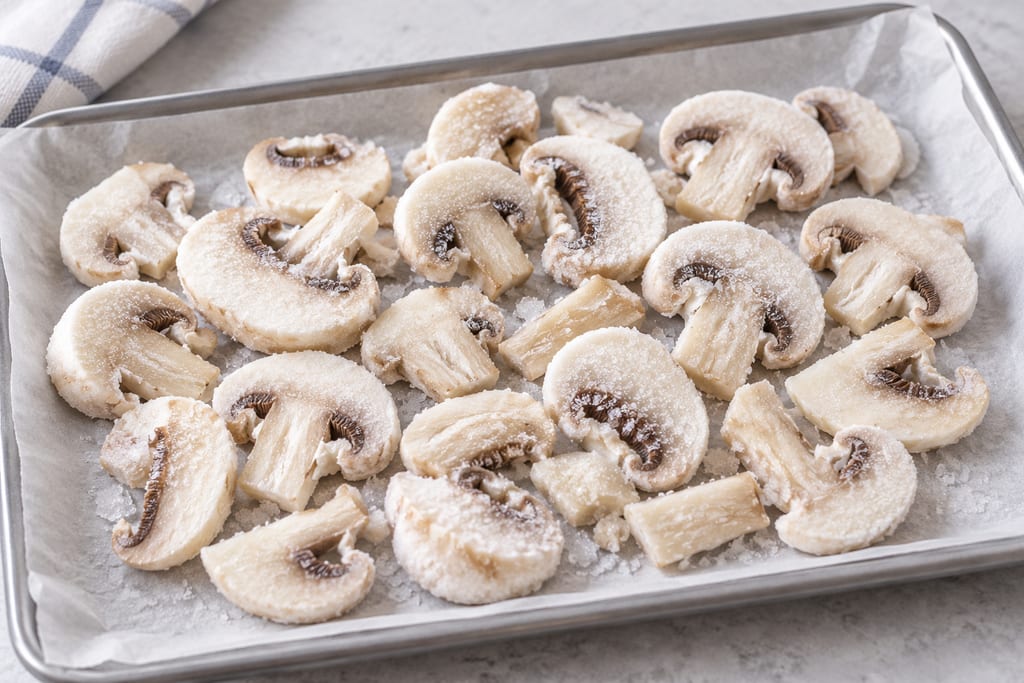
Frozen raw mushrooms are cleaned mushrooms frozen without a preheating step, the variant a Japanese forest-volunteer manual describes beside its cooked version.
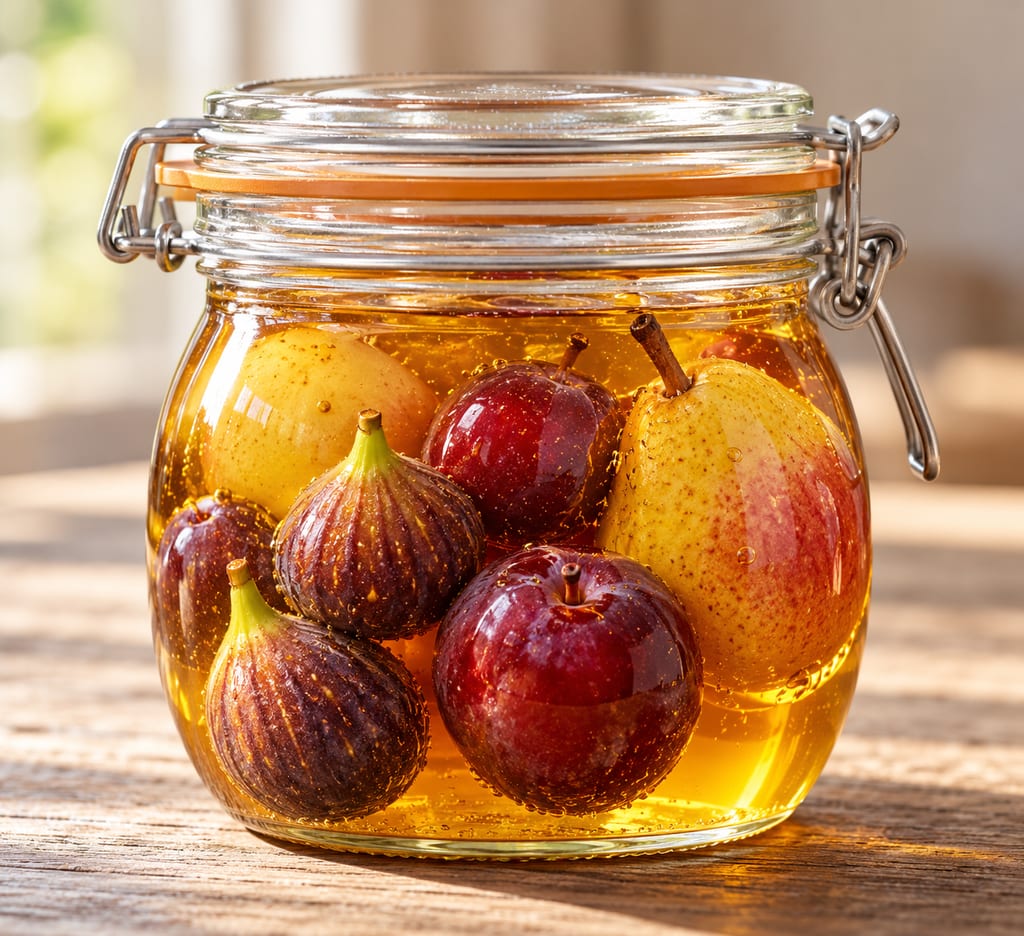
Fruit and some other foods were placed in honey in ancient Mediterranean kitchens. The honey's concentrated sugar does the preserving, and wet ingredients weaken it.
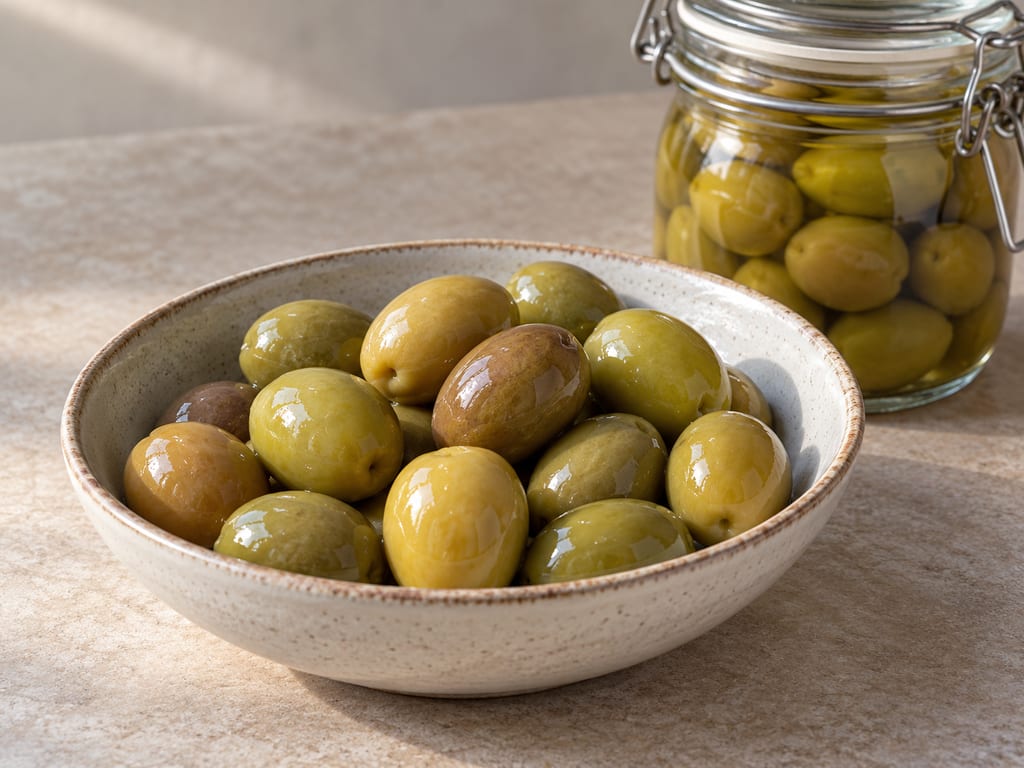
Green olives debittered in a sodium hydroxide solution, then rinsed repeatedly and held in brine, by the University of California's published home-pickling method.
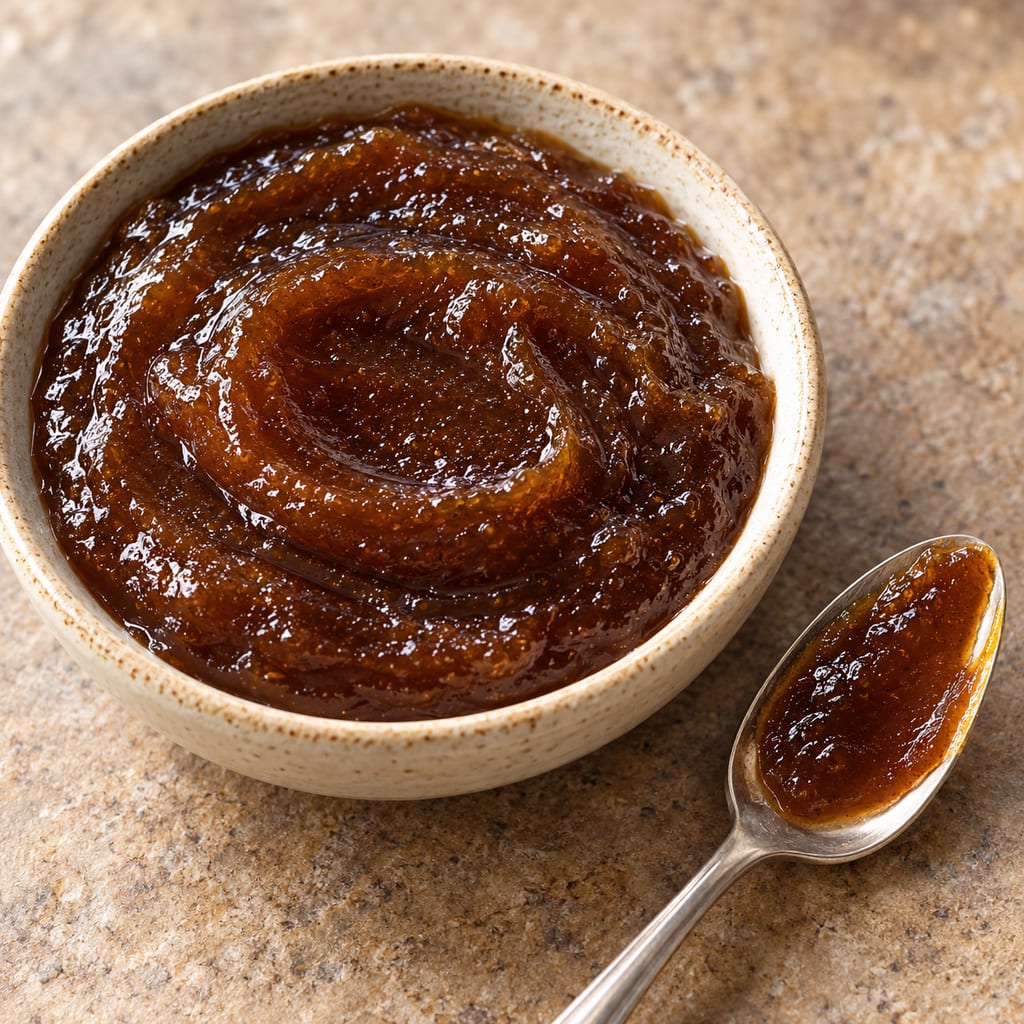
An experimental sweet mushroom preserve developed in Indian food-processing research, made by cooking mushroom pulp with sugar, added pectin and citric acid until concentrated into a thick, spreadable jam.
No community contributions have been published for this entry yet.
Sign in to contribute. Published comments and photos are free to read.
nchfp.uga.eduMethod · Context · Handling
nchfp.uga.eduDocumented preparation, regional context or preservation handling, with the limits stated in the text.
nchfp.uga.eduMethod · Context · Handling
nchfp.uga.eduDocumented preparation, regional context or preservation handling, with the limits stated in the text.
ucanr.eduMethod · Context · Handling
University of California, PumpkinsDocumented preparation, regional context or preservation handling, with the limits stated in the text.
extension.oregonstate.eduMethod · Context · Handling
Oregon State University: Potatoes, pumpkins and squash, how do I can them?Documented preparation, regional context or preservation handling, with the limits stated in the text.
Cited in: The preserve; Ingredients and equipment; Processing schedule; Storage and later preparation
nchfp.uga.eduMethod · Context · Handling
NCHFP/USDA: Pumpkins and winter squash, cubedDocumented preparation, regional context or preservation handling, with the limits stated in the text.
Cited in: The preserve; Ingredients and equipment; Processing schedule; Storage and later preparation
nchfp.uga.eduMethod · Context · Handling
NCHFP: Using pressure cannersDocumented preparation, regional context or preservation handling, with the limits stated in the text.
Cited in: The preserve; Ingredients and equipment; Processing schedule; Storage and later preparation
nchfp.uga.eduMethod · Context · Handling
National Center for Home Food Preservation. Storing home-canned foods.Documented preparation, regional context or preservation handling, with the limits stated in the text.
Cited in: The preserve; Ingredients and equipment; Processing schedule; Storage and later preparation
nchfp.uga.eduMethod · Context · Handling
NCHFP: Vegetables and fruits FAQs, pumpkin butter and pureeNo validated home pumpkin-butter process
Cited in: The preserve; Ingredients and equipment; Processing schedule; Storage and later preparation