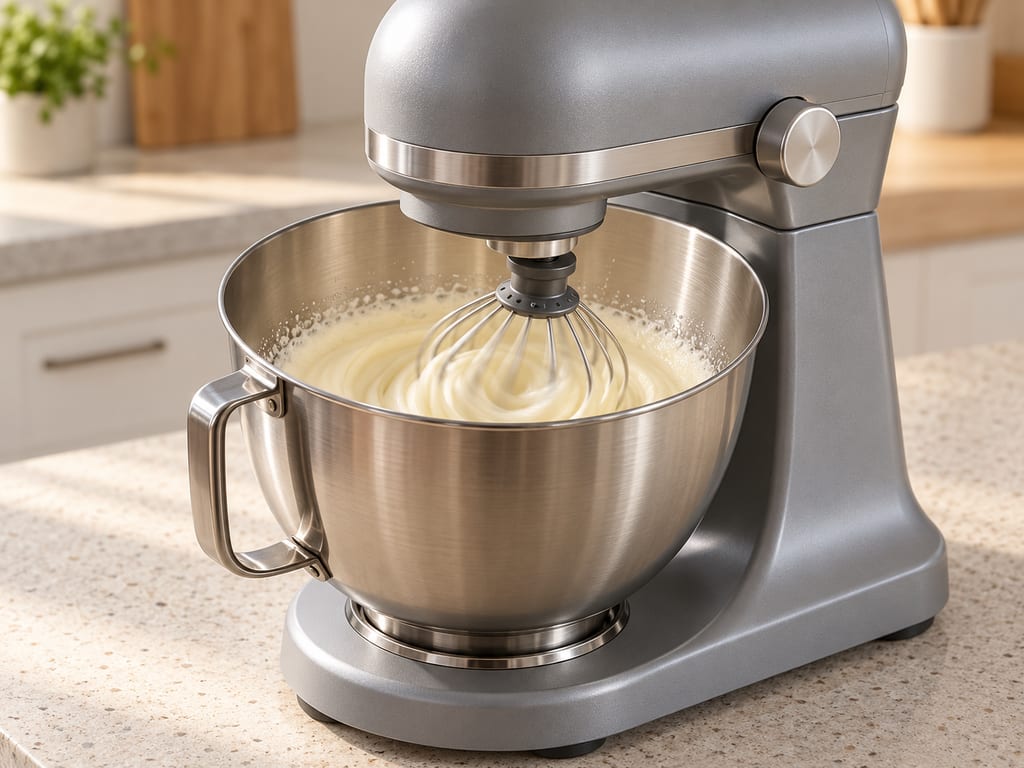
Stand mixer
A stand mixer is a powered mixing machine built around a stationary base, a supported bowl and a driven beater or other tool. It can stir, beat, whip and knead; particular models may also accept separate accessories for other jobs.
 FermenteaWhere food goes to change
Modern adaptation
Shokupan (食パン) · Japanese milk bread
Shokupan is a soft, mildly sweet Japanese wheat loaf served as toast or in sandwiches. This formula makes a square or rounded one-loaf pan bread with a fine, milky crumb.
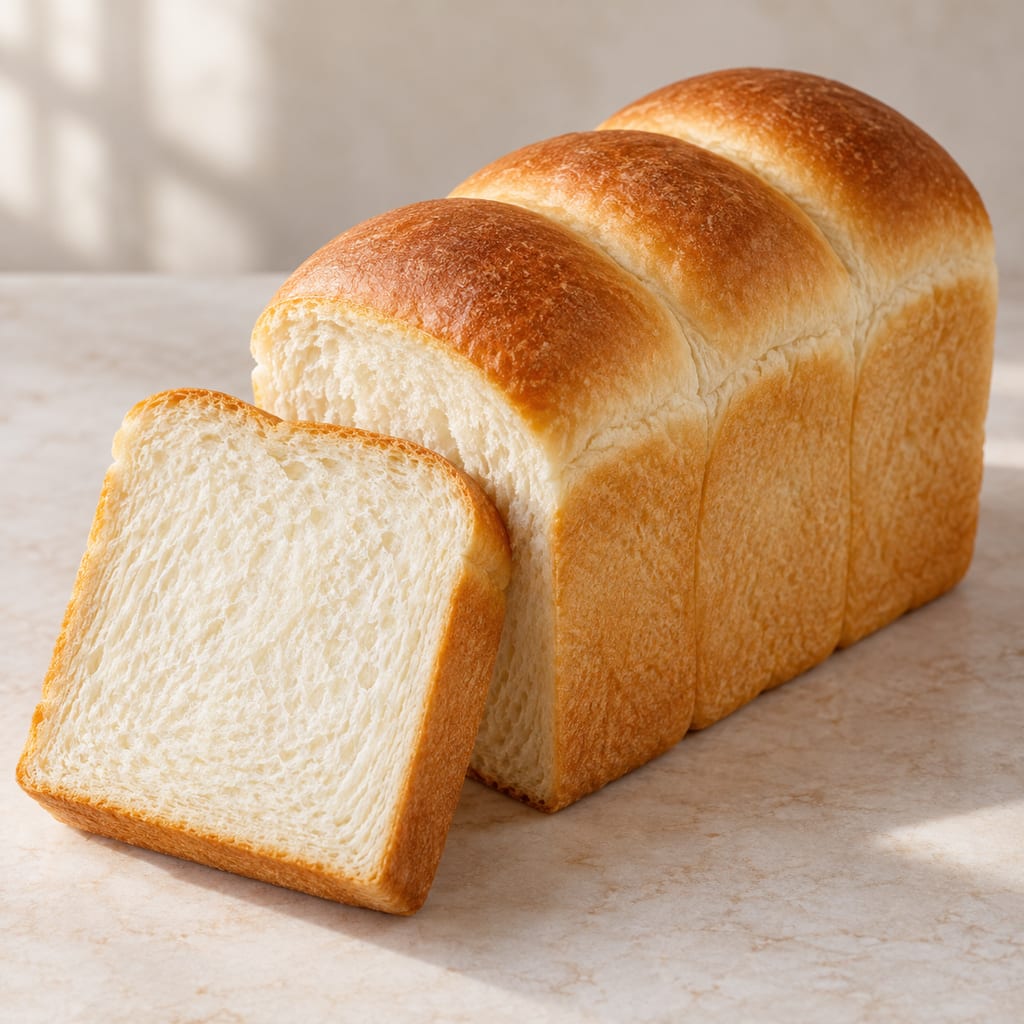
Shokupan is a soft Japanese-style white bread with a fine, elastic crumb and a lightly sweet, milky flavour.
The name is written 食パン in Japanese and romanised as shokupan.
The bread is widely used for breakfast toast and sandwiches in Japan.
Its defining characteristics include a remarkably soft interior, a tall slice and a structure that can be gently pulled apart into fine strands.
Shokupan is often baked in a rectangular tin. Depending on the desired shape, the loaf may have a flat top or a rounded dome.
The flat version is baked with a lid, while the rounded loaf expands freely above the tin.
This recipe was revised in May 2026 by Namiko Hirasawa Chen of Just One Cookbook, with baking instructor Mariko Fujimoto.
It was adjusted for a particular Japanese-style loaf pan and contains approximately 10% more dough than the earlier version.
That revision matters because bread-pan dimensions strongly influence the finished height and shape.
Bread was introduced into Japan through contact with European traders during the sixteenth century.
The Japanese word pan derives from Portuguese pão.
However, bread did not immediately become an everyday staple throughout Japanese society.
Modern white sandwich bread developed much later.
During Japan's nineteenth-century modernisation, Western-style bakeries became increasingly prominent in port cities and urban centres.
British-style round-topped white loaves became one influence.
After the Second World War, American-style flat-topped sandwich bread contributed another.
Japanese bakers adapted these products to local preferences, developing particularly soft, mildly sweet loaves.
Shokupan became a common convenience food and bakery staple.
Today it is associated with Japanese breakfast culture, cafés and a wide range of sandwiches.
The two shapes—rounded and flat—therefore reflect different baking influences and practical preferences.
The exact modern recipe in this record is not an ancient Japanese formula.
Just One Cookbook
Water — 275 g
Granulated sugar — 22 g
Honey — 11 g
Instant yeast — 8 g
Bread flour — 385 g
Diamond Crystal kosher salt — 8 g
Skim or nonfat milk powder — 22 g
Unsalted butter for dough — 28 g
Neutral oil for proofing bowl — ½ teaspoon
Butter for pan — 10 g
Additional flour may be used for dusting, but no quantity is stated.
A light spray of water is optional for the rounded-top loaf.
The formula is designed for a 1.5-kin Japanese shokupan pan.
The documented internal dimensions are approximately 20 × 12 × 12.5 cm.
Shokupan and brioche are both soft yeast-raised breads, but their compositions differ substantially.
Brioche relies heavily on eggs and butter.
This shokupan formula contains no eggs and uses comparatively little butter.
Its softness comes from controlled gluten development, adequate hydration, milk solids, shaping and baking.
The final flavour is milky and lightly sweet rather than intensely buttery.
This makes shokupan particularly suitable for sandwiches that require bread with a mild flavour.
The absence of eggs also produces a different crumb colour and structure.
The recipe uses bread flour.
Bread flour typically contains more gluten-forming protein than ordinary cake flour.
The gluten network must be strong enough to support a tall loaf with a soft interior.
The dough is mixed intensively.
During kneading, hydrated glutenin and gliadin proteins interact to form an extensible network.
This network traps carbon dioxide produced by yeast.
The dough must be strong but not so stiff that it loses the softness characteristic of shokupan.
Excessive flour addition can make the finished loaf denser than intended.
The formula uses 22 g milk powder rather than liquid milk.
This adds milk proteins, lactose and other milk solids without altering the measured water addition.
Milk proteins contribute to bread flavour and crust browning.
Milk sugar also contributes to the sensory profile.
Because ordinary baker's yeast does not ferment lactose efficiently, some milk-derived sweetness can remain.
The dry milk also helps achieve a consistent ingredient concentration.
Different brands of skim and nonfat milk powder vary in protein content and processing.
The source permits both, while explaining why its preferred Japanese-style milk powder may differ from common American products.
One of the unusual strengths of this recipe is its detailed treatment of dough temperature.
Mixing generates heat through mechanical friction.
The starting water temperature therefore needs to respond to kitchen conditions.
The source gives the following water ranges:
Very cold kitchen — 20–24°C
Cool kitchen — 18–20°C
Moderate kitchen — 16–18°C
Warm or hot kitchen — 12–16°C
The target final dough temperature is 26–28°C.
These ranges are not arbitrary serving temperatures.
They are part of controlling yeast activity and dough handling during intensive mixing.
The source warns against excessive friction heating above 28°C during the relevant stages.
Measure 275 g water at a temperature appropriate to kitchen conditions.
Add 22 g sugar, 11 g honey and 8 g instant yeast.
Whisk to combine.
The chosen water temperature should account for the expected heat generated during mixing.
In a stand-mixer bowl, combine 385 g bread flour, 8 g salt and 22 g milk powder.
Mix briefly to distribute the dry ingredients.
Add the yeast-containing liquid.
Using the specified KitchenAid Artisan 5-quart stand mixer, knead at speed 2 for 2–3 minutes.
Increase to speed 4 for 4 minutes.
Then use speed 6 for 3 minutes.
The dough should become more cohesive and begin clearing the bowl.
The exact speed settings are equipment-specific.
They should not be applied blindly to every mixer.
Before adding the butter, check that the dough remains below 26°C.
If the dough is already too warm, continuing aggressive mixing may push it beyond the desired temperature.
Add 28 g unsalted butter, cut into small cubes.
Knead at speed 2 for 2 minutes, until butter streaks disappear.
Increase to speed 6 for 2–3 minutes.
The dough should become smooth, elastic and increasingly capable of forming a thin membrane.
Continue at speed 4 for 1–2 minutes.
Check the dough temperature.
The desired range is 26–28°C.
Use the windowpane test to assess gluten development.
A small portion of dough should stretch into a thin membrane before tearing.
Shape the dough into a smooth ball.
Place it in a bowl greased with ½ teaspoon neutral oil.
Cover.
Proof until doubled.
The documented time is usually 45–60 minutes, although a cool kitchen may require up to 1½ hours.
Warm proofing conditions are around 30–38°C.
Gently deflate the dough.
Weigh and divide into three equal portions.
Round each portion into a smooth ball.
Try to achieve similar tension in all three pieces.
This helps them expand evenly in the pan.
Cover with a lightly damp towel.
Leave for 15 minutes.
The rest allows the dough to relax after division and rounding.
Relaxed gluten is easier to roll without excessive springing back.
Grease the 1.5-kin loaf pan and lid with 10 g butter.
Use the documented dimensions rather than substituting an arbitrary small sandwich tin.
Roll each dough ball into a rectangle approximately 7 × 9 inches.
Press out large air pockets.
Fold the dough into thirds lengthwise.
Fold the upper corners inward.
Roll into a compact log and seal the seam.
Repeat for all three portions.
Place two logs seam-side down at opposite ends of the pan.
Position their spirals facing inward.
Place the third log between them.
Adjust gently so the tops are even.
This arrangement helps create a regular loaf and fine crumb.
Cover and proof for approximately 1 hour in a warm location.
For a flat-topped loaf, stop when the dough reaches 75–80% of pan height.
For a rounded loaf, allow it to reach approximately 85–90%, or the lid-contact cue described for the shaping option.
These are separate endpoints for the two baking shapes.
Heat the oven to 425°F / 220°C.
Position the rack approximately 6–7 inches below the top heating element.
Close the pan lid.
Reduce oven temperature to 410°F / 210°C.
Bake for 25–30 minutes.
The closed lid produces a square profile.
Leave the lid off.
Lightly spritz the exposed dough with water.
Reduce oven temperature to 385°F / 195°C.
Bake for 25–30 minutes.
The dough expands above the pan and forms a rounded top.
Immediately after baking, strike the pan firmly against the work surface once or twice as directed in the source.
Remove the loaf.
This helps release moisture and reduce collapse associated with trapped steam.
Cool completely for 2–3 hours before slicing.
The crumb is particularly delicate while hot.
Allowing it to cool improves slicing and structure.
Just One Cookbook
The windowpane test is a practical indicator of gluten development.
A small piece of dough is gently stretched.
If the gluten network is sufficiently developed, it can form a thin, translucent membrane.
If it tears immediately, the dough may require more development.
However, the test is not a direct laboratory measurement of gluten strength.
Different flours and hydration levels affect its appearance.
The aim is to use it alongside dough temperature, elasticity and the way the dough behaves in the mixer.
The recipe uses instant yeast, ordinarily Saccharomyces cerevisiae.
Yeast metabolises available sugars to produce carbon dioxide and ethanol.
The carbon dioxide expands gas cells within the dough.
Some sugar comes from the measured sugar and honey.
Additional fermentable sugars become available through activity involving flour starch and enzymes.
Fermentation also produces smaller quantities of compounds that contribute to bread aroma.
The final result depends on yeast viability, time, dough temperature and the physical structure of the mixture.
Excessive warmth may accelerate fermentation and alter handling characteristics.
Very cold conditions slow it.
The temperature-management instructions therefore serve both dough technology and fermentation control.
Several factors interact.
The dough contains enough water for extensive hydration.
The flour provides a gluten network that can retain gas.
Butter contributes tenderness.
Milk solids influence flavour and crumb behaviour.
The dough is kneaded to a high level of development.
The three-log shaping method creates a controlled internal structure.
Baking sets the starch and proteins while retaining a relatively moist crumb.
No single ingredient alone produces the finished texture.
This is why the recipe does not require a separate tangzhong or yudane stage.
Other Japanese milk-bread recipes use those methods, but this one achieves its intended character through conventional dough mixing and careful temperature control.
Tangzhong involves cooking a portion of flour and liquid into a gelatinised paste before combining it with the main dough.
Yudane similarly uses hot water to gelatinise part of the flour.
Both can influence moisture handling and softness.
They are familiar in modern Asian bread baking.
However, the May 2026 Just One Cookbook recipe explicitly does not use either technique.
Adding a tangzhong without recalculating flour and water would change the formula.
The ingredient list should therefore remain unchanged.
The flat-topped loaf is restrained by its lid during baking.
It produces square slices.
This makes it especially suitable for sandwiches.
The rounded loaf is allowed to expand freely.
It produces a different upper crust and slice profile.
The two shapes use the same dough.
Their proofing endpoints and oven settings differ.
They should remain variants of one recipe rather than being entered as unrelated breads.
Thick slices of shokupan are commonly toasted for breakfast.
Butter, jam and honey are familiar accompaniments.
The bread is also central to Japanese sandwiches, or sando.
Tamago sando uses egg filling.
Katsu sando contains a breaded cutlet.
Fruit sandwiches use cream and fresh fruit between soft slices.
Shokupan is also used for pizza toast and sweet café preparations.
The softness of the bread and its mild flavour make it particularly suitable for these dishes.
Some Japanese cafés serve thick toast with butter and sweet toppings.
Others use it for savoury toast and sandwiches.
The bread is not restricted to one specific meal.
Japanese shokupan varies in flour selection, sweetness, milk ingredients and shaping.
Some bakeries produce exceptionally rich premium loaves.
Others favour lighter bread suitable for daily toast.
Hokkaido-style milk breads may emphasise regional dairy associations.
The term Hokkaido milk bread is not a universal technical synonym for every Japanese shokupan.
Commercial versions may include additional dough conditioners, while artisanal bakeries may use different fermentation systems.
The current formula is a straightforward yeast-raised enriched bread.
The dough becomes hot during mixing: Use cooler starting water in subsequent batches and monitor mixer friction.
The dough tears during the windowpane test: Gluten development may be insufficient.
The loaf is short: Pan size, yeast activity and proofing may be involved.
Large holes appear beneath the crust: Shaping may have trapped air pockets.
A flat loaf bulges against the lid: Dough may have been overproofed or the pan overfilled.
The rounded loaf collapses: Overproofing or insufficient structure may contribute.
Crumb feels gummy: Cooling or baking may be incomplete.
Bread dries quickly: Storage conditions and starch retrogradation influence perceived freshness.
This recipe contains wheat, milk and honey.
It is not gluten-free or dairy-free.
The original storage recommendation is 1–2 days for a wrapped whole loaf in a cool location.
For longer storage, slice and freeze for up to one month, with the best quality during the first two weeks.
The source recommends avoiding ordinary refrigeration because it can accelerate bread firming.
That is a quality recommendation, not permission to retain visibly mouldy bread.
The recipe author discusses British and postwar influences; Kikkoman Food Forum separately reports broader popularity in the 1950s. These are attributed development and popularity accounts, not a first-maker attestation.
Yield 1 loaf (1.5-kin size) · Scaling: source batch only
The recipe and food-culture source place shokupan in Japan; neither names a precise birthplace.
A stand mixer is a powered mixing machine built around a stationary base, a supported bowl and a driven beater or other tool. It can stir, beat, whip and knead; particular models may also accept separate accessories for other jobs.
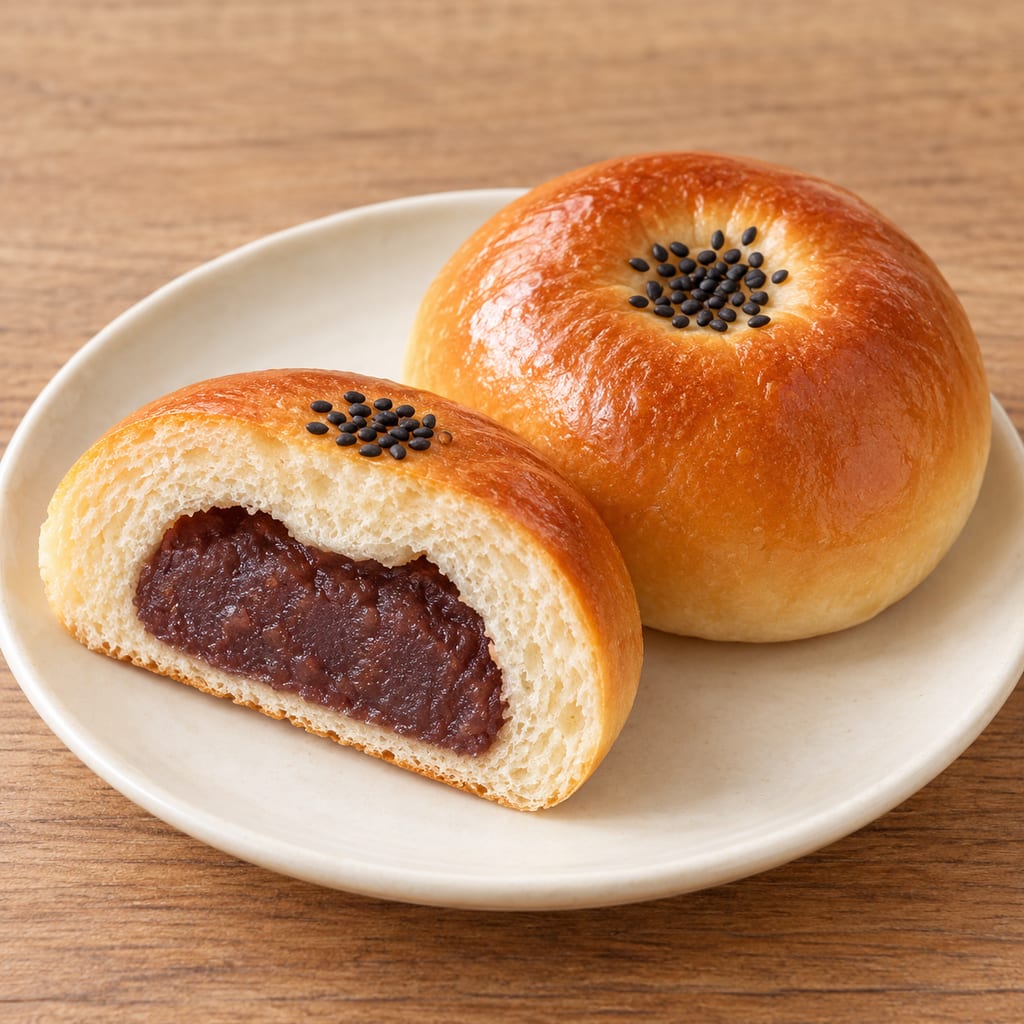
Anpan is a soft wheat bun filled with sweet red-bean paste and finished with egg wash and black sesame. This dough rises with commercial instant yeast.
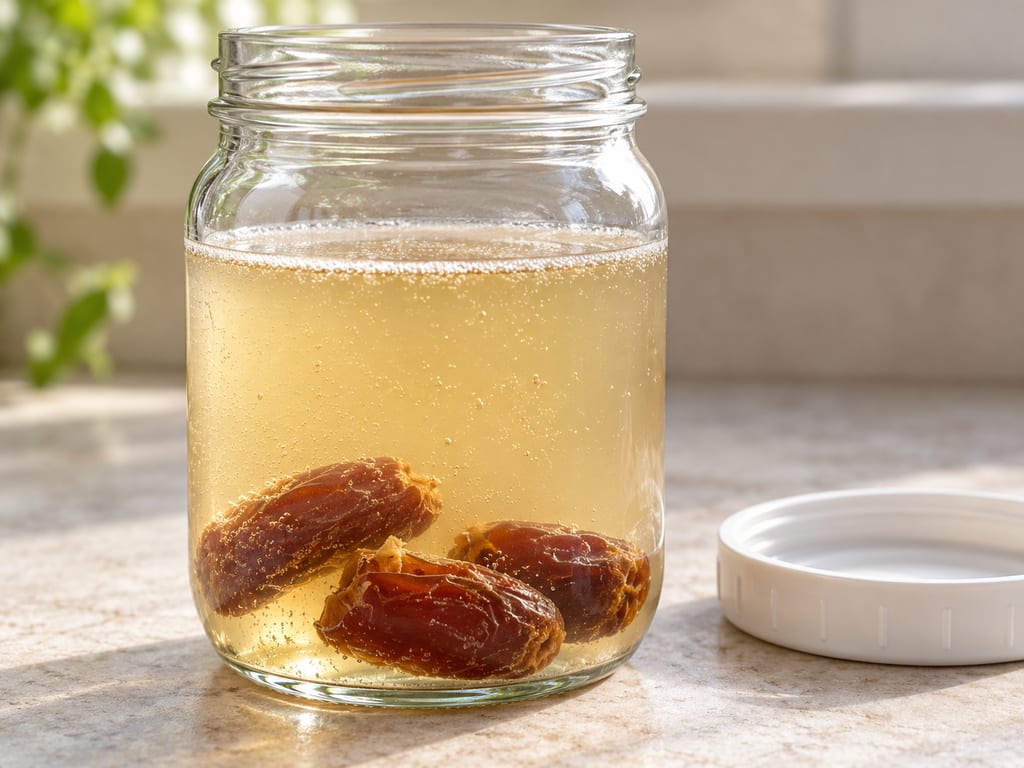
Fruit yeast water is a spontaneously fermented liquid made by soaking fruit in water, with or without sugar, to grow yeast for starting bread dough or a separate flour starter.
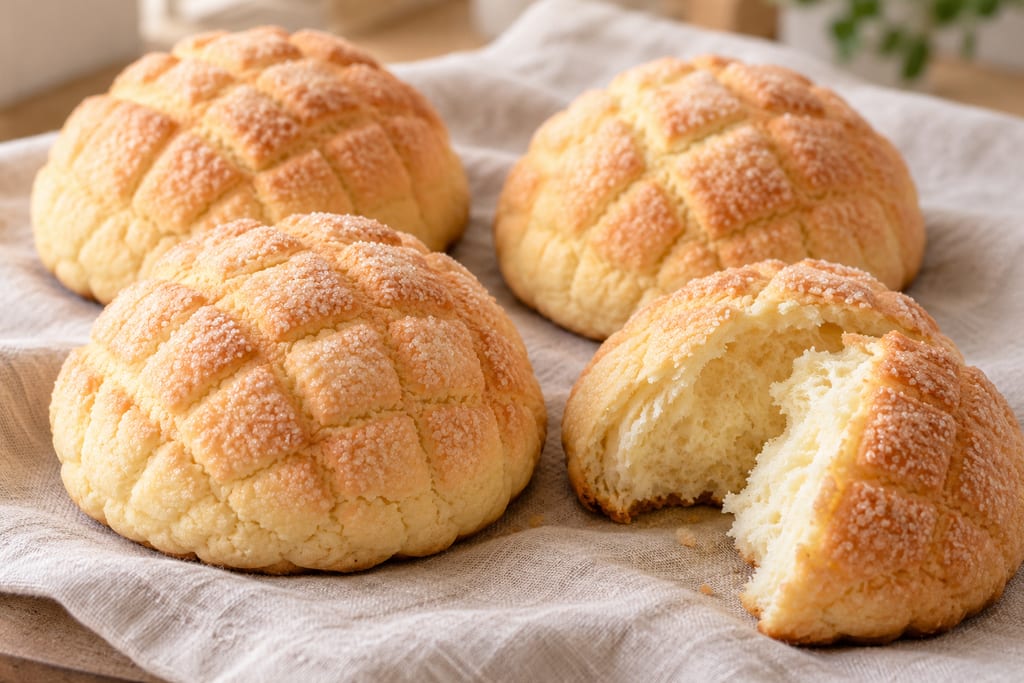
Melon pan pairs a soft Japanese yeast bun with a crisp, crosshatched cookie shell. In this ten-bun version, the bread dough is wrapped in a separate biscuit layer and baked until lightly golden.
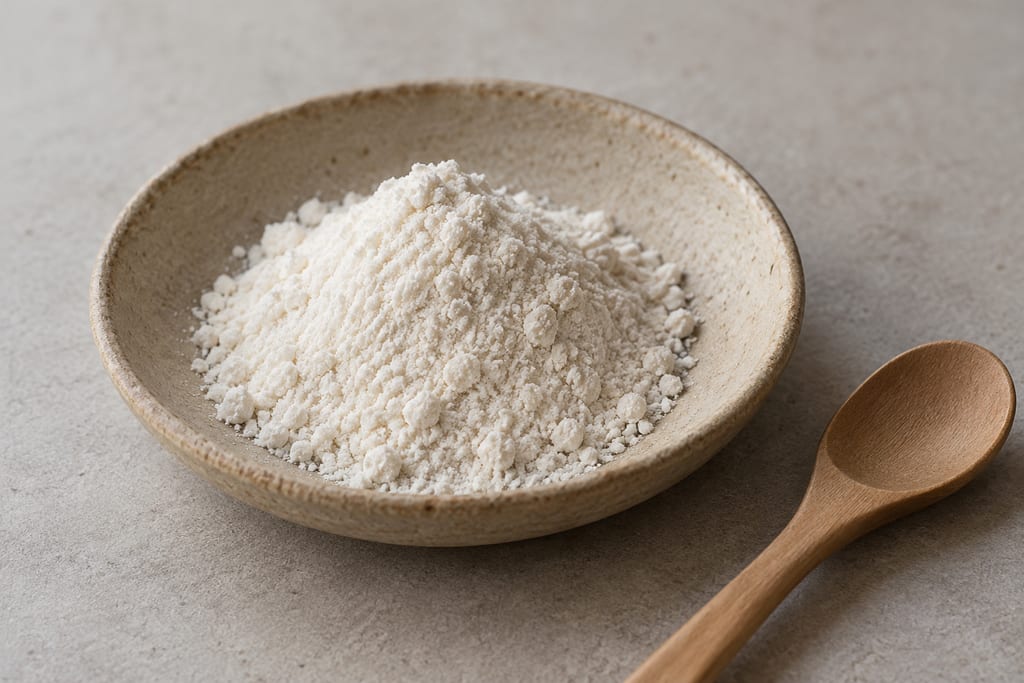
Starch released from giant woodland lily bulbs by pounding, washed out in water, settled and dried: the refined fraction of an Ainu process that also yields fermented cakes from the residue.
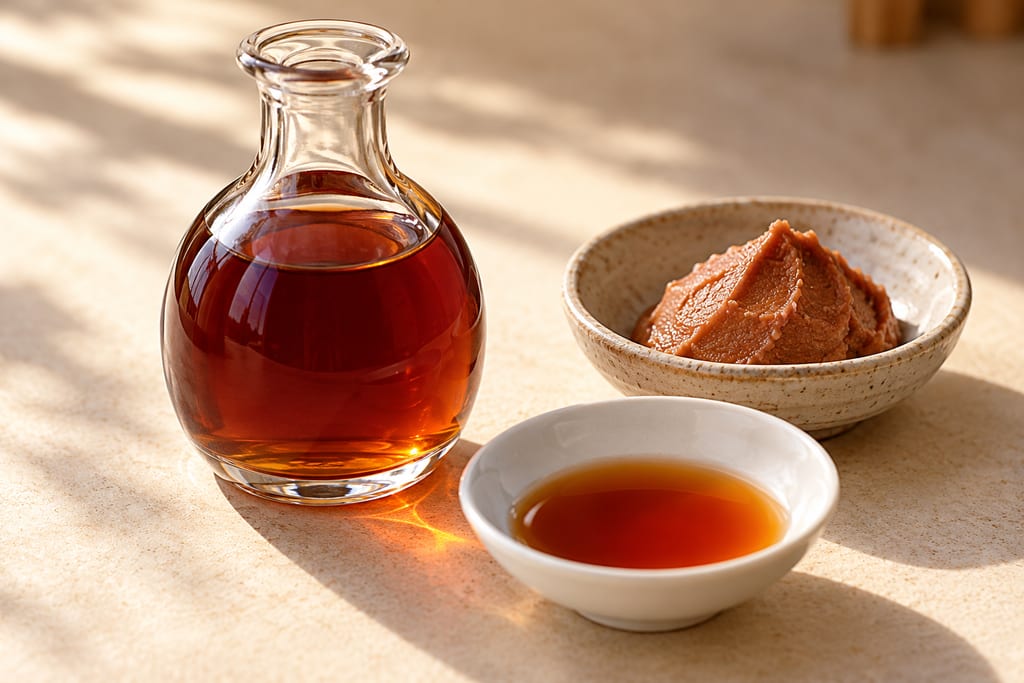
Japanese reddish-brown vinegar from sake lees matured about three years, turned to vinegar by acetic bacteria; the vinegar of Handa and Edomae sushi rice.
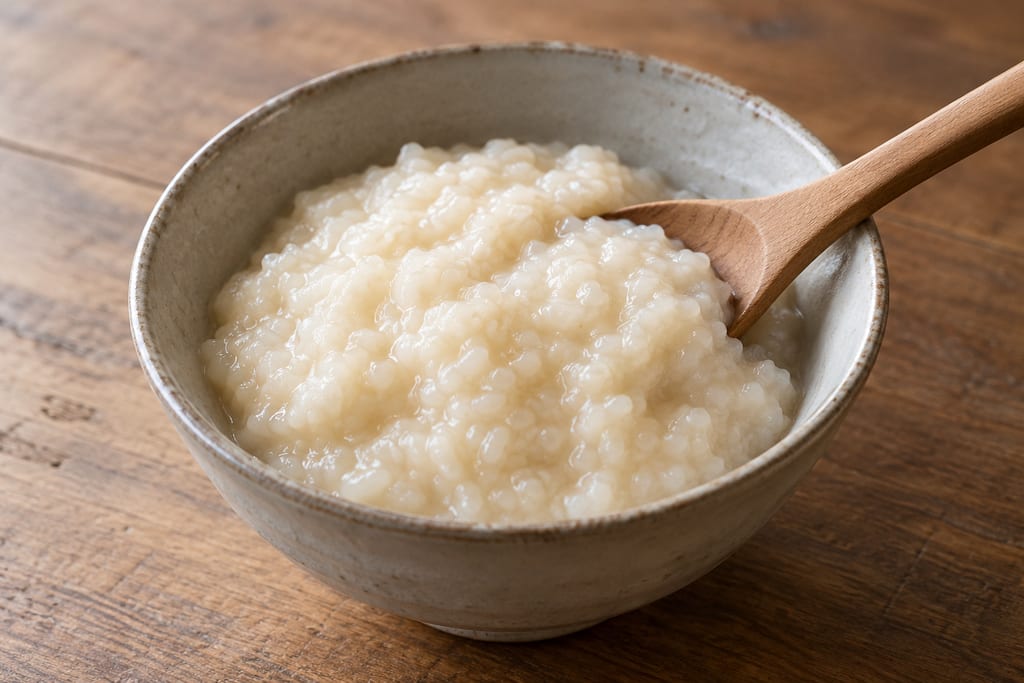
A thick, naturally sweet rice-and-koji preparation used to add body and sweetness to marinades, dressings and sauces. This method follows a published Marukome home recipe and is an enzyme-conversion hold, not a way to grow koji mould.
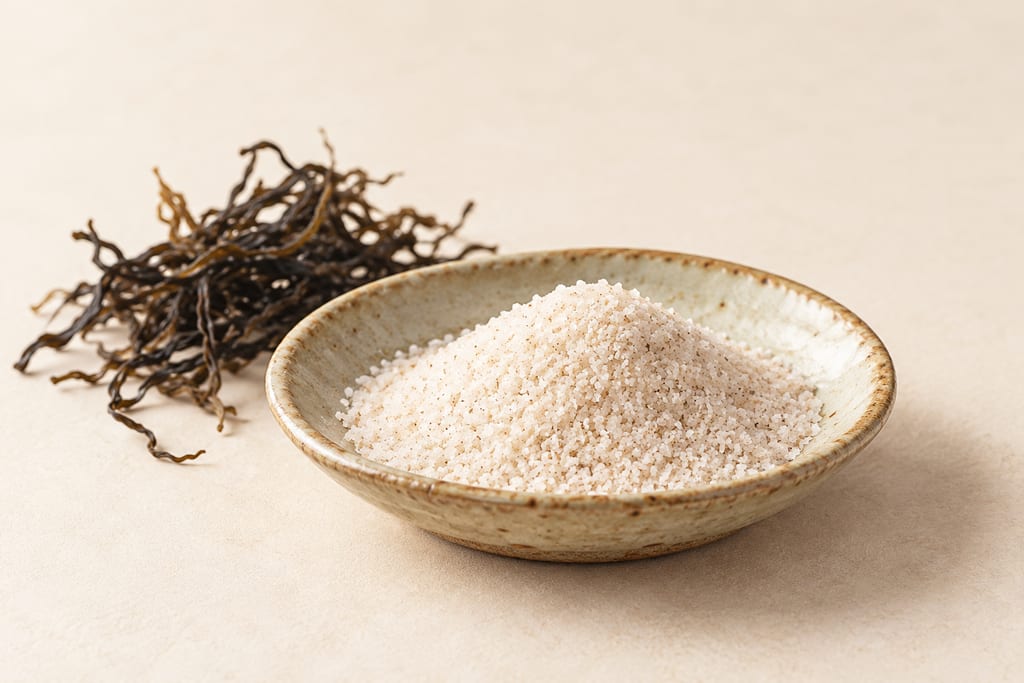
Amabito no Moshio is a modern, pale beige Japanese seaweed salt made from Seto Inland Sea water and hondawara seaweed. Its documented factory method concentrates filtered brine in kettles, then separates and dries the salt.
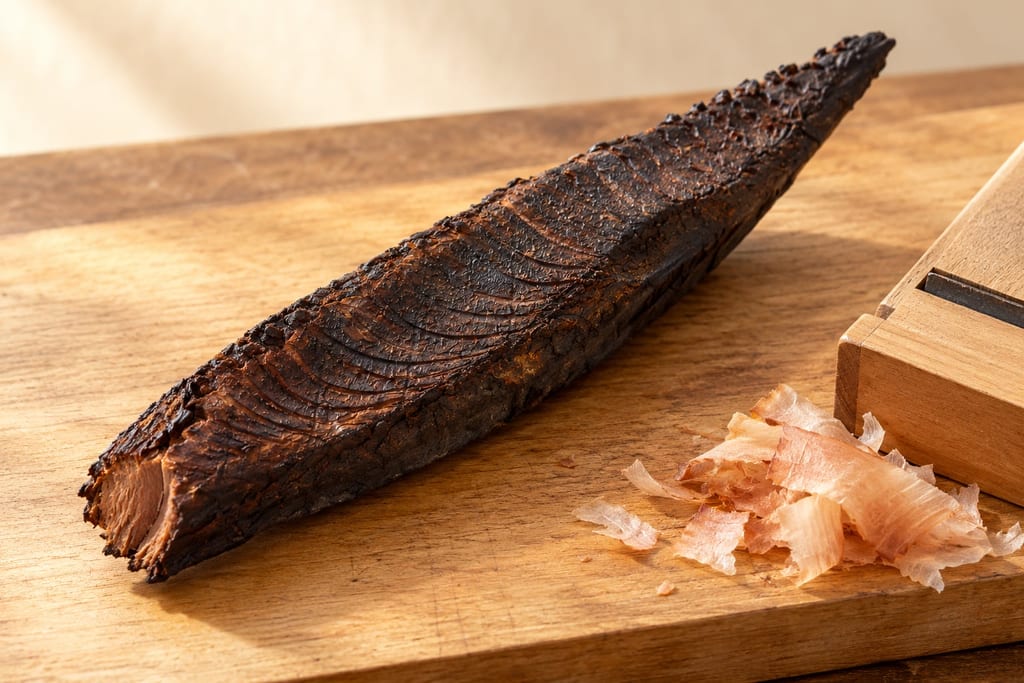
Japanese skipjack tuna cooked, then repeatedly smoked and dried over a wood fire by the hand-fired tebiyama method into a hard block for shaving into dashi: the first stage of katsuobushi.
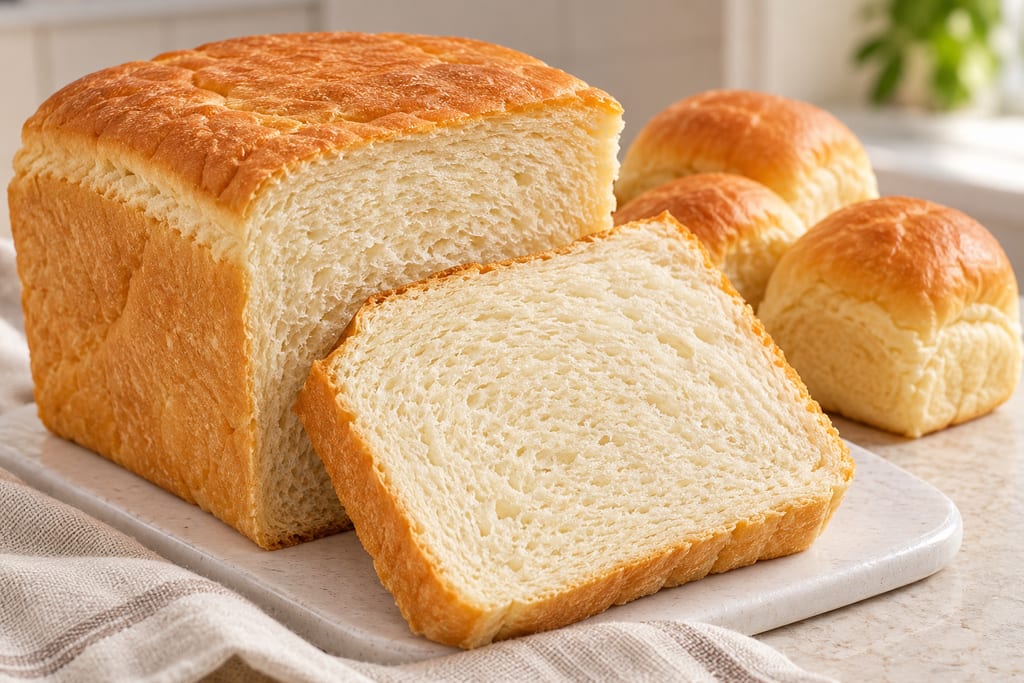
This softer home-style Agege bread uses a scalded flour paste, an enriched yeast dough and a 9×5-inch loaf pan, with rolls from the extra dough.
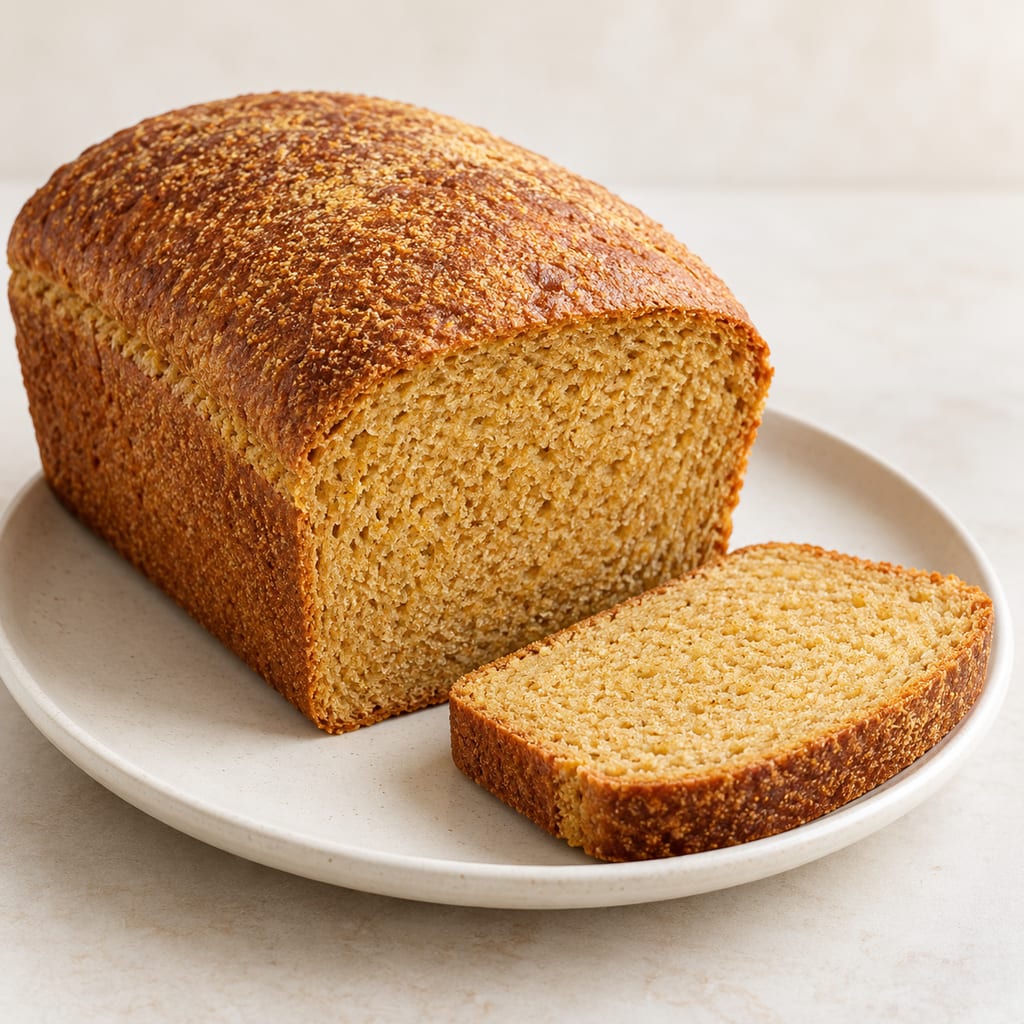
Anadama is a New England yeast loaf made with wheat flour, cornmeal and molasses. Scalded cornmeal enriches the dough, while molasses lends sweetness and a dark crust; it is especially good toasted or beside soup and baked beans.
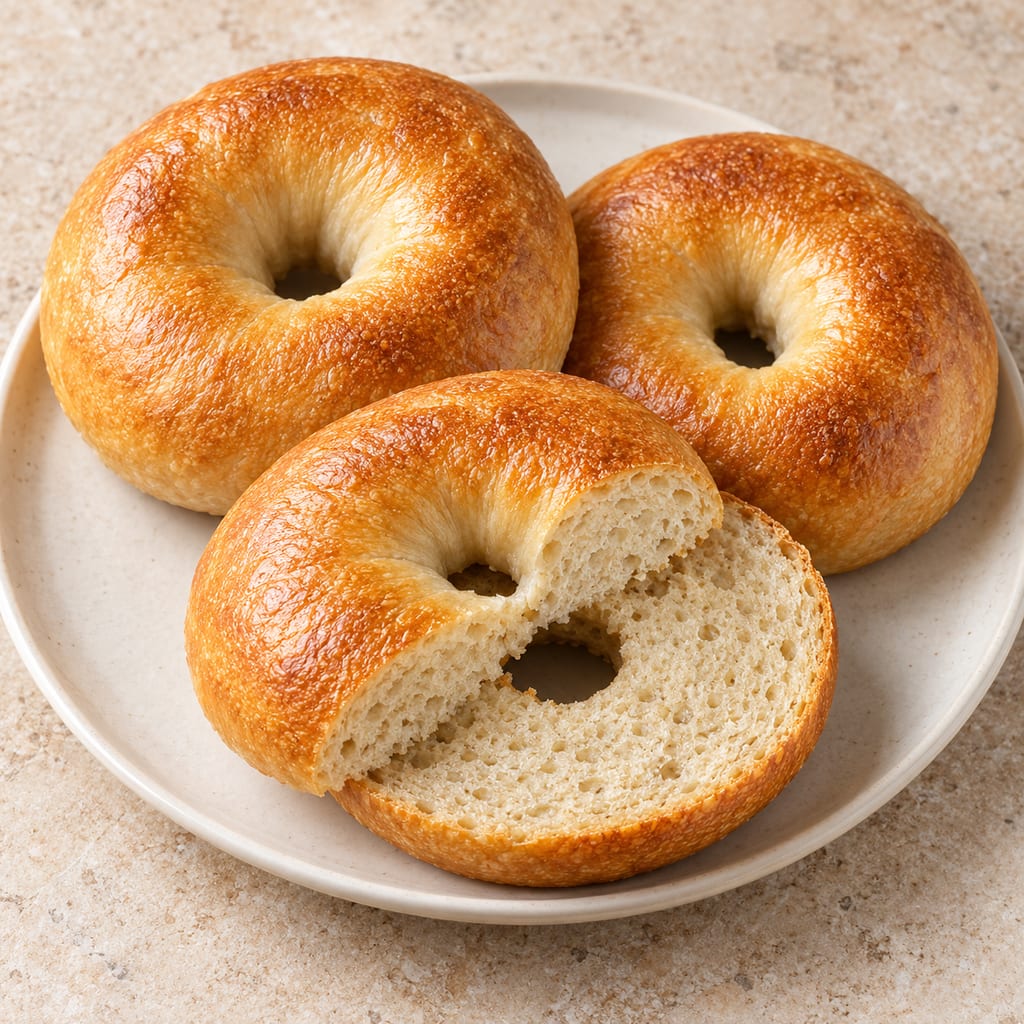
A yeast-raised wheat ring shaped from a firm dough, briefly boiled and baked. This source-batch formula gives a gently malted crust and a chewy crumb.
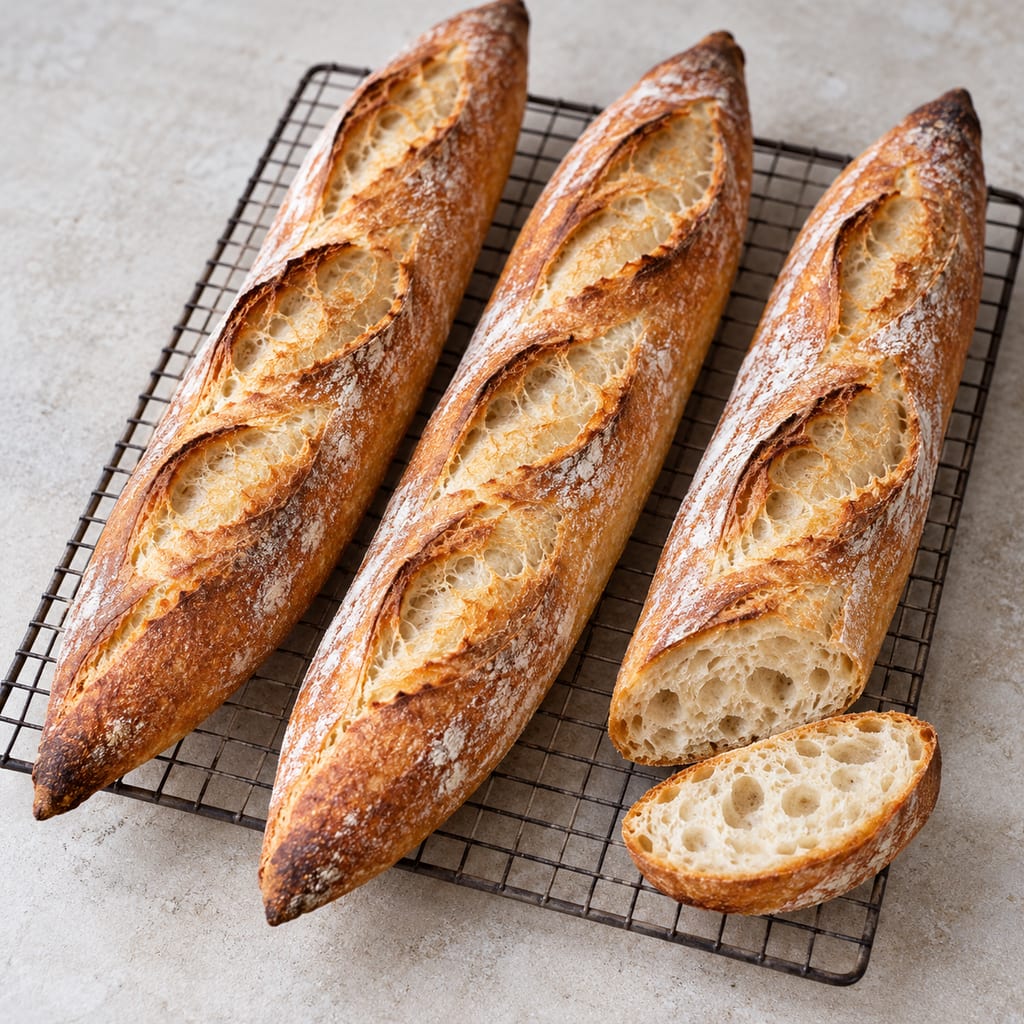
Three long, crusty wheat loaves made with an overnight yeast poolish, shaped by hand and baked with steam for a crisp crust.
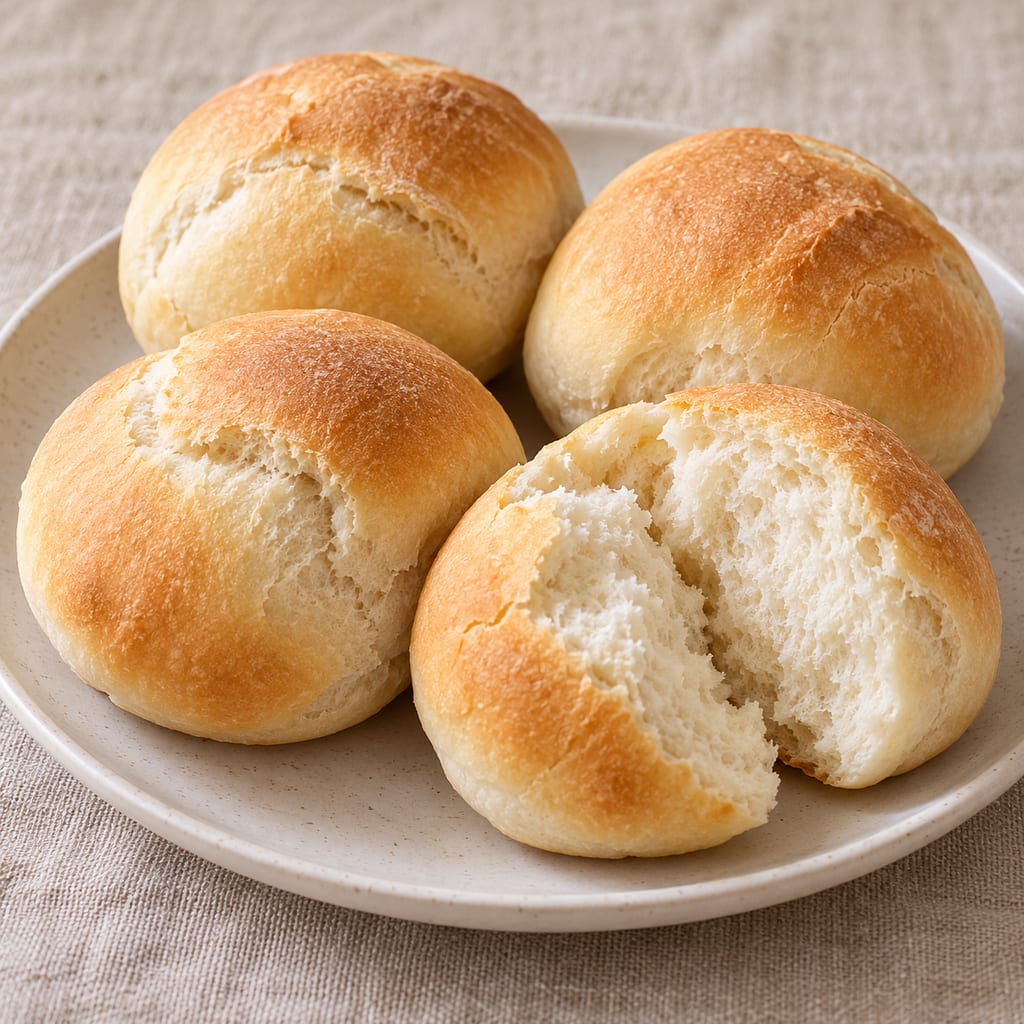
A lightly salted, yeast-raised Barbadian roll, baked in a dozen-roll home batch and often split for cutters.
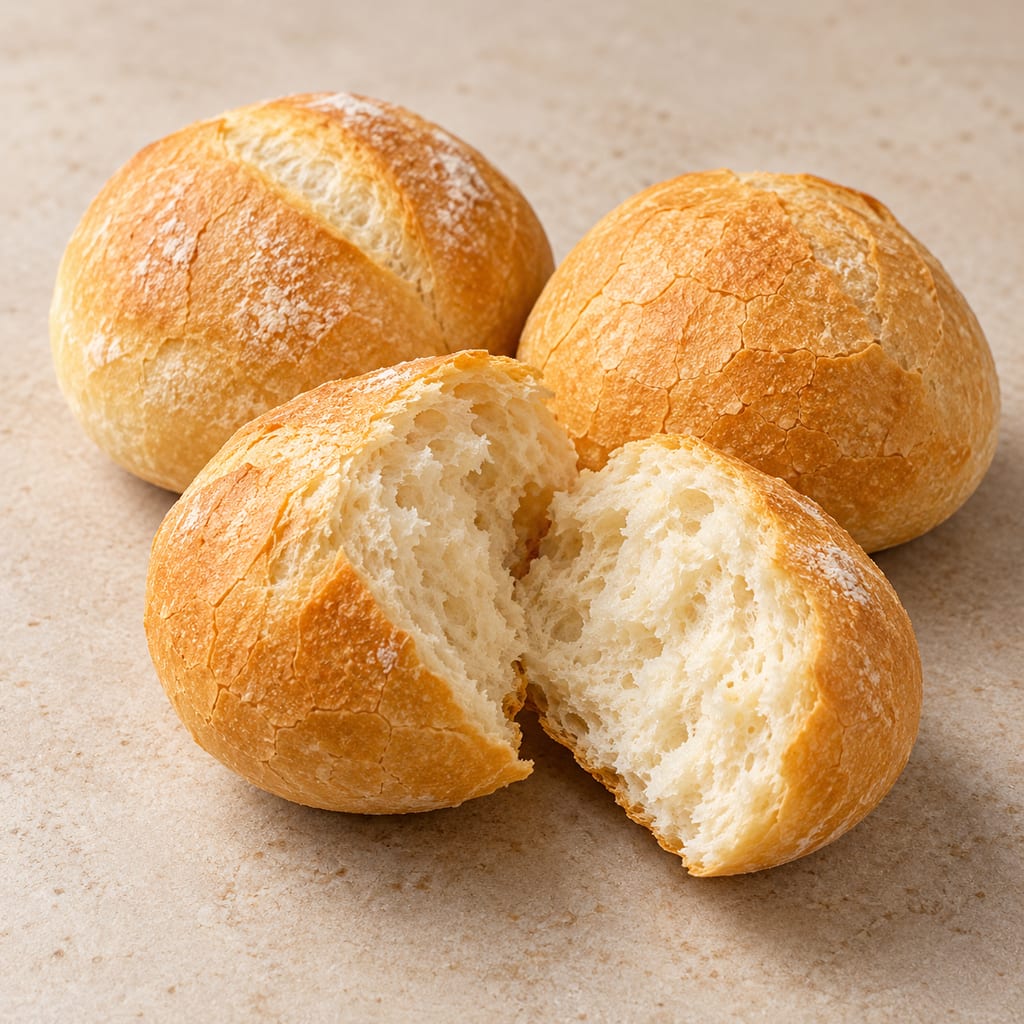
A crisp Belgian roll made from a supplier’s Croc-flour dough, mixed by hand or machine, proofed in rounds and baked with steam.
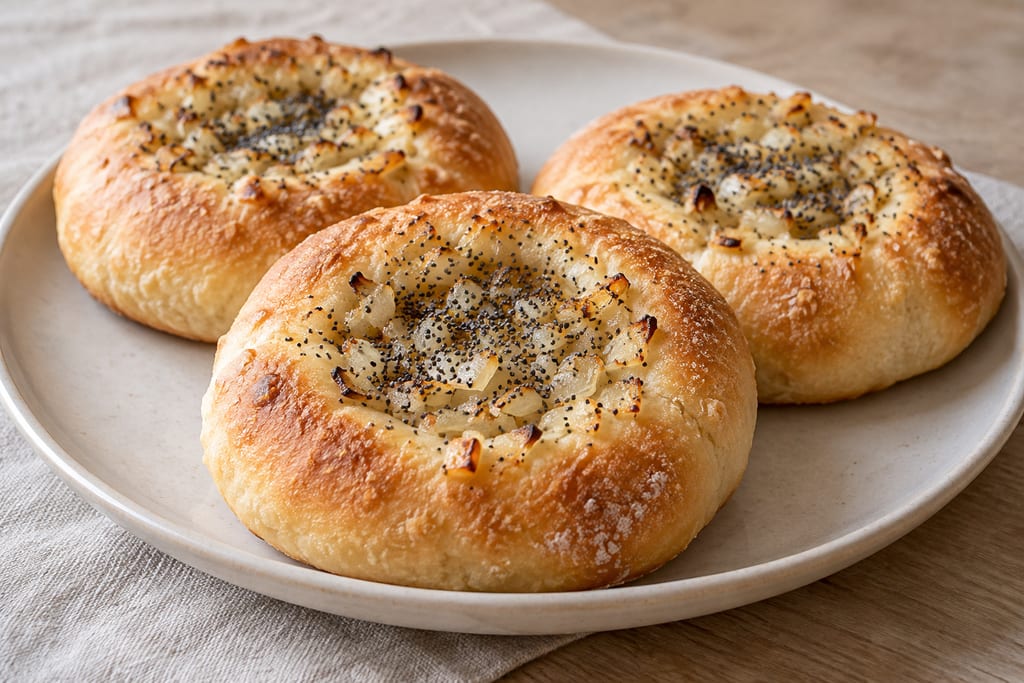
Bialys are soft, yeasted wheat rolls baked without boiling, each shaped with an onion-filled central depression instead of a hole.
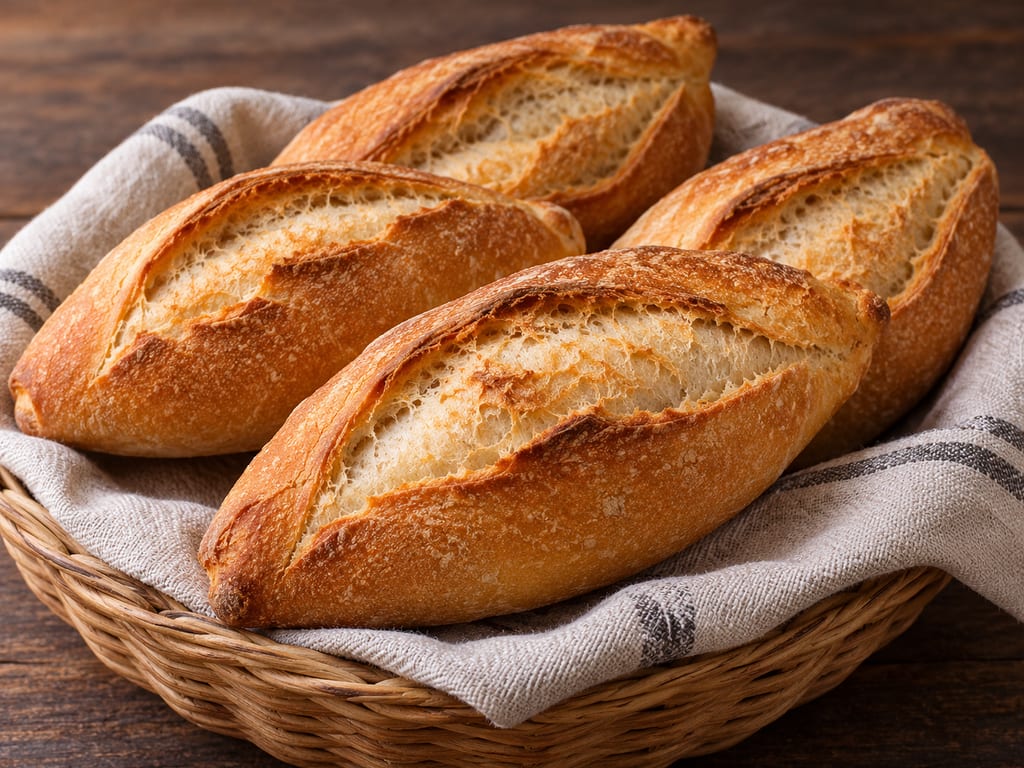
A measured, commercial-yeast home method for Guadalajara-style birote salado, with a six-hour preferment, shaped rolls and a two-temperature steam bake. This formula contains no egg.
No community contributions have been published for this entry yet.
Sign in to contribute. Published comments and photos are free to read.
Just One CookbookInspiration · Recipe · Identity · History
Shokupan (Japanese Milk Bread)Current revised page: history/context lines 117–179; equipment and card lines 452–504; water choice and mixer sequence lines 505–605; shaping and pan arrangement lines 654–780; storage lines 772–776.
Cited in: What is shokupan?; Shokupan in Japanese food history; Ingredients; Why this is not brioche; Flour and gluten development; Milk powder and flavour; Water temperature and dough friction; Stage 1 — Prepare the liquid ingredients; Stage 2 — Prepare the dry ingredients; Stage 3 — Initial kneading; Stage 4 — Check temperature; Stage 5 — Add butter; Stage 6 — Finish kneading; Stage 7 — First proof; Stage 8 — Divide; Stage 9 — Bench rest; Stage 10 — Prepare the pan; Stage 11 — Roll and shape; Stage 12 — Arrange; Stage 13 — Final proof; Stage 14 — Preheat; Stage 15A — Bake a flat-topped loaf; Stage 15B — Bake a rounded loaf; Stage 16 — Release; Stage 17 — Cool; Why the windowpane test matters; Fermentation microbiology; Why the bread is so soft; Tangzhong and yudane: related techniques, not part of this formula; Flat-top versus rounded-top shokupan; Regional and commercial variations; Troubleshooting; Safety and storage
JOC GoodsEquipment
Japanese Shokupan Loaf Pan with Lid - 1.5 Loaf SizePan material and interior/exterior dimensions, product specifications lines 424–452; no internal volume is given.
Cited in: Stage 10 — Prepare the pan; Flat-top versus rounded-top shokupan
Kikkoman Food ForumHistory · Geography
Close-up Japan: ShokupanAttributed popularity and food-culture context, vol. 34 no. 2 (October 2020), lines 39–58.
Cited in: Shokupan in Japanese food history; How shokupan is eaten in Japan; Regional and commercial variations
Just One CookbookUse
What to Make with ShokupanHow shokupan is eaten in Japan: thick-cut toast, sandwiches and further preparations
Cited in: How shokupan is eaten in Japan